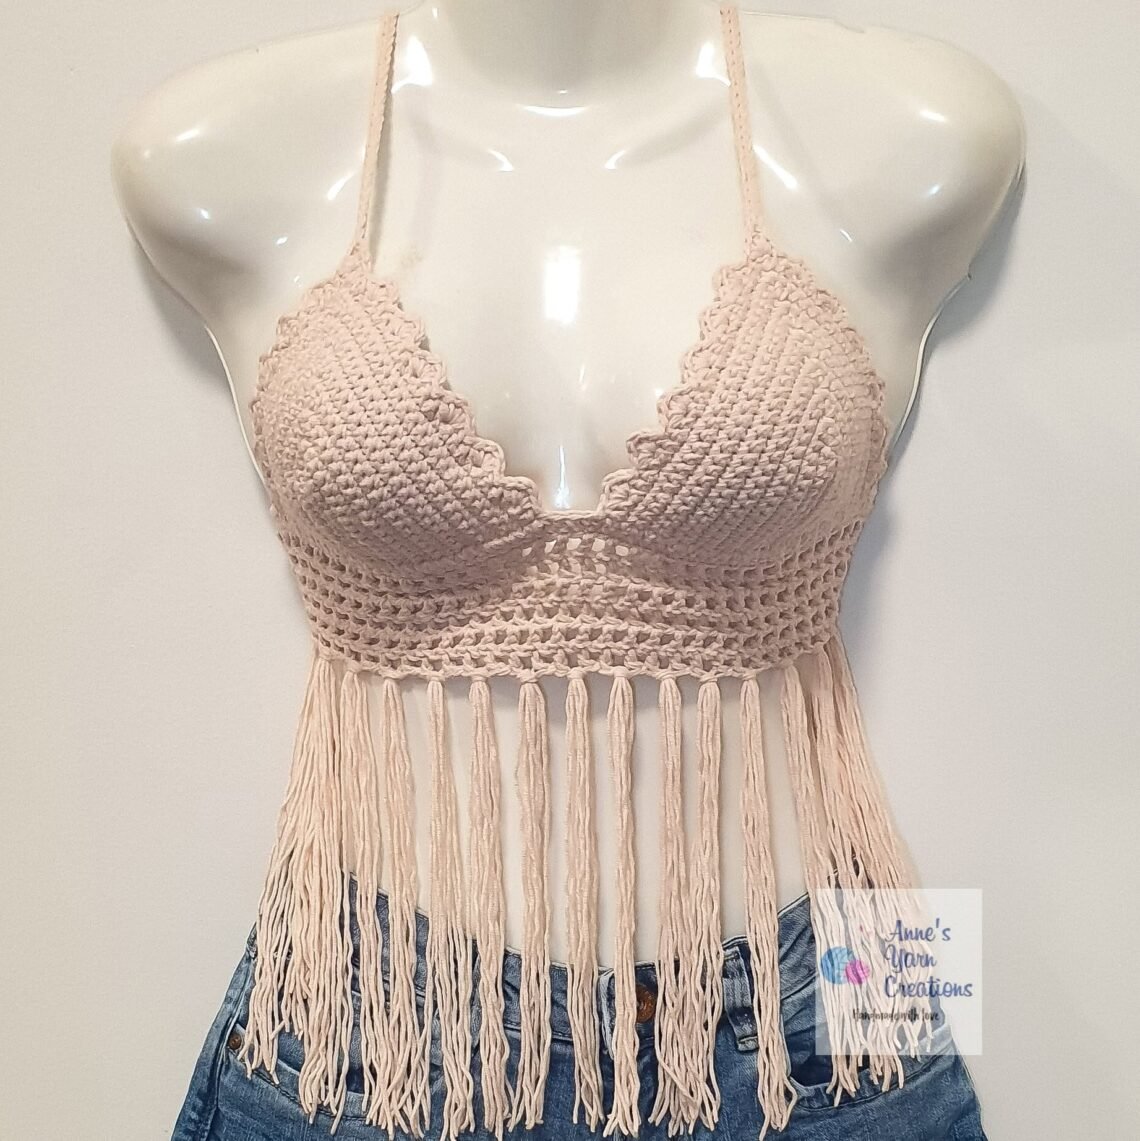
It’s a hot, hot, hot summer so far, so it’s the perfect time crochet a little summer halter top to keep cool. These fun little tops are very trendy right now. Even I personally love to wear these!
This cute halter top can do multiple functions for everyone since it can serve as a crop top, a cover up for your swimsuit or even as an insert for the low neckline blouse that one cannot seem to wear because of the plunging neckline that shows too much. It is secured using ties around the body and the neck.
Perfect for hot weather, beach days and layering, these free crochet halter top patterns make quick summer projects. Many of these patterns include plus sizes and I have tried to include that size information in the descriptions to make it easier for you to find them!
Have fun making and wearing these!
Legend:
CH – chain
SC – single crochet
HDC – half double crochet
DC – double crochet
SL ST – slip stitch
ST / st – stitch
Materials Used:
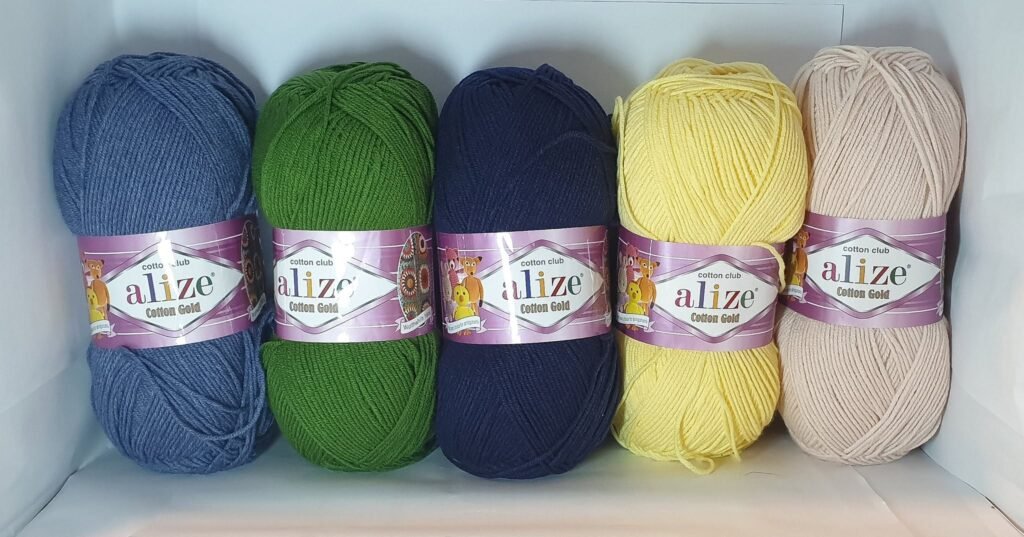
- Alize Cotton Gold Yarn (I used 2 pieces to make 2-ply yarn but only used half of each)
- 4.0 mm Crochet Hook
- A pair of scissors
- A darning needle
- A stitch marker
First, make the first Bra Cup:
When making the bra cups, you may use the below measurements and guidelines:
Bra Cup Sizes:
XSmall: 30A, 32A, 30B
Small: 34A, 36A, 32B, 34B, 36B, 30C, 32C
Medium: 38A, 40A, 38B, 40B, 34C, 36C, 30D, 32D, 30DD
Large: 38C, 40C, 34D, 36D, 38D, 40D, 32DD, 34DD, 30DDD, 32DDD
XLarge: 36DD, 38DD, 40DD, 34DDD, 36DDD
Chains and Rows:
XSmall: Chain 12, 10 rows
Small: Chain 12, 12 Rows
Medium: Chain 14, 14 Rows
Large: Chain 16, 16 Rows
XLarge: Chain 18, 18 Rows
As for the designs I’m making, I mostly use Medium Size starting with 14 chains ending with 14 rows. Therefore, I will be using Medium Size in this pattern.
- SL ST, CH – 7,
skip 1 ST, SC on 2nd CH from the hook, SC – 3 on the very last ST,
***you may put a Stitch Marker on middle of this SC – 3 to mark where you will crochet SC – 3 on the next row,
then, continue to make SC until the last ST, - CH – 1, turn your work, SC on 1 side until you reach before the Stitch Marker,
SC – 3 on the ST with Stitch Marker, continue making SC until end, - Continue until 14 rows are completed,
Next, make the second Bra Cup:
4. Make another cup with same size,
** You may cut the starting yarn in the middle of the cup.
** But, do not cut the yarn from the end, as we are going to connect the 2 cups from here. This is also the start of the bottom part.
Connect the 2 Bra Cups:
5. Starting from the last ST of the 2nd finished cup,
make CH – 20, CH – 1, skip 1 ST, SC on 2nd CH from the hook, continue making SC until the other end of the 1st cup,
6. CH -3, SC on the first end of the 2nd cup, continue SC until the other end,
Make the Bottom Part:
7. CH – 20, CH – 1, skip 1 ST, SC on 2nd CH from the hook, continue making SC until the end of the row,
**You may add few more rows of SC as per your preference.
**For this design, I only made 2 rows of SC.
8. CH – 2 (considered as 1 DC), CH – 1, skip 1 st,
(DC – 1, CH- 1, skip 1 st) continue repeating this until the end,
9. same as Step #8, until you reach a total of 6 rows.
**You may add few more rows of this as per your preference.
10. From here, do not cut the yarn, make 1 SC row on left side of the bottom part, (SC – 2 on every space),
The, continue making SC going up to the corner of 1st bra cup,
11. SL ST on the corner between the 1st bra cup and the bottom part,
Skip 1 st, SC -1 on the next st, HDC -1 on same st, DC – 1 on same st, HDC -1 on the same st, SC -1 on same st
Again, (skip 1 st, SC – HDC – DC – HDC – SC on the same st) continue repeating this until the top corner of the 1st bra cup,
**This will form as the cute little curves on top of the bra cups.
Make the Straps:
12. Do not cut the yarn, make CH – 150, CH – 1, SL ST on the 2nd CH from the hook, continue doing SL ST on each chain until reaching back the top corner of 1st bra cup,
13. From the top corner of 1st bra cup, continue doing the same pattern on Step #11 (skip 1 ST, SC – HDC – DC – HDC – SC on the same st),
14. SC on each 3 SCs in the middle below,
15. same as Step #11,
SL ST on the corner between the 2nd bra cup and bottom part,
Skip 1 st, SC -1 on the next st, HDC -1 on same st, DC – 1 on same st, HDC -1 on the same st, SC -1 on same st
Again, (skip 1 st, SC – HDC – DC – HDC – SC on the same st) continue repeating this until the top corner of the 2nd bra cup,
16. make the other strap by following the same Step #12,
17. follow same as Step #13, until reaching the left side corner between the 2nd bra cup and bottom part,
18. SC on the upper layer of bottom part, then SC on the sides of bottom part (SC – 2 on every space),
19. Cut the yarn while leaving a short allowance around 2-inch length for darning,
20. Hide the yarn ends.
**Start with the wrong side facing you.
**Thread your sewing needle with the yarn tail.
**Insert the needle and yarn under the two strands at the back of your stitches.
**Repeat this for a few stitches.
**Move down a row and work back in the opposite direction to secure your yarn tail.
**Cut the excess yarn.
Make the Fringes:


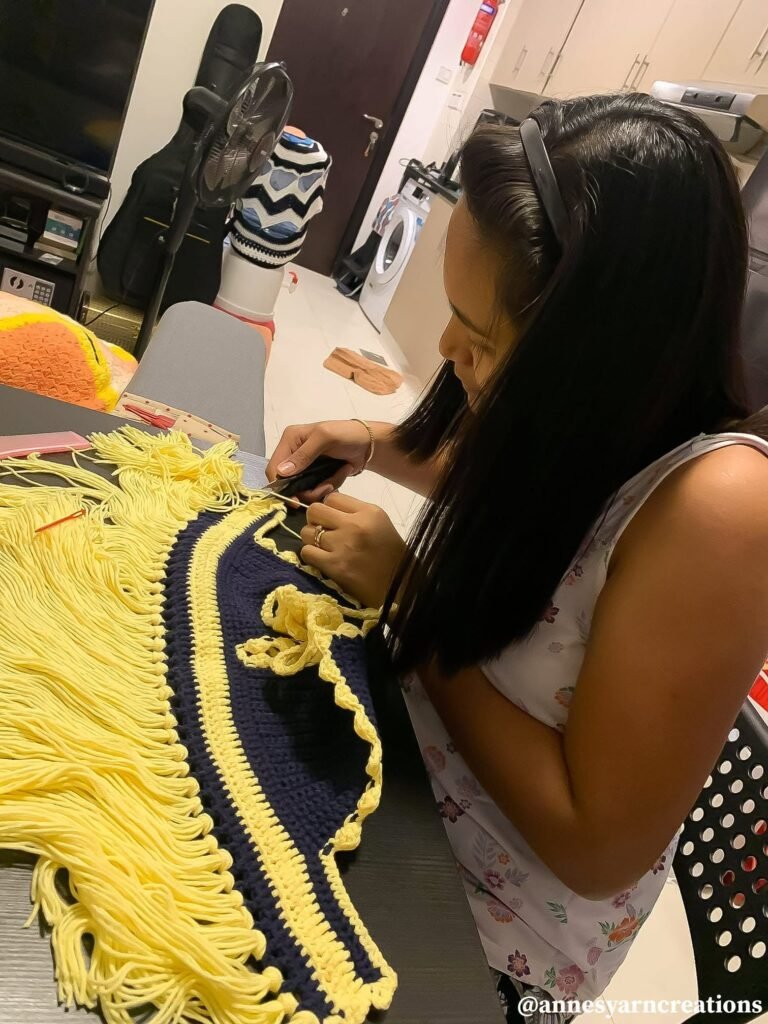
21. Cut the yarn into groups of 4 pieces in equal lengths.
**Length may be based on your preference.
22. Fold the strands of yarn for one fringe in half, forming a loop at one end, while matching the cut ends of the yarn on the other end.
23. Take your hook and draw the loop through the stitch that you’re attaching the fringe to. Work from the middle of the bottom part to distribute the fringes equally.
24. Create the knot by drawing the loose ends of the yarn through the loop.
25. While holding the top of the fringe in one hand, pull gently on the fringe ends with your other hand.
26. Tighten the knot so that it’s secure.
Sew the Bra Cups/ Foams:
27. Try placing the halter top onto your breasts and pin the cups in place at the location where you want it to be. Sew alongside it with a simple stitch or as preferred.
**Putting bra cups is optional. Some leave it as it is, as long as the yarns used for crochet consists of thick material.
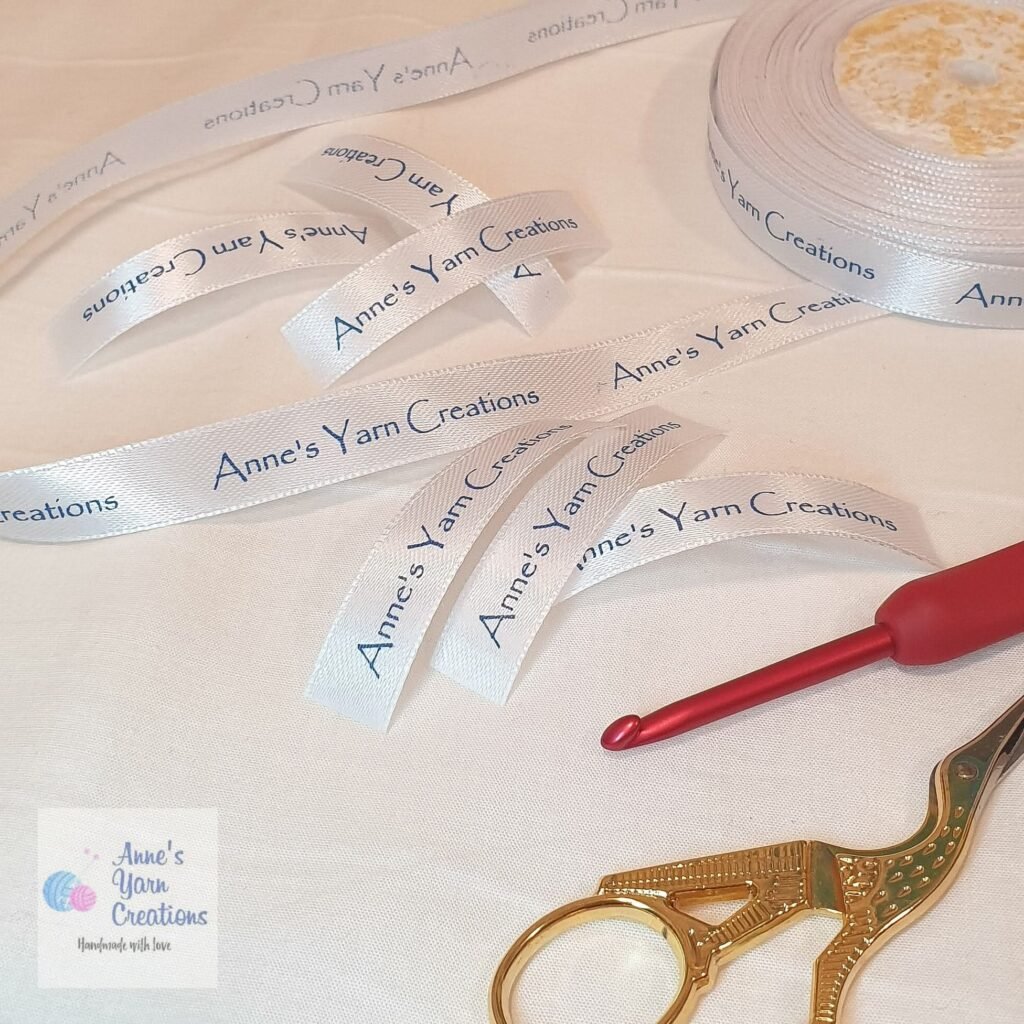
Sew in customized tag/ label:
**This is also optional.
Finished Product:
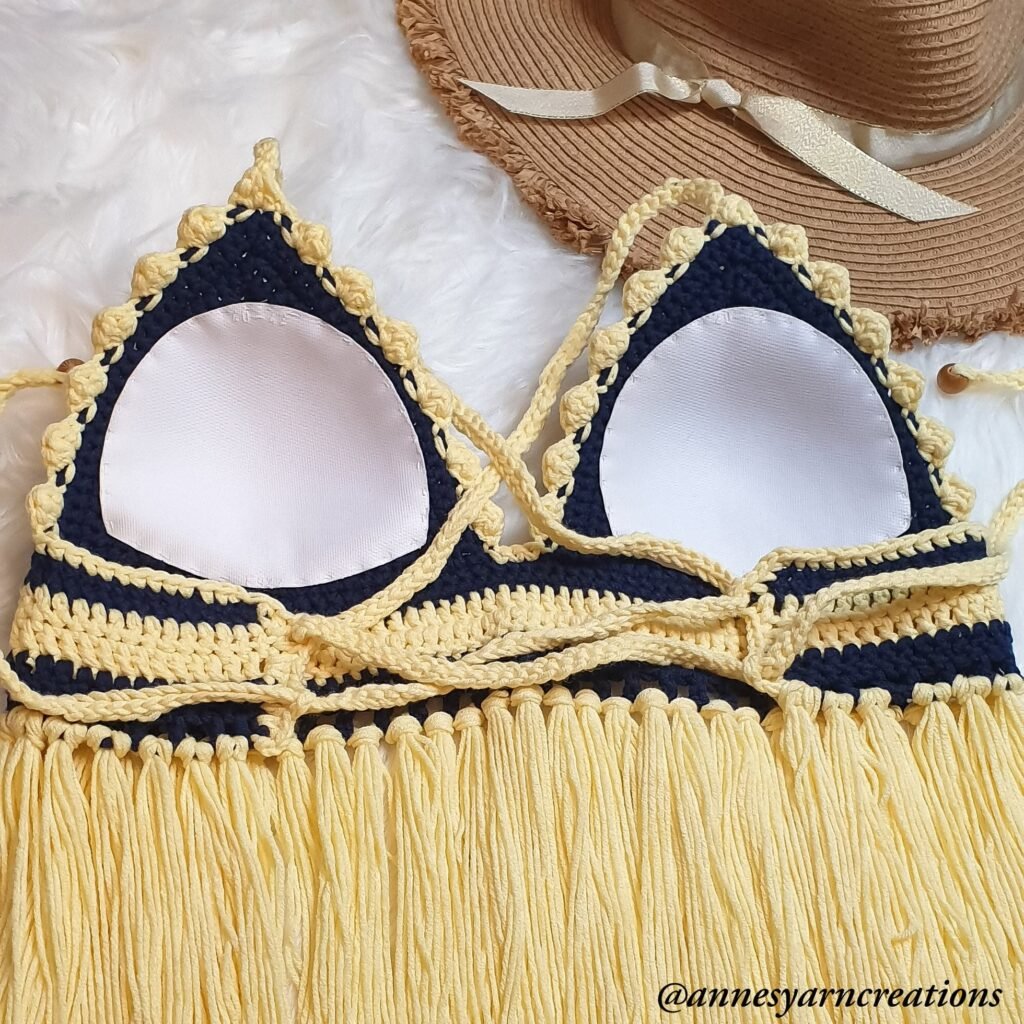
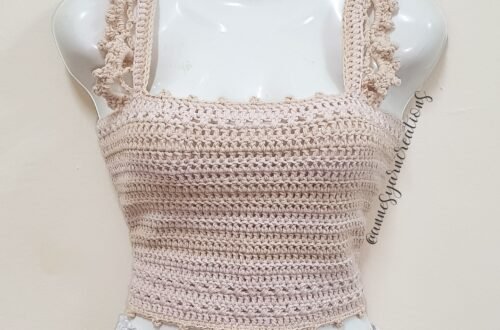
Crochet Creamfringe Halter Top
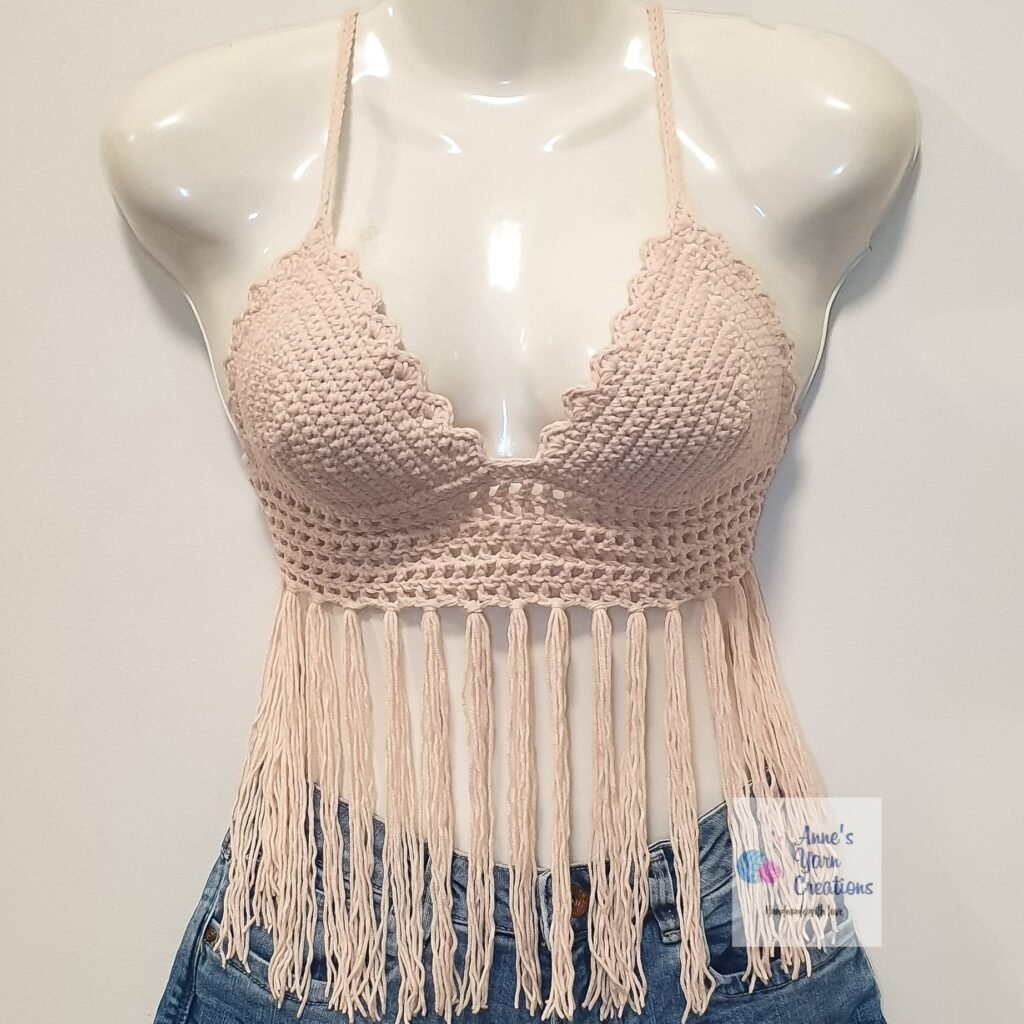
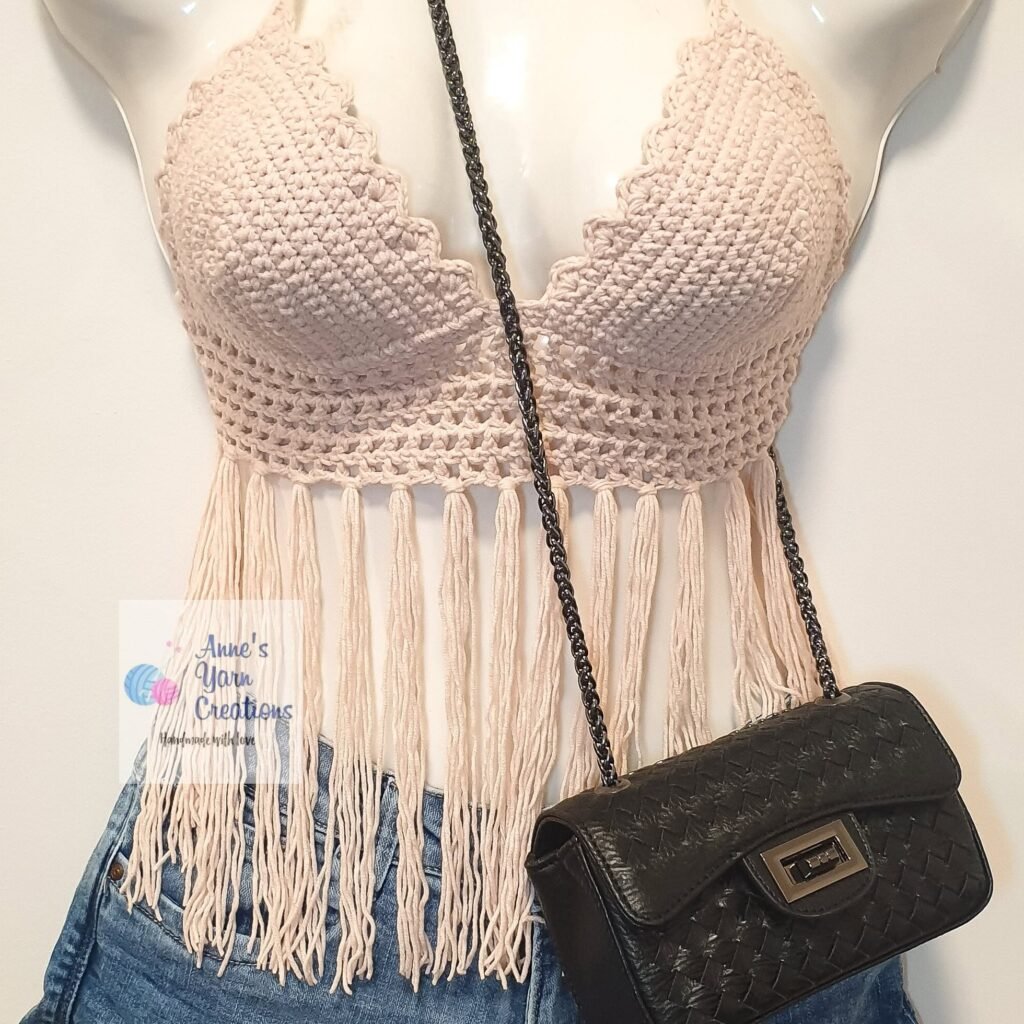
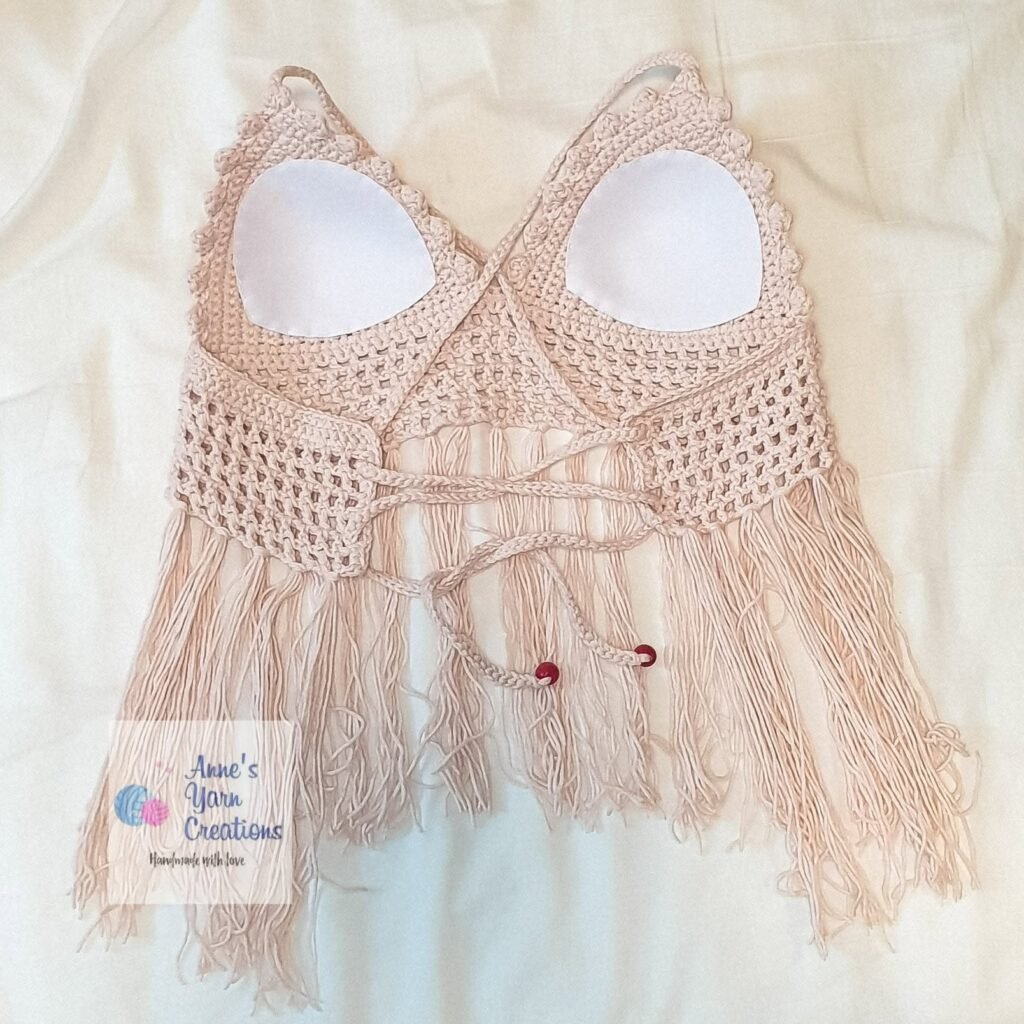
Finally!! This project is so lovely and easy to make, the top is light, airy and revealing enough for the beach, but still gives enough cover to wear around town.
Would love to see your projects! You may comment down below and shows us your variation.
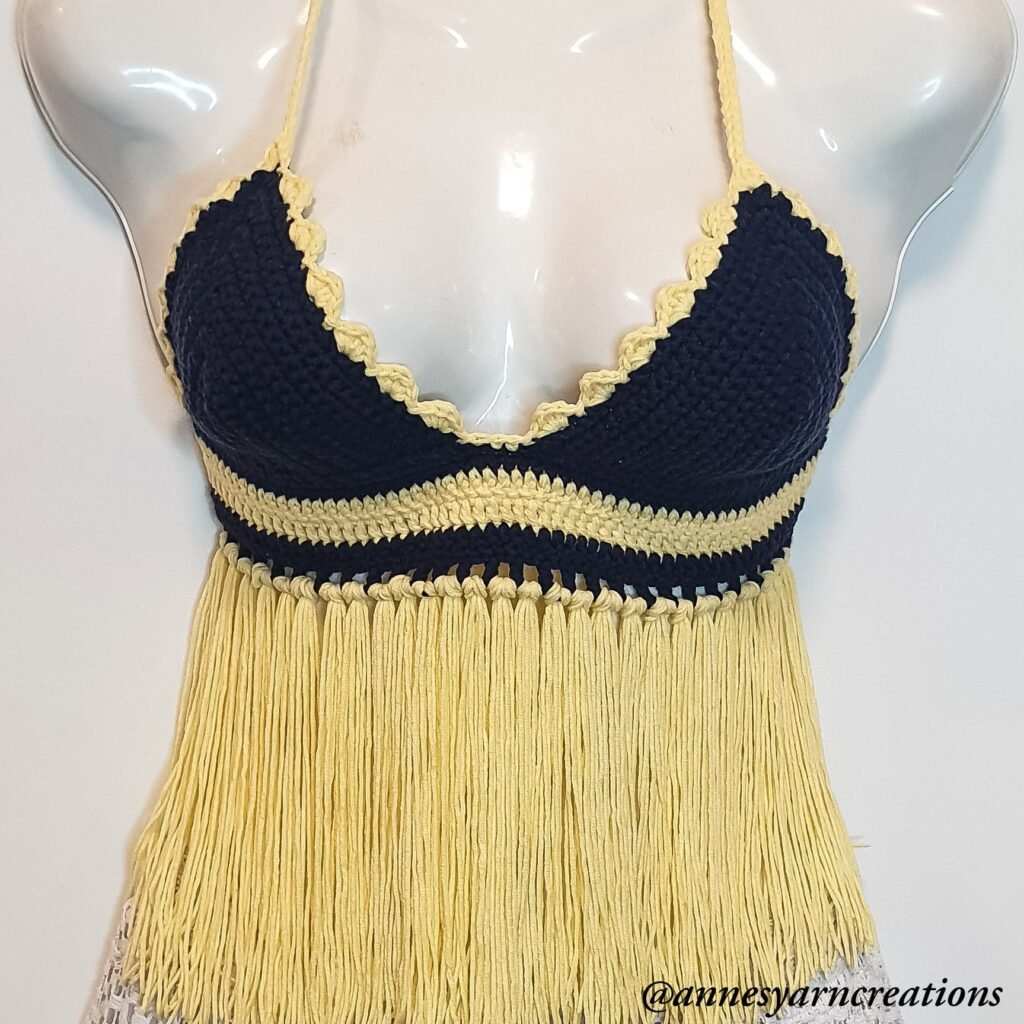
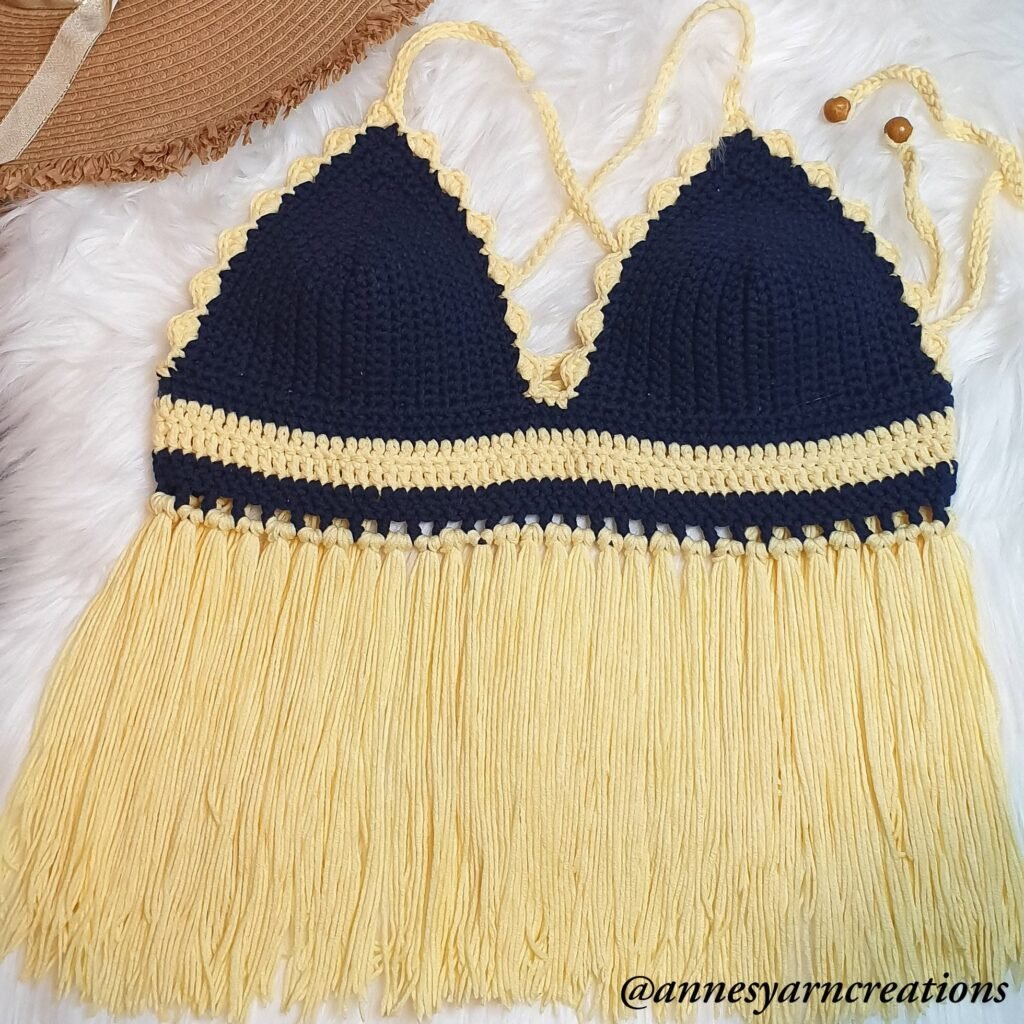
Our Other Fringe Designs:
Please don’t forget to Like & Follow Anne’s Yarn Creations:
Facebook: Anne’s Yarn Creations
Instagram: @annesyarncreations
14 Surprising Health Benefits of Knitting And Crocheting
Crochet Flower Pot Pattern: The Beauty of Handicrafts
Crochet Coasters Using Granny Square Stitch
Crochet Scarf Using Basic Pattern
My First Ever Crochet Project
© 2021 by Anne’s Yarn Creations and published with permission by Life Mag Health. This pattern is for personal use only. You may use the pattern to make unlimited items for yourself, for charity, or to give as gifts. You may sell items you personally make by hand from this pattern. Do not violate Anne’s Yarn Creations’ copyright by distributing this pattern or the photos in any form, including but not limited to scanning, photocopying, emailing, or posting on a website or internet discussion group. If you want to share this pattern, point your friends to this link: https://pinoyupnorth.com/?p=4548 Thanks for supporting freestyle designers!
Originally Published: May 18, 2021
Updated: August 2026


Wow!! Handmade Crochet Halter ! Love it. Thanks for sharing with us.
This is so creative and really well-done. My aunt loves making crochets and one time she made me a sweater from it which i am really happy to wear. I think you can do almost anything with it as long as you have enough creativity and of course the skills
That little project of yours turned out beautifully. I admire those who can make something beautiful from scratch.
I remember tops like these! I could only wear them when I was a kid — I am a bit too busty for this these days! LOL I like this design though.
One of my teenagers is really into crocheting. She learned watching YouTube and it has become one of her favorite hobbies.
It has a great retro vibe to it. I really like it.
It has a nice retro vibe. I really like it.
This looks awesome and easy to do it! We have materials that can be used to make something like this. Would give it a try. Thank you for sharing!
Wow! This is such a nice hobby. I think my best friend would love this.
Girl, this is dope! I love how you made it. I did a couple of halter tops years ago as my first bath of crocheting. Your post reminds me to make some summer top. PS. I’m not good in documenting my crochet tutorials, especially indicating those crocheting legends, haha.
Nnnniiiicccceeeeeee…well done, Dianne! I love the final creation of your project. It looked so complex from the ground but it turned out to be so beautiful!
i think i replied late to u mate xddd