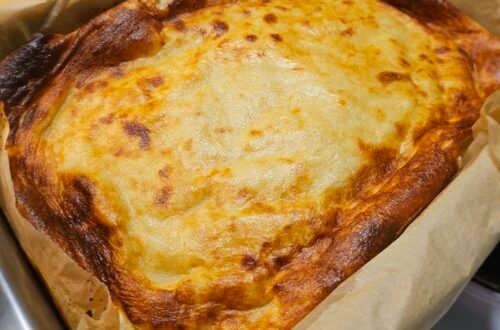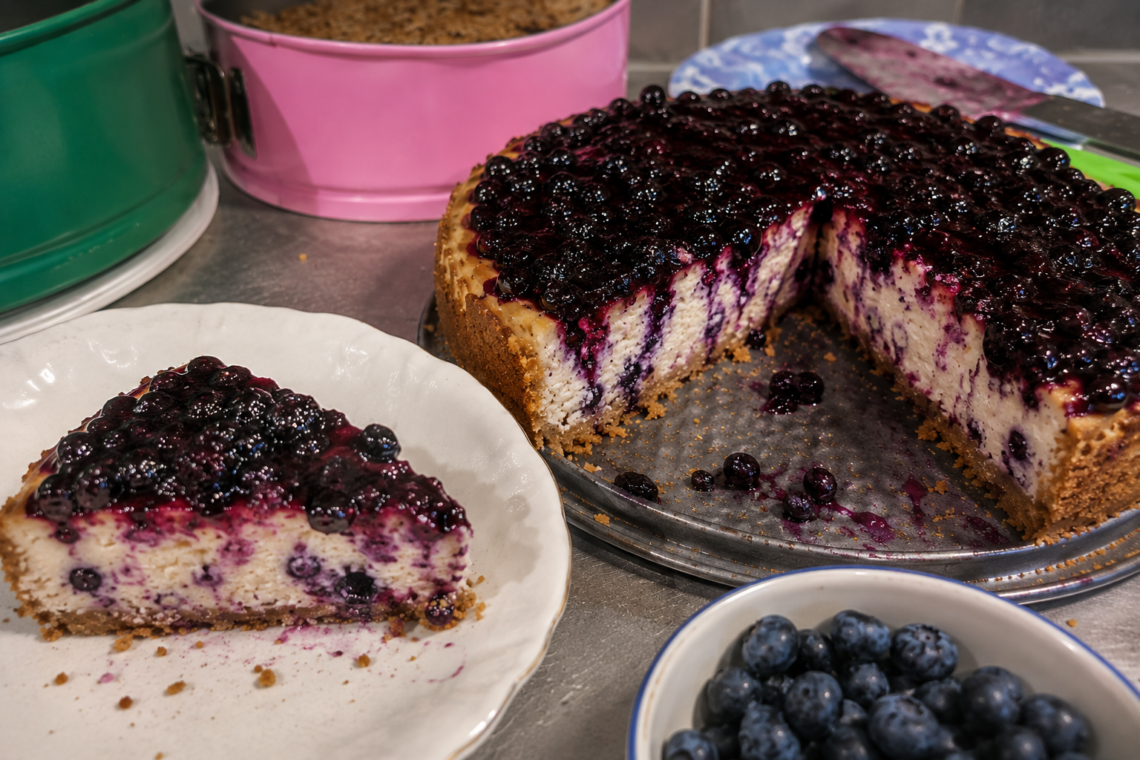
My nine-month maternity leave has given me more time at home, not only to take care of my family, but also to learn and enjoy new things. One of those things is baking.
I wouldn’t call myself an expert baker. Most of the time, I learn by trying a recipe, seeing what happens, and making little changes the next time. Sometimes it turns out beautifully, and sometimes… well, at least we can still eat it! 😄
One thing my husband and I had been craving for quite some time was cheesecake.
Then came the perfect opportunity to finally make one.
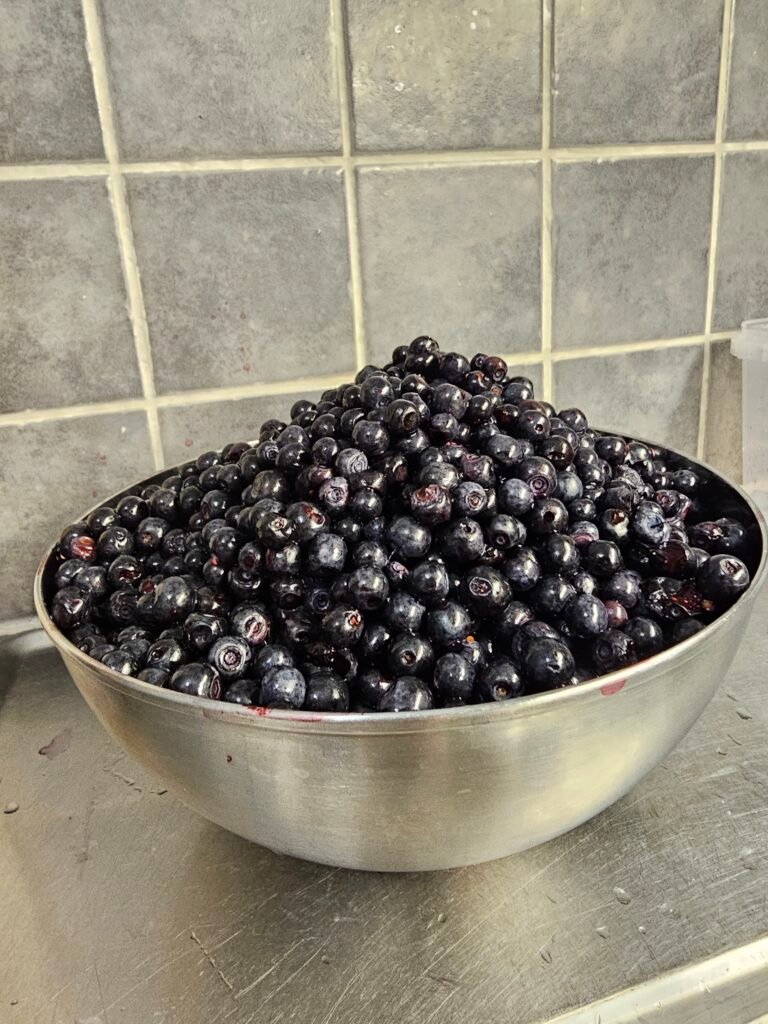
Our kind neighbor generously shared with us some blueberries they had freshly picked from the forest. We received quite a lot, so we froze some for later and decided to use the rest for something special.
And what could be better than a homemade blueberry cheesecake?
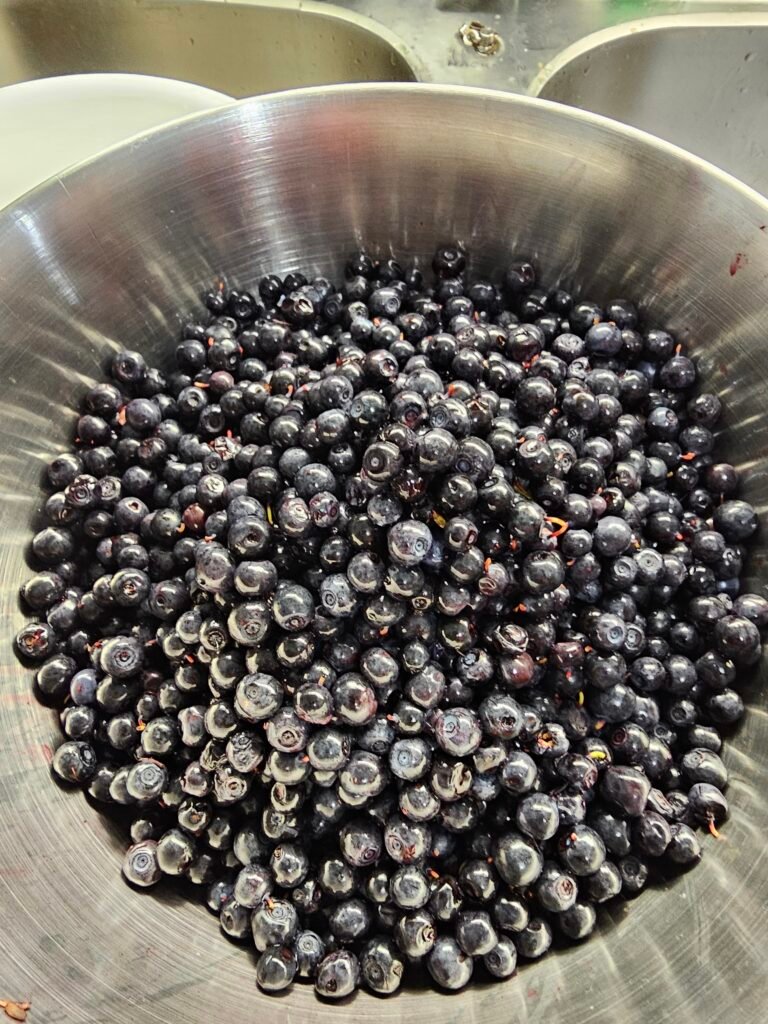
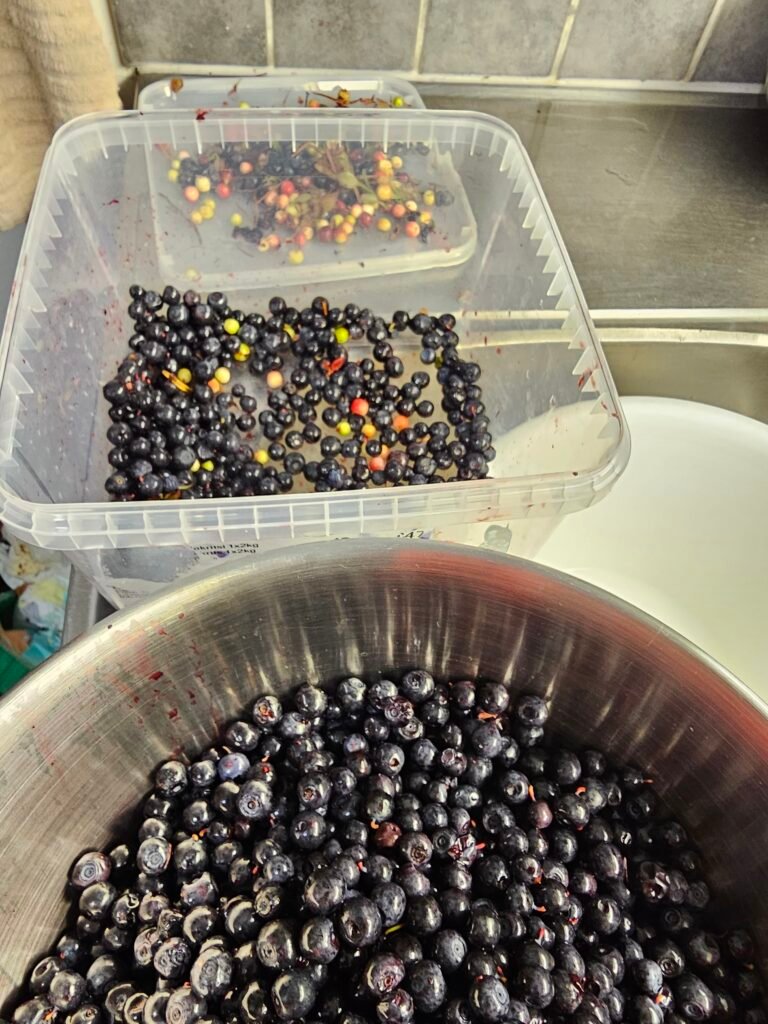
Fresh Blueberries During Summer in Finland
One of the things I love about summer in Finland is seeing nature come alive again after the long winter.
The forests become green, the days are wonderfully long, and depending on the season, you can find different kinds of wild berries and mushrooms.
Blueberries, or more accurately, the wild bilberries (mustikka in Finnish), are among the berries commonly picked from Finnish forests. There are also lingonberries, raspberries, cloudberries, and other wild berries depending on the area and season.
For someone like me who grew up in the Philippines and later lived in Dubai, having berries growing naturally in the forests still feels quite special.
So when our neighbor gave us freshly picked blueberries, I certainly didn’t want them to go to waste!
Some went into our freezer, while a generous amount went into this cheesecake.
Finding a Blueberry Cheesecake Recipe That Worked for Us
Before making the cheesecake, I looked through different recipes online to understand the basic ingredients and techniques.
There are so many ways to make cheesecake. Some recipes use a water bath, some don’t. Some use sour cream, while others rely mostly on cream cheese. Baking temperatures and cooling methods can also differ.
For my version, I combined the techniques that seemed practical for what I had available at home.
And thankfully, it turned out delicious!
Here’s the version that worked for us.
Homemade Blueberry Cheesecake
Ingredients
For the Biscuit Crust
- 200 g plain sweet biscuits or Digestive biscuits
- 120 g unsalted butter, melted
I used Digestive biscuits, which worked really well for the base.
For the Cheesecake Filling
- 500 g cream cheese, softened
- 2 tablespoons all-purpose flour
- 1 teaspoon vanilla extract
- ½ cup sour cream
- 1½ cups fine white sugar
- Zest of 1 lemon, optional
- 3 eggs, at room temperature
- 250 g fresh blueberries
Frozen blueberries can also be used. If using frozen berries, I prefer adding them directly without thawing first so they don’t release too much liquid into the mixture.
For the Blueberry Topping
- 375 g blueberries, divided
- 2 tablespoons lemon juice
- ½ cup white sugar
- ½ teaspoon vanilla extract
- 1½ teaspoons cornstarch
- 2 tablespoons water
How I Made My Blueberry Cheesecake
Step 1: Prepare the Baking Pan
Preheat the oven to 160°C.
Prepare a 20 cm (8-inch) springform pan. Lightly grease the bottom and sides, then line the base with baking parchment paper.
I also like lining the sides with baking paper because it makes removing the finished cheesecake much easier.
Step 2: Make the Biscuit Crust
Break the biscuits into smaller pieces and place them in a food processor. Process until they become fine crumbs.
If you don’t have a food processor, don’t worry. You can place the biscuits inside a sealed bag and crush them using a rolling pin or another heavy kitchen item.
Pour the melted butter into the biscuit crumbs and mix until everything resembles wet sand.
Transfer the mixture into your prepared springform pan.
Press the crumbs firmly across the bottom and slightly up the sides of the pan. I find that the flat bottom of a drinking glass works really well for pressing everything into place.
Set the crust aside while preparing the filling.
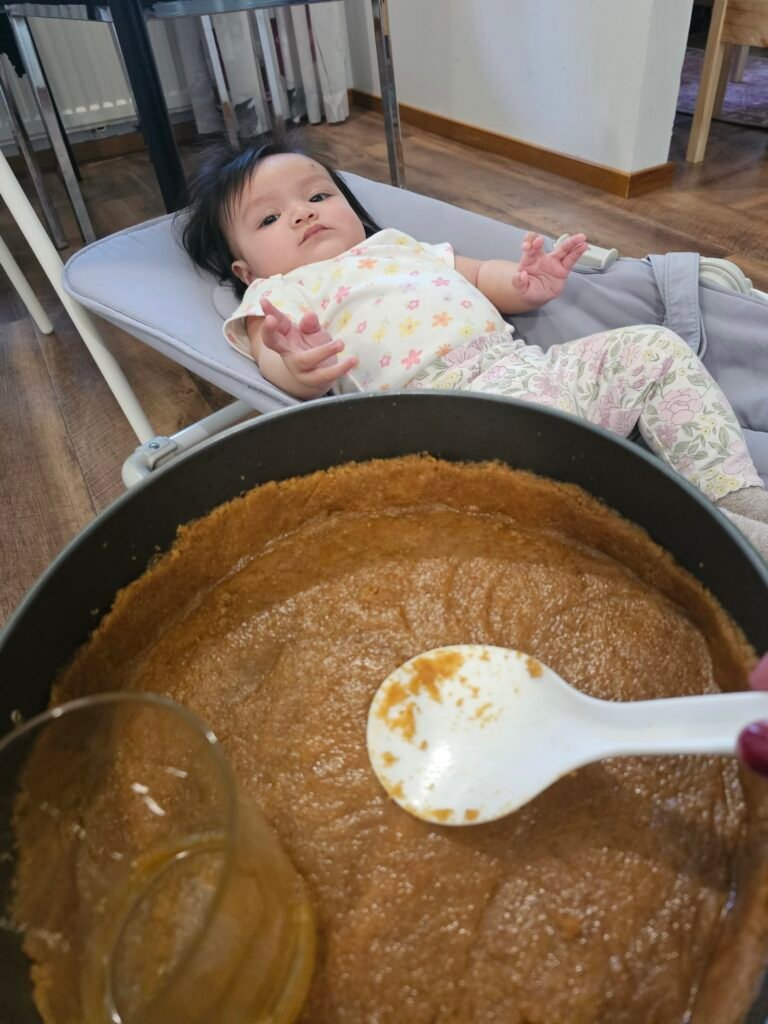
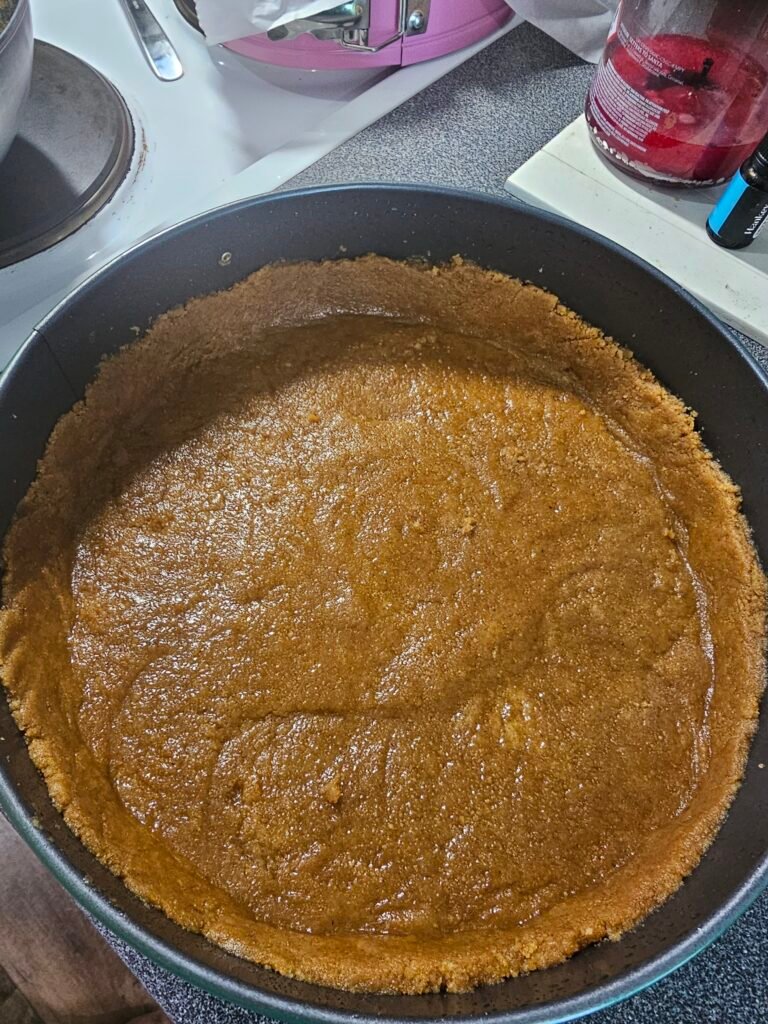
Step 3: Prepare the Cream Cheese Filling
Place the softened cream cheese in a mixing bowl.
Using a stand mixer or handheld mixer, beat it briefly until smooth. Try not to beat it longer than necessary because incorporating too much air into cheesecake batter can make it rise excessively while baking and contribute to cracking as it cools.
Add the all-purpose flour and mix briefly.
Next, add the vanilla extract, sour cream, sugar, and lemon zest if you’re using it. Mix only until everything is combined.
Add the eggs one at a time, mixing gently after each addition.
Once the mixture is smooth, stop mixing.
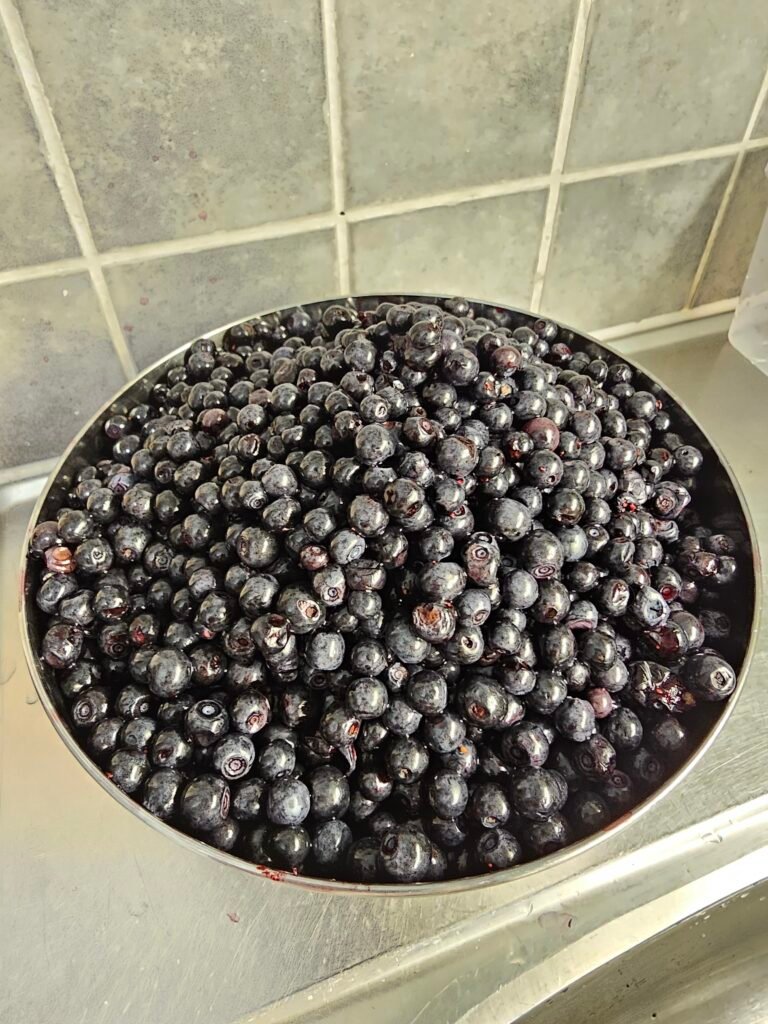
Finally, gently fold the blueberries into the cheesecake mixture using a spatula.
Look at those blueberries! 🫐
Pour the filling over the prepared biscuit crust and gently smooth the surface.
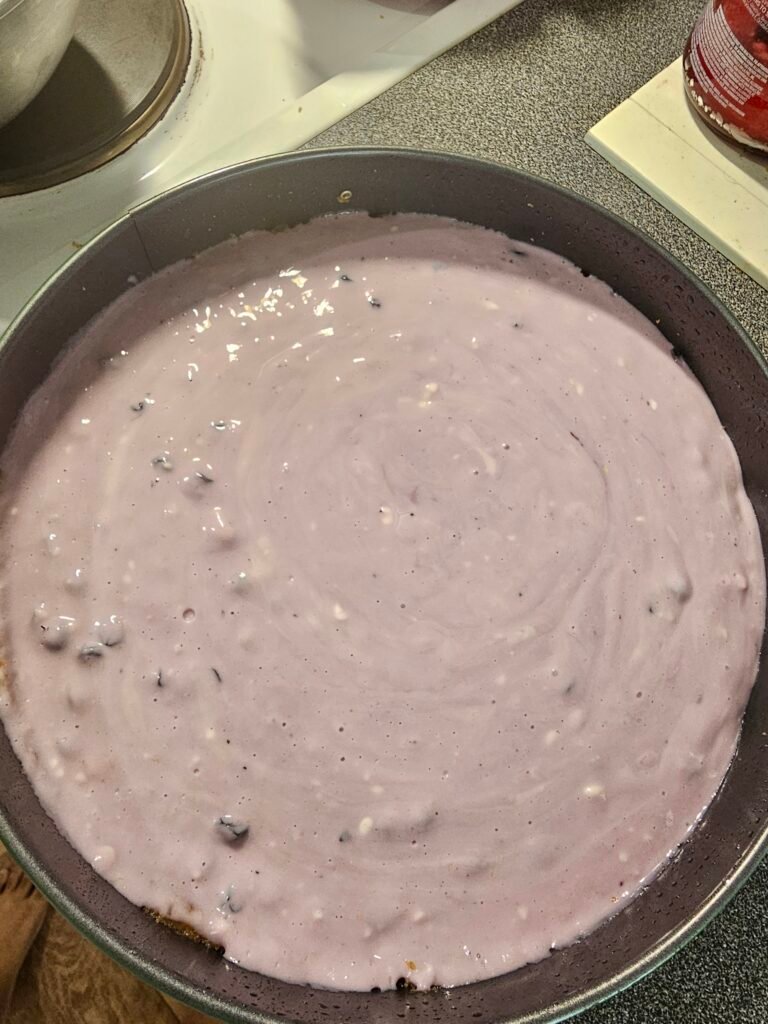
On my second attempt, I just greased the baking pan with a bit of cooking oil.
Step 4: Bake the Cheesecake
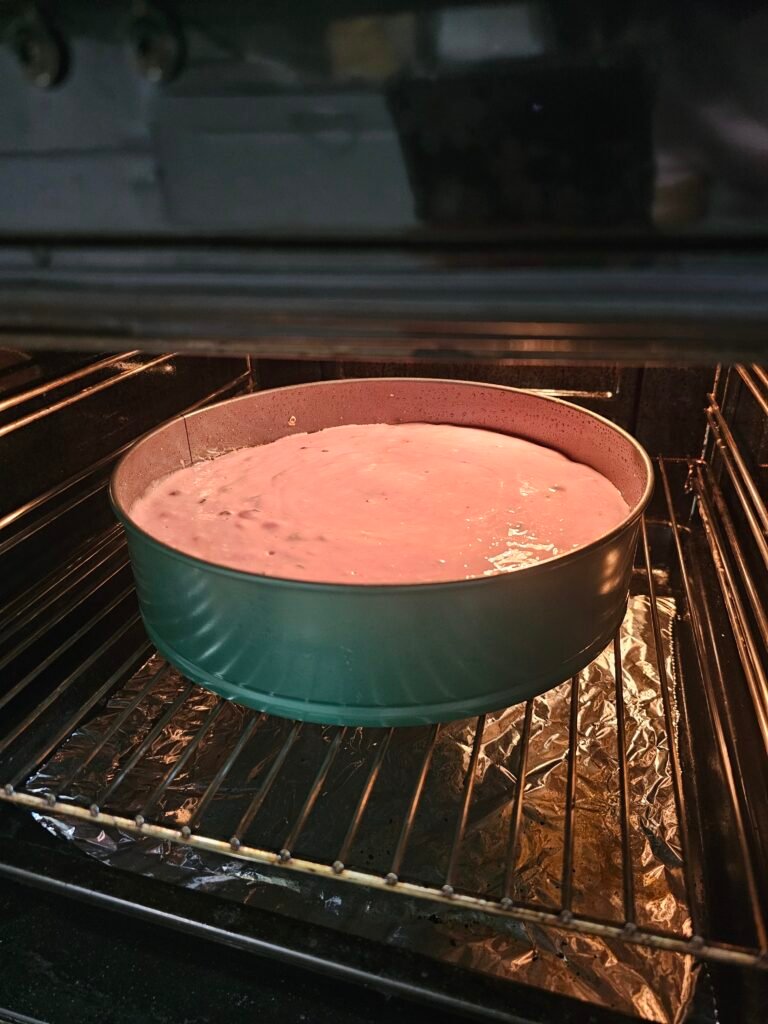
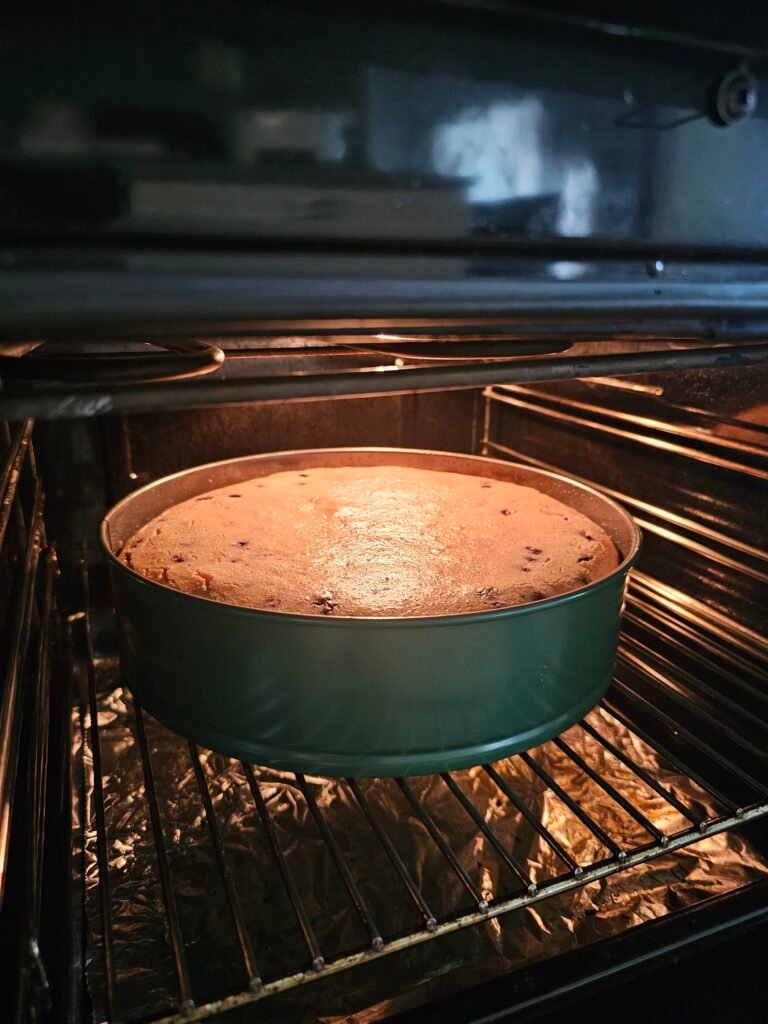
Place the cheesecake on the middle rack of your preheated oven.
Bake at 160°C for approximately 65–70 minutes.
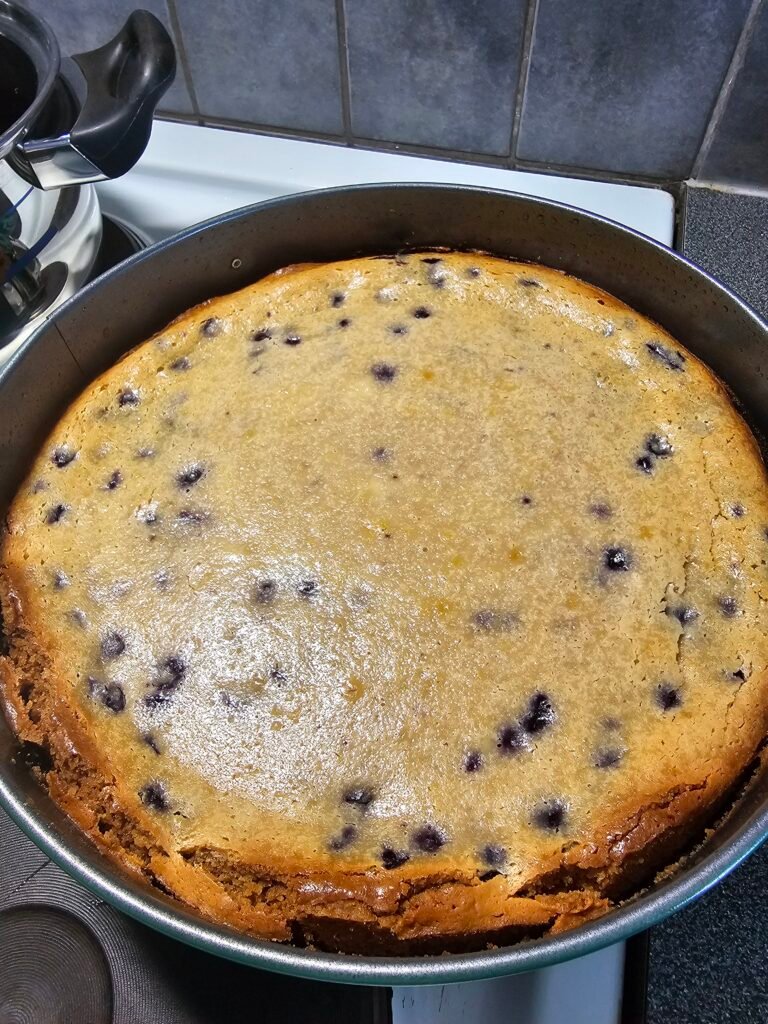
You’ll know it’s getting close when the edges look set but the middle still has a slight jiggle when you gently move the pan.
Don’t worry if the center doesn’t look completely firm yet. Cheesecake continues to set as it cools.
Once the baking time is finished, turn off the oven and leave the cheesecake inside with the oven door slightly open.
Allowing it to cool gradually can help reduce sudden temperature changes that may cause cracking.
Once it has cooled enough, transfer it to the refrigerator.
And this is where I learned one important lesson from my first attempt:
Don’t rush the chilling time!
For the best texture, I recommend refrigerating the cheesecake for at least four hours, but preferably overnight.
Making the Homemade Blueberry Topping
While the cheesecake is cooling, you can prepare the blueberry topping.
Place about 125 g of the blueberries in a small saucepan together with the sugar, lemon juice, and vanilla.
Cook over medium heat until the berries begin to soften and release their juices.
Let the mixture simmer gently for several minutes.
In a separate small bowl, combine the cornstarch and water until smooth. Slowly stir this into the blueberry mixture.
It should begin thickening fairly quickly.
Add the remaining blueberries and gently stir them into the sauce. I like leaving some of the berries whole because they give the topping a lovely homemade appearance and texture.
Remove the saucepan from the heat and allow the blueberry sauce to cool completely.
The sauce will continue to thicken as it cools.
What you’re looking for is a thick but spoonable consistency, something that slowly flows over the cheesecake rather than running down like juice.
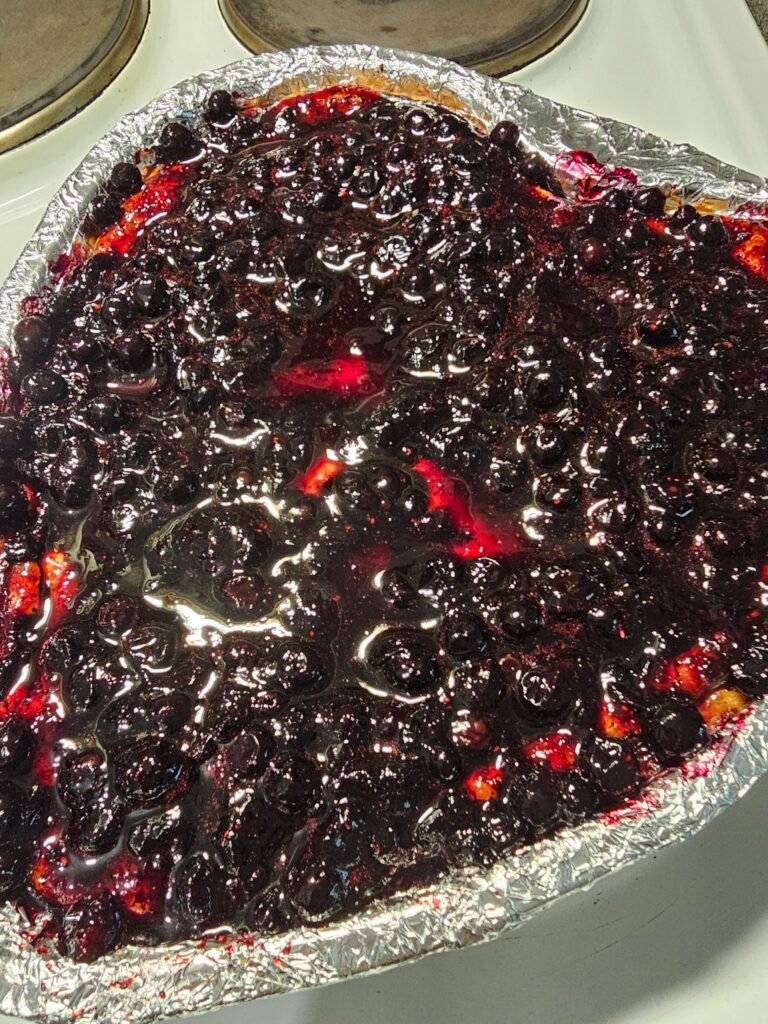
Once the cheesecake has chilled and the blueberry sauce is completely cool, spoon the topping generously over the cheesecake.
Then refrigerate it again until you’re ready to serve.
A Few Things I Learned While Making This Cheesecake
Because I’ve already made this cheesecake more than once, there are a few little things I would definitely keep in mind next time.
Digestive Biscuits Make a Great Base
You don’t necessarily need a special cheesecake biscuit. Any plain, mildly sweet biscuit that can be crushed into fine crumbs should work.
The important thing is getting the right balance between the crumbs and melted butter.
Once mixed, the crumbs should hold together when pressed.
Don’t Overmix the Cheesecake Filling
One thing I learned while researching cheesecake recipes is that more mixing isn’t necessarily better.
Once the filling becomes smooth and all the ingredients are incorporated, I stop mixing.
This helps avoid adding too much air to the batter.
Fresh or Frozen Blueberries Both Work
Fresh blueberries are wonderful when they’re available, especially when someone has just picked them from a Finnish forest!
But frozen blueberries are convenient because we can enjoy them throughout the year.
If you’re using frozen blueberries in the cheesecake batter, there’s usually no need to thaw them first.
Let the Cheesecake Cool Slowly
Cheesecake requires patience.
After baking, I let mine cool gradually before transferring it into the refrigerator.
And even if your cheesecake develops a small crack, don’t panic.
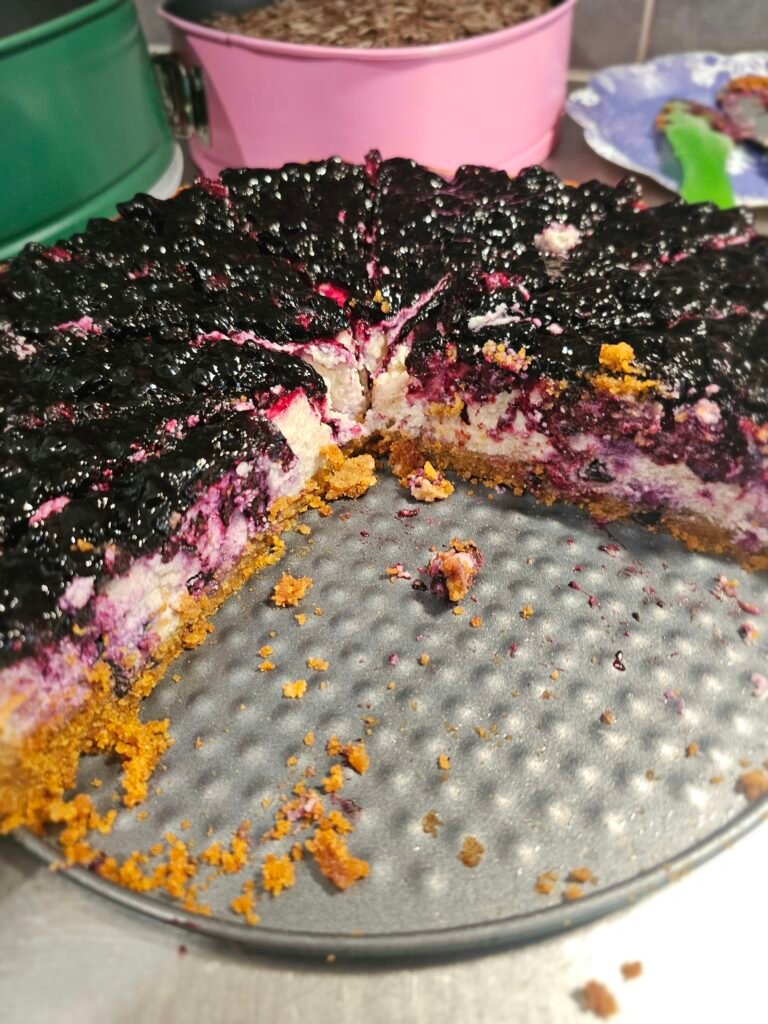
You’re going to cover it with that beautiful homemade blueberry topping anyway!
My First Attempt
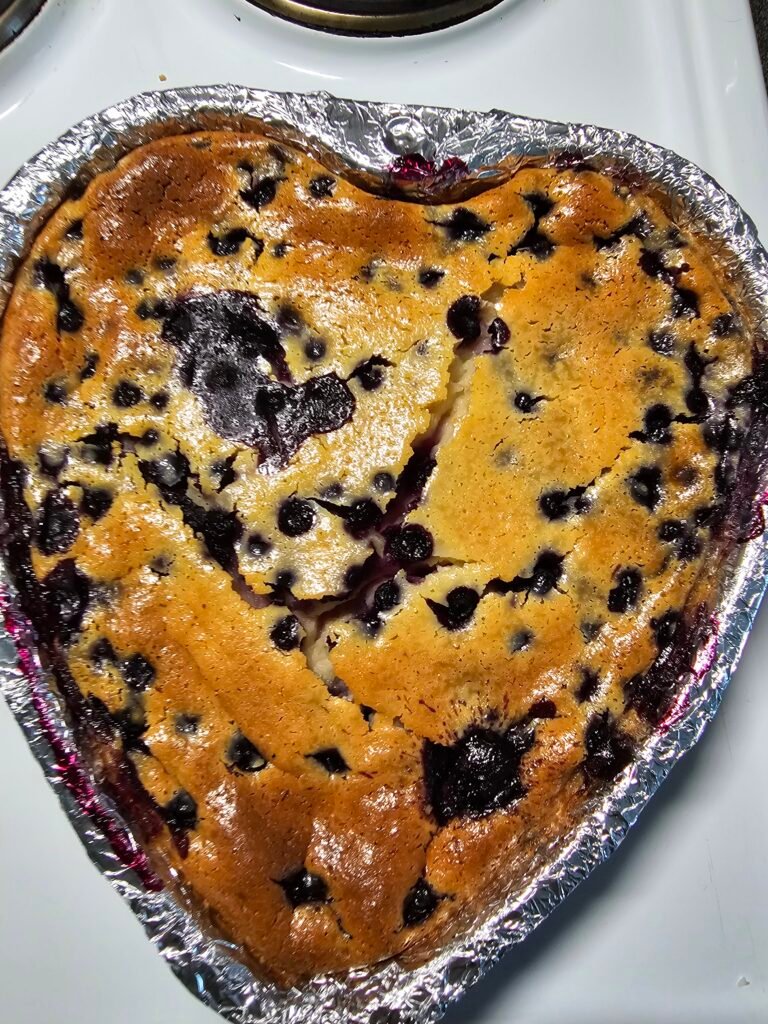
On my first try, I baked the cheesecake on the same day we were having an afternoon tea gathering with friends.
That meant I was working against the clock.
I was only able to refrigerate the cheesecake for around two hours before serving it.
As you can probably imagine, it hadn’t completely set yet.
The texture wasn’t as firm or smooth as I wanted it to be, and slicing it wasn’t quite as neat.
But the taste?
Still good!
For a first attempt, I was happy with it. More importantly, I learned something for next time:
Cheesecake cannot be rushed.
My Second Attempt
For my second try, I decided to plan ahead.
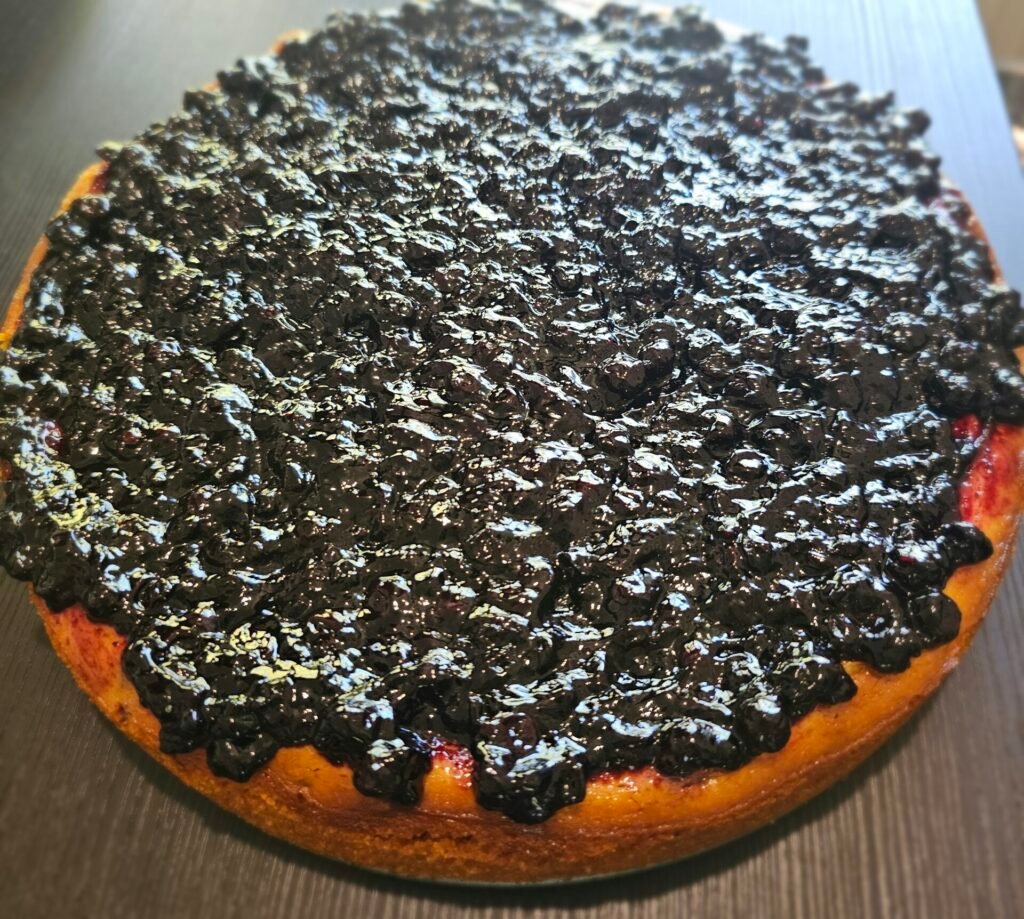
This time, I baked the cheesecake the day before our gathering and refrigerated it overnight.
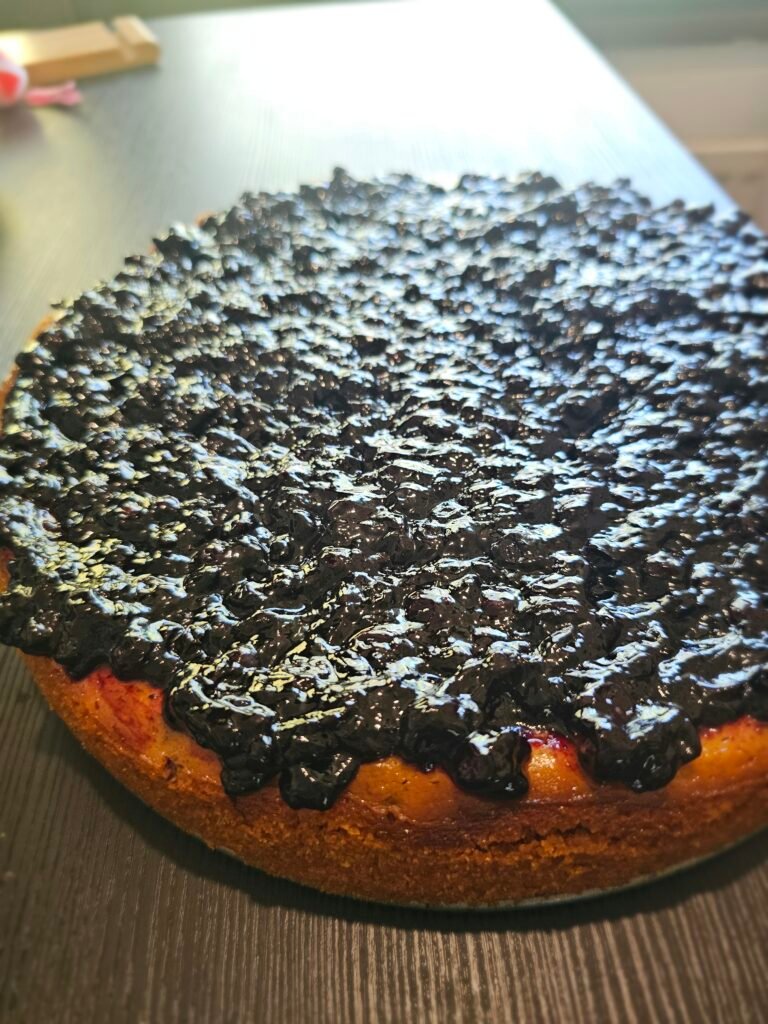
I also prepared the blueberry topping ahead of time. Once everything was properly cooled, I kept it refrigerated separately and added it to the cheesecake a few hours before we were ready to serve.
What a difference an overnight rest made!
The cheesecake was firmer, easier to slice, and had a much better texture.
For me, the second attempt definitely turned out better.
Was it bakery-perfect?
Maybe not.
But did my family enjoy it?
Absolutely… and that’s what matters most to me.
Blueberry Cheesecake Recipe at a Glance
This homemade blueberry cheesecake combines a buttery Digestive biscuit crust, a creamy filling with fresh blueberries, and a homemade blueberry sauce on top. The baking itself is quite simple, but the cheesecake needs plenty of time to cool and set, so I recommend making it a day before you plan to serve it.
Preparation Time: About 30 minutes
Baking Time: About 65–70 minutes
Cooling & Chilling Time: At least 4 hours, preferably overnight
Oven Temperature: 160°C
Pan Size: 20 cm (8-inch) springform pan
Servings: Approximately 8–10 slices
Quick Ingredient Summary
For the biscuit base:
200 g Digestive biscuits + 120 g melted unsalted butter
For the cheesecake filling:
500 g cream cheese + 2 tbsp all-purpose flour + 1 tsp vanilla extract + ½ cup sour cream + 1½ cups sugar + optional lemon zest + 3 eggs + 250 g blueberries
For the blueberry topping:
375 g blueberries + 2 tbsp lemon juice + ½ cup sugar + ½ tsp vanilla extract + 1½ tsp cornstarch + 2 tbsp water
Quick Method
- Prepare the crust by crushing the biscuits and combining them with melted butter. Press into a lined 20 cm springform pan.
- Make the filling by gently mixing the softened cream cheese, flour, vanilla, sour cream, sugar, optional lemon zest, and eggs. Fold in the blueberries.
- Bake at 160°C for about 65–70 minutes, until the edges are set but the center still has a slight jiggle.
- Cool gradually, then refrigerate for at least 4 hours—although overnight worked much better for me.
- Prepare the blueberry topping by simmering some of the blueberries with sugar, lemon juice, and vanilla. Thicken with a cornstarch-and-water mixture, then add the remaining blueberries.
- Cool the topping completely, spoon it over the chilled cheesecake, and refrigerate again before serving.
- Slice, serve, and enjoy!
My little tip: After comparing my first and second attempts, I definitely recommend making this cheesecake the day before. Giving it enough time to chill overnight made the texture firmer, smoother, and much easier to slice.
Why I Enjoy Learning to Bake
One thing I’ve realized since spending more time baking is that you really don’t need to get everything perfect on your first attempt.
Baking is partly about following measurements and techniques, but it’s also about learning through experience.
Your first cake teaches you something.
Your second cake teaches you something else.
Then, little by little, you begin understanding your ingredients, your oven, your baking pans, and even your own preferences.
Sometimes things rise too much.
Sometimes they don’t rise enough.
Sometimes the texture isn’t what you expected.
And sometimes you pull something out of the oven and think, Wow, I actually made that!
That’s part of the fun.
My maternity leave may have started as a season devoted to caring for our family, but it has also given me a little more opportunity to explore things I didn’t always have time for before.
And lately, one of those things has been baking.
Final Thoughts
This homemade blueberry cheesecake has become one of those recipes that reminds me how something simple can turn into a beautiful memory.
It started with blueberries generously shared by our neighbor, a craving my husband and I had been having for quite some time, and my willingness to try making something new.
My first attempt wasn’t perfect.
My second attempt was better.
And maybe the third one will be even better than that.
That’s one thing I love about baking: you learn by doing.
You don’t have to be a professional baker to make something delicious for the people you love. Sometimes all you need is a recipe, a little patience, and the courage to try.
And if it doesn’t turn out perfectly the first time?
Try again.
There will always be another cheesecake.
“The secret ingredient in homemade food is not perfection… it is the love and effort we put into making it.”
“Taste and see that the Lord is good; blessed is the one who takes refuge in him.” — Psalm 34:8 (NIV)
There is something beautiful about sharing food made with our own hands. A few blueberries from a neighbor, some simple ingredients from the kitchen, and a little time can become something the whole family enjoys together.
These small moments may not seem extraordinary while they’re happening, but they often become the memories we treasure later.
So whether you’re baking your first cheesecake or your fiftieth, enjoy the process, and don’t worry too much about making it perfect.
Sometimes the imperfect ones have the best stories behind them.
Have you tried making blueberry cheesecake at home?
I’d love to know how yours turned out! And if you have your own little trick for making cheesecake creamier, smoother, or even more delicious, feel free to share it in the comments.
- Visiting Puijo Tower in Kuopio, Finland: Our Family Experience

- Exploring Helsinki, Finland: 11 Places We Visited

- From Finland to Stockholm, Sweden: Our First Family Ferry Cruise

- From Finland to Nordkapp, Norway: Our Road Trip to the North Cape

- From Finland to Alicante, Spain: Beaches, Food and Places We Love

- From Filipino Nurse to Finnish Sairaanhoitaja: My Journey to Becoming a Registered Nurse in Finland