Hello there my fellow crochet lovers!
I started crocheting as a hobby. I have created different products which could be useful to anyone. Then, a close friend of mine encouraged me to do more products and sell it – she even proposed to help me sell my products.
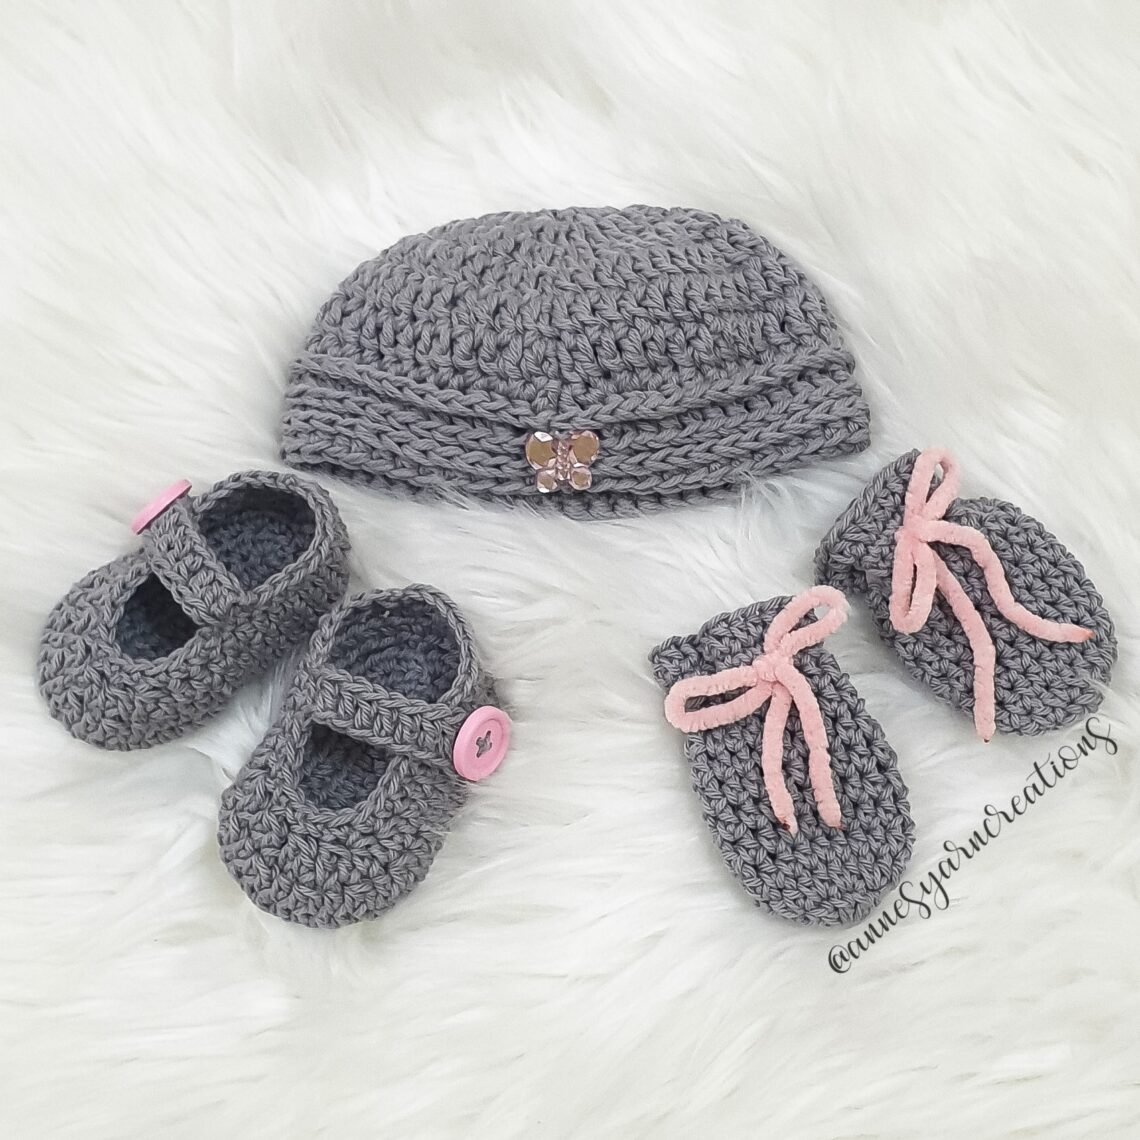
Thus, I started receiving few orders for different handmade products mainly halter tops, beanies, scarves and now these little clothes for newborn. And it turned out so elegantly cute!
I have written the whole pattern on this blog and I’m hoping you’ll like it. The pattern is totally easy and beginner-friendly, you’ll be able to memorize it right after few rows! You can even do it with eyes closed. Haha! Hope you like this pattern…
Legend:
CH – chain
SC – single crochet
HDC – half double crochet
DC – double crochet
SL ST – slip stitch
ST / st – stitch; STs – stitches
Materials:
- DMC 100% Baby Cotton Yarn
- 4.0 mm Crochet Hook
- A pair of scissors
- A tapestry needle
- A stitch marker
- Your own customized handmade labels or colorful buttons (optional)
Making the Newborn Bonnet:
Row 1: Make a ‘Magic Ring’, CH-2, DC-12, then SL ST on top of the first CH-2
***there are lots of videos in YouTube showing how to make a Magic Ring, you may also check it on this link: WikiHow: Crochet A Magic Ring
Row 2: CH-2, DC-2 on every stitch ST around, then SL ST on top of the first CH-2
Row 3: CH-2, (DC-1 on the next ST below, DC-1 on the next ST below, DC-2 on the same next ST below)
**repeat this until the end of the row**, then SL ST
**Total of 32 DCs on this row.
Row 4: CH-2, (DC-1 on the next ST below, DC-1 on the next ST below, DC-1 on the next ST below, DC-2 on the same next ST below)
**repeat this until the end of the row**, then SL ST
**Total of 40 DCs on this row.
Row 5 to Row 7: CH-2, DC-1 on each ST around until end of the row, then SL ST
**Total of 40 DCs on each row.
Row 8 to Row 9: CH-1, HDC on 3rd loop of every ST, do this until end of the row, then SL ST
**Total of 40 DCs on this row.
Row 10: CH-1, SC on 3rd loop of every ST, do this until end of the row, then SL ST
**Total of 40 SCs on this row.
You may also see another variation of this project on this link:
Crochet Bonnet Free Pattern: For Newborns
Making the Newborn Mittens:
Row 1: Make a Slip Knot, CH – 4, sl st on the very first CH
Row 2: CH – 3, DC – 9, SL ST
**Total of 10 DCs on this row
Row 3: CH – 1, HDC – 2 in each ST, SL ST
Row 4 to Row 9: CH -1, HDC -1 on each ST around, SL ST
Row 10: CH – 1, SC – 1 into the base of CH – 1, CH – 2, skip 1 ST, then SC on the next 2 STs,
***(CH – 2, skip 1 ST, then SC – 1 on the next 2 STs)***
**repeat this pattern until end of the row
Row 11: CH – 1, SC – 1 on each ST until end of the row
Row 12: CH – 1, HDC – 1 on each ST until end of the row
Making the Newborn Shoes:
Row 1: Make a Slip Knot, CH – 10, HDC – 2 on the 2nd CH from the hook,
HDC – 1 on each of the next 7 chains, HDC – 6 on the last CH, (while working on the other side of the CH)
HDC – 1 on each of the next 7 chains, HDC – 6 on the very last CH, SL ST
Row 2: CH – 1, HDC – 2 into the first and second ST,
HDC – 1 on each of the next 7 chains, HDC – 2 on each of the next 6 STs,
HDC – 1 on each of the next 7 chains, HDC – 2 on the last 2 STs, SL ST
Row 3: CH – 1, HDC – 2 into the first ST, HDC – 1 into the next ST,
HDC – 2 into the next ST, HDC – 1 into the next ST, HDC – 1 on each of the next 7 STs,
**(HDC – 2 into the next ST, HDC – 1 into the next ST)**
**repeat this pattern for 6 times
HDC – 1 on each of the next 7 chains,
**(HDC – 2 into the next ST, HDC – 1 into the next ST)**
**repeat this pattern for 2 times
then, SL ST.
Row 4: CH – 1, SC – 1, on ech ST until the end of the row, SL ST
Cut the Yarn
Making The Shoe Strap
- Find the middle of the shoe and insert the yarn.
- Make CH – 12, DC – 1 into the 3rd CH from the hook (make DC on back loops only).
- Attach the strap into the shoe by making SL ST.
- Cut the yarn and sew the ends.
- Attach a button on the other side of the shoe then sew.
- Close the shoe by attaching the strip to the button.
The Accessories
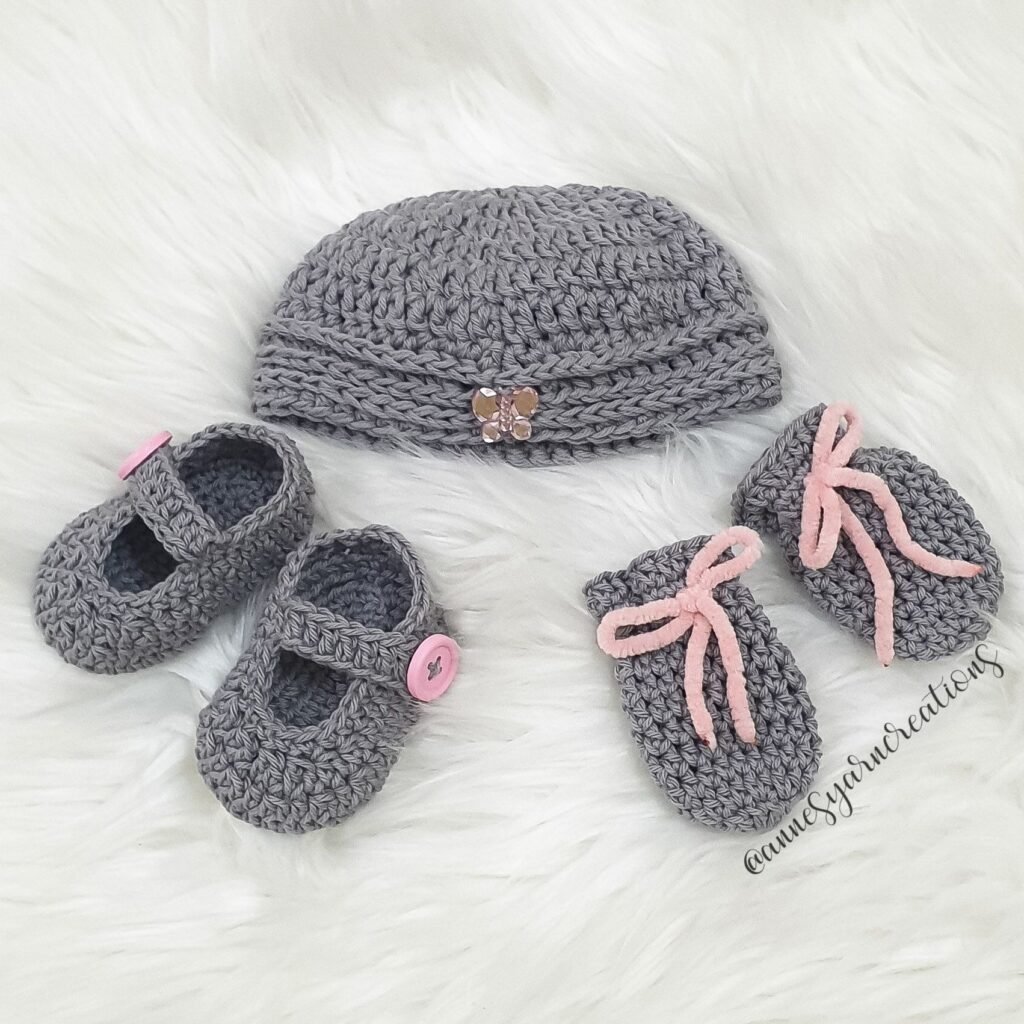
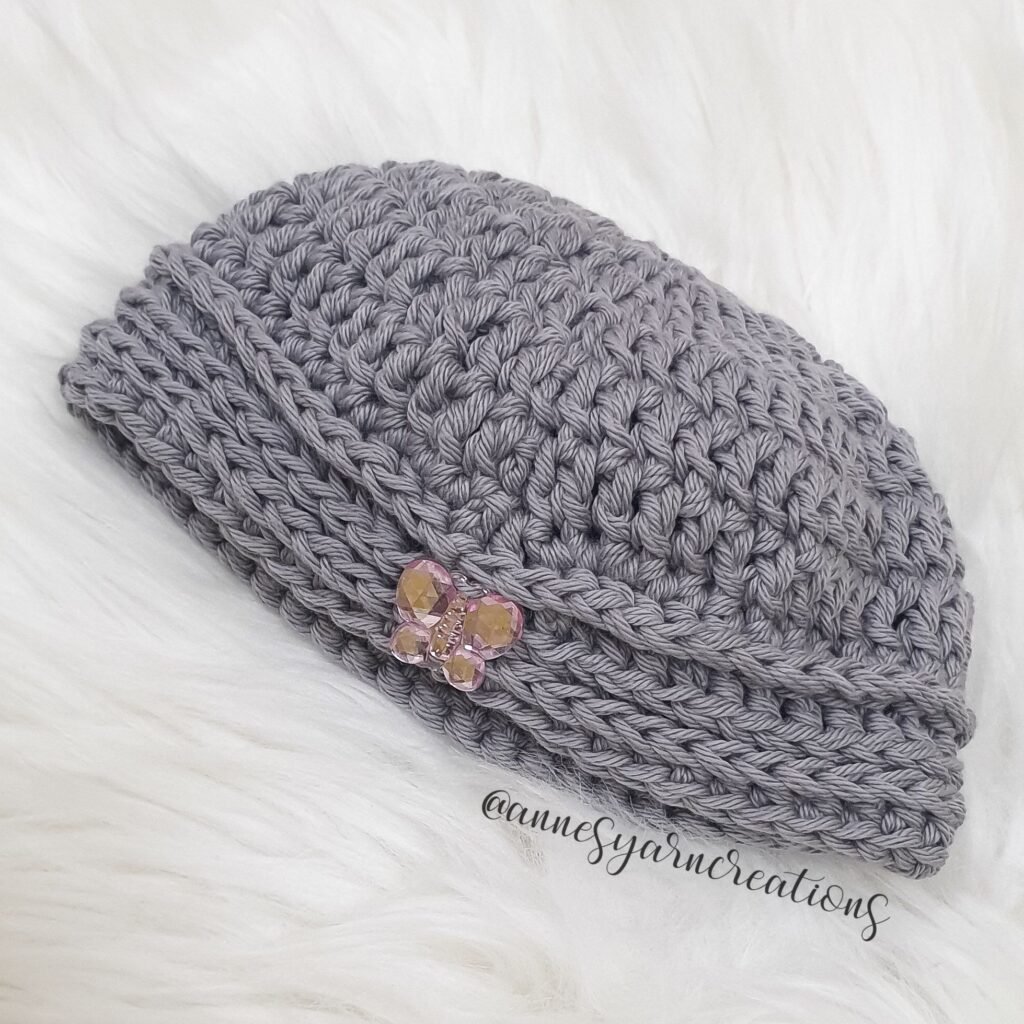
Putting accessories such as colorful buttons, handmade labels and some cute little designs is optional. It’s all up to you, you can even choose the color based on you baby’s gender! 🙂
The End Product
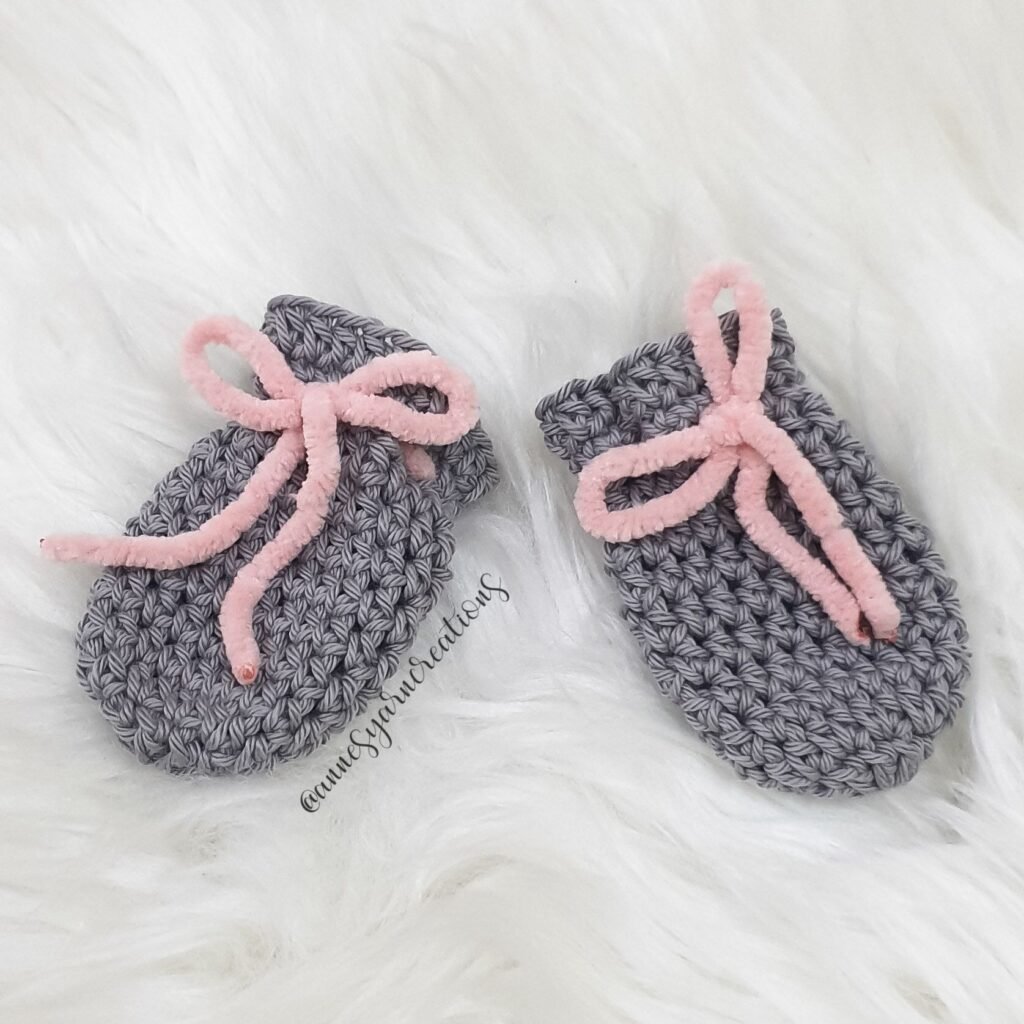
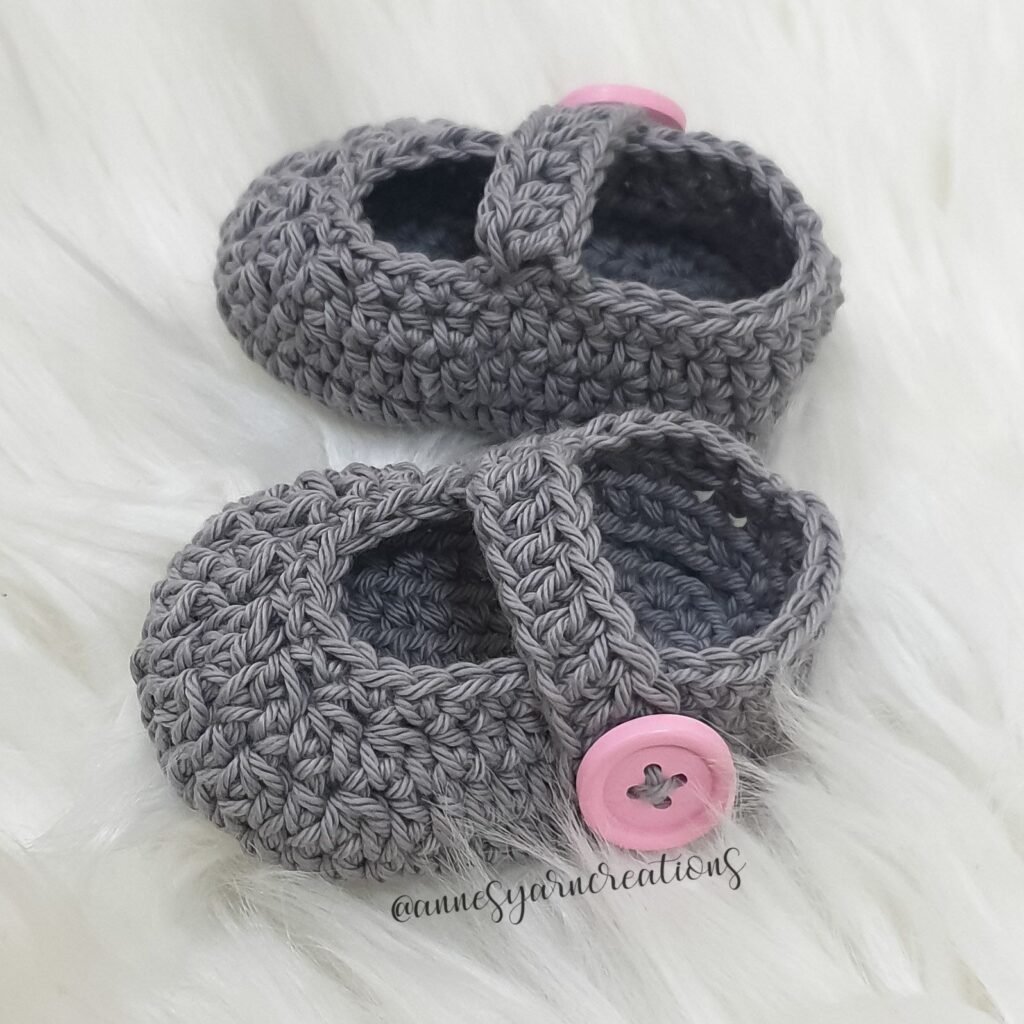
The Takeaway
Finally!! This project is so cute and easy to make. This pattern is also perfect for any gender – either for a baby girl or boy.
Would love to see your projects! You may comment down below and shows us your variations.
Please don’t forget to Like & Follow Anne’s Yarn Creations:
Facebook: Anne’s Yarn Creations
Instagram: @annesyarncreations
Crochet Blanket Free Pattern: Using Harlequin Stitch
Crochet Baby Blanket Free Pattern: ‘Virus Blanket’
Crochet Water Bottle Holder Free Pattern: Mesh
Crochet Water Bottle Holder Free Pattern: Mesh With Shell
Crochet Table Runner Free Pattern: Using Chevron Stitch
Crochet Number ‘One’ Free Pattern
Crochet Baby Frock Free Pattern: Using Shell Stitch
Crochet Baby Dress ‘Minnie Mouse’: Free Pattern
Crochet Kindle Cover Free Pattern
© 2021 by Anne’s Yarn Creations and published with permission by Pinoy Up North. This pattern is for personal use only. You may use the pattern to make unlimited items for yourself, for charity, or to give as gifts. You may sell items you personally make by hand from this pattern. Do not violate Anne’s Yarn Creations’ copyright by distributing this pattern or the photos in any form, including but not limited to scanning, photocopying, emailing, or posting on a website or internet discussion group. If you want to share this pattern, point your friends to this link - https://pinoyupnorth.com/crochet-newborn-bonnet-mittens-and-shoes-free-pattern/. Thanks for supporting freestyle designers!
Originally Published: May 10, 2022
Updated: August 2026


Boy , you just met your mother right now