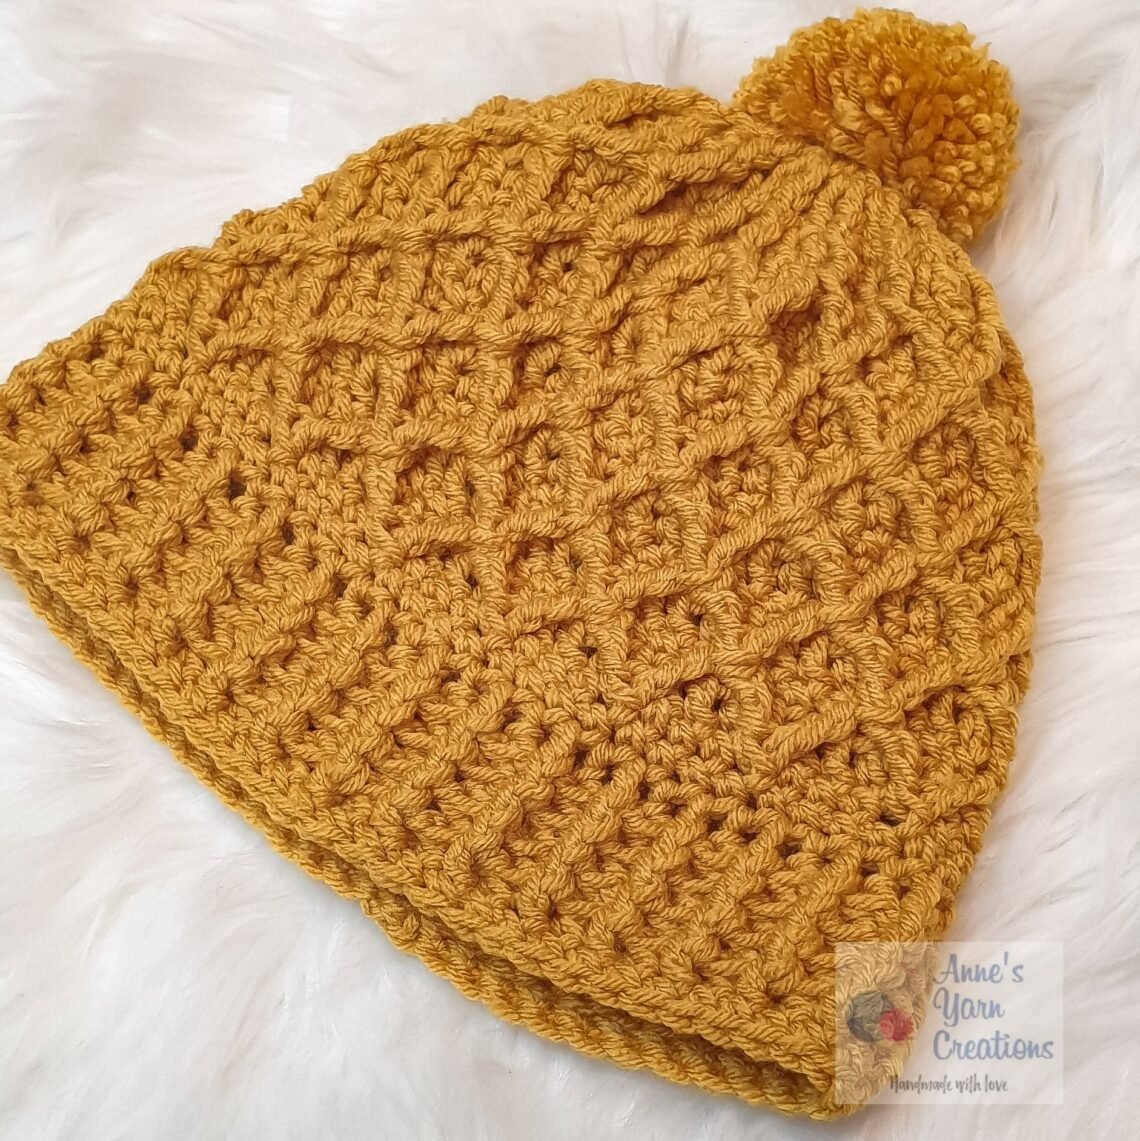
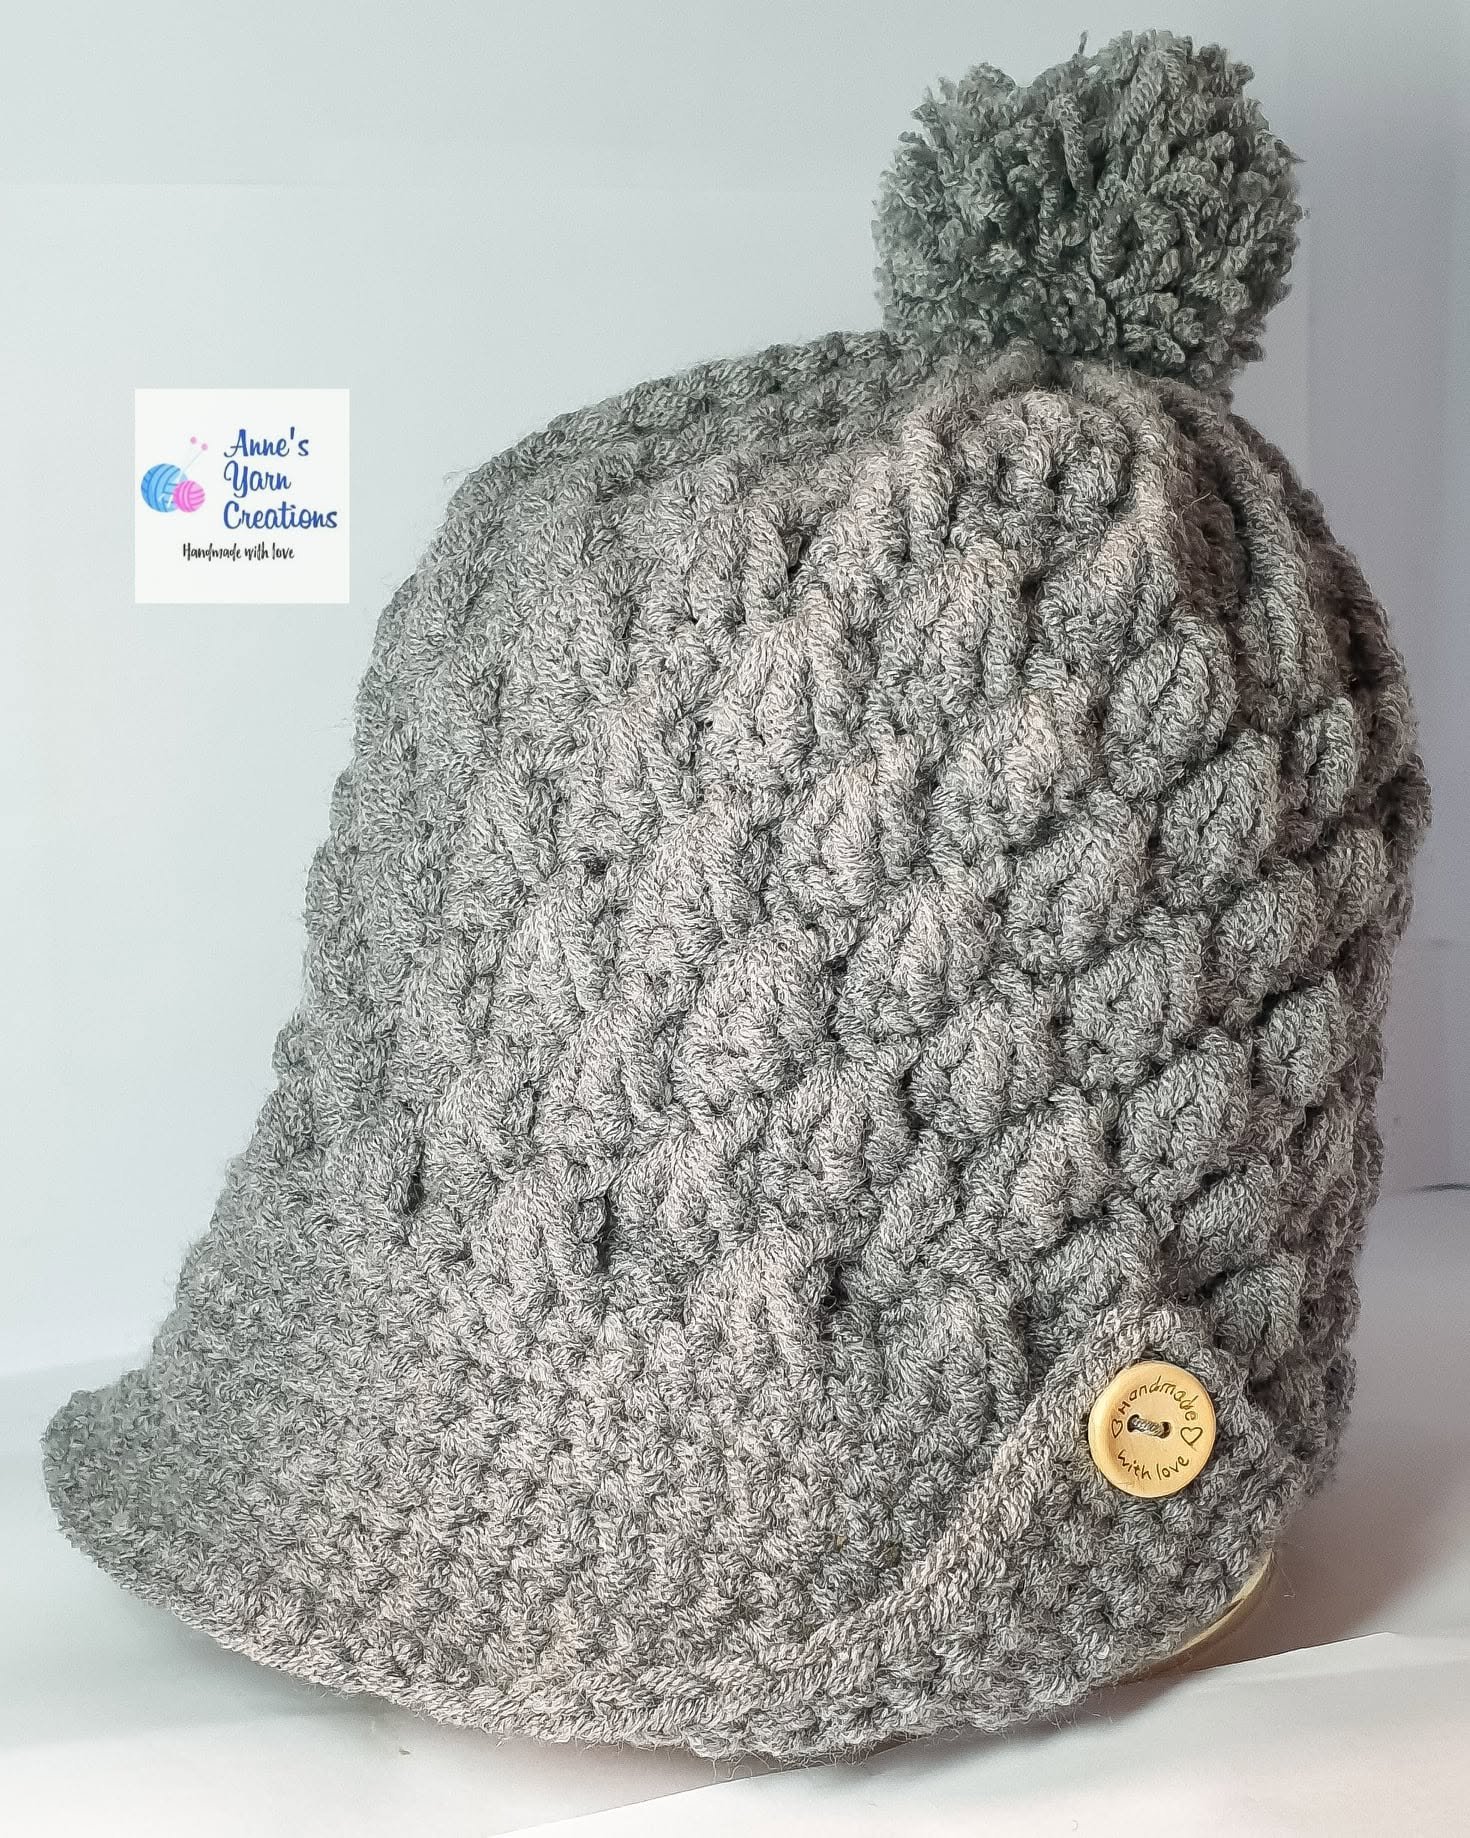
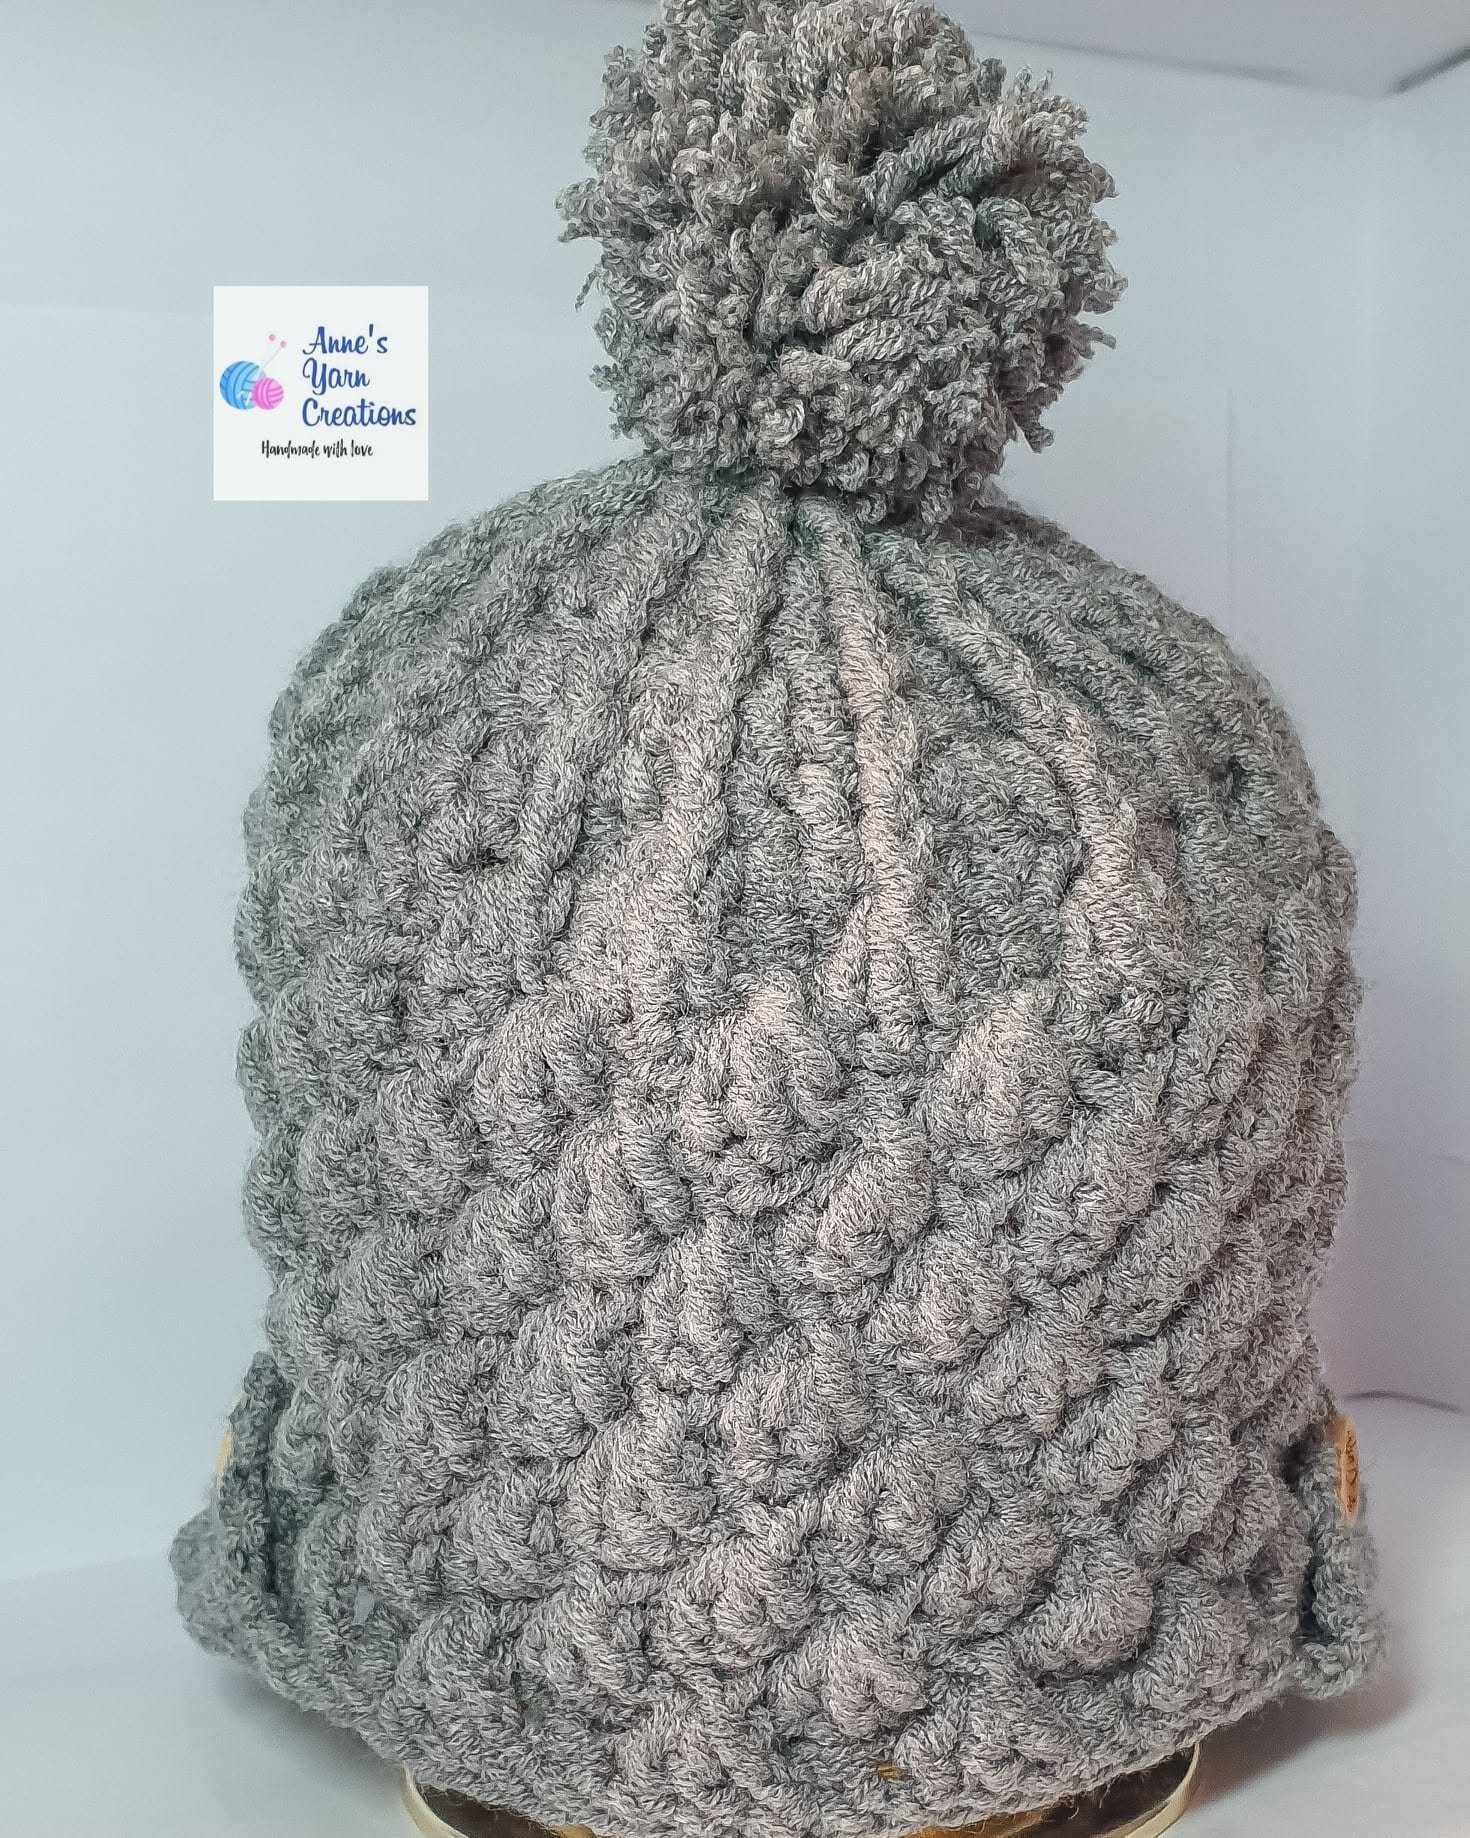
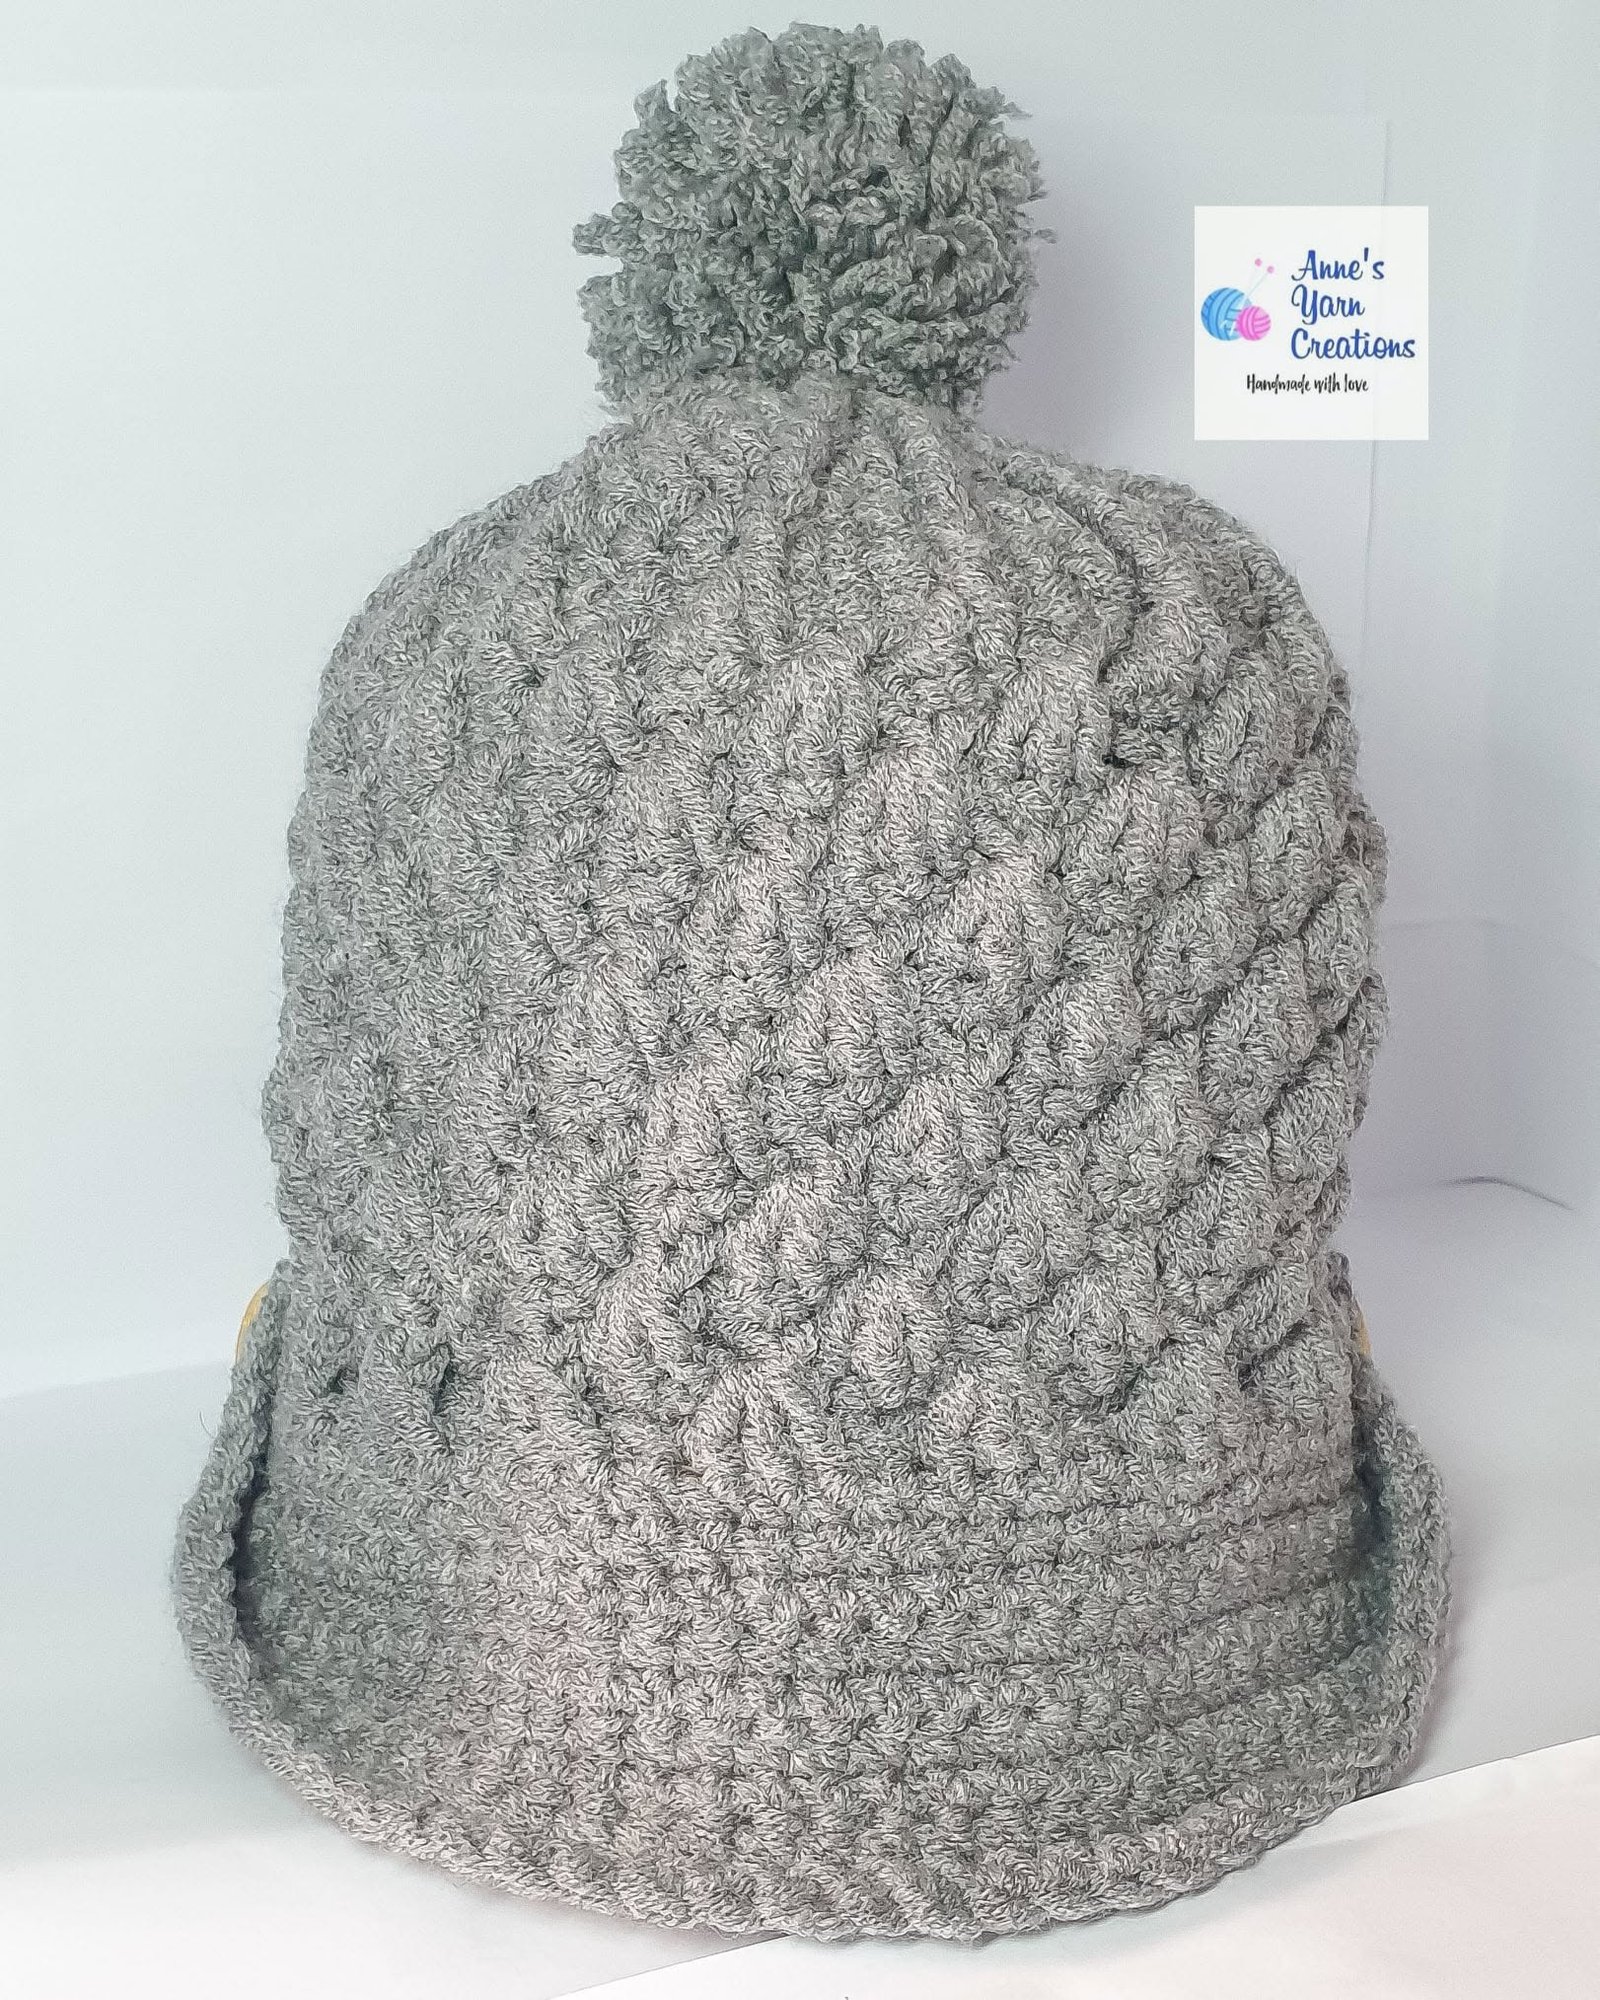
Hello there my fellow crochet lovers! I’m happy to share this free Bonnet pattern using the “Diamond” Stitch. I really love this one so much and for sure you will love it too! It’s called diamond stitch because of the created shape of diamond made after doing several overlapping front-post-trebble-crochet stitches. This may not be the easiest in my beanie tutorials but its appearance is very pretty, elegant and it’s so fun to do!
Legend:
CH – chain
SC – single crochet
HDC – half double crochet
DC – double crochet
TC – triple (“trebble”) crochet
FPDC – front post double crochet
FPTC – front post triple crochet
SL ST – slip stitch
ST / st – stitch
STs – stitches
Materials Used:
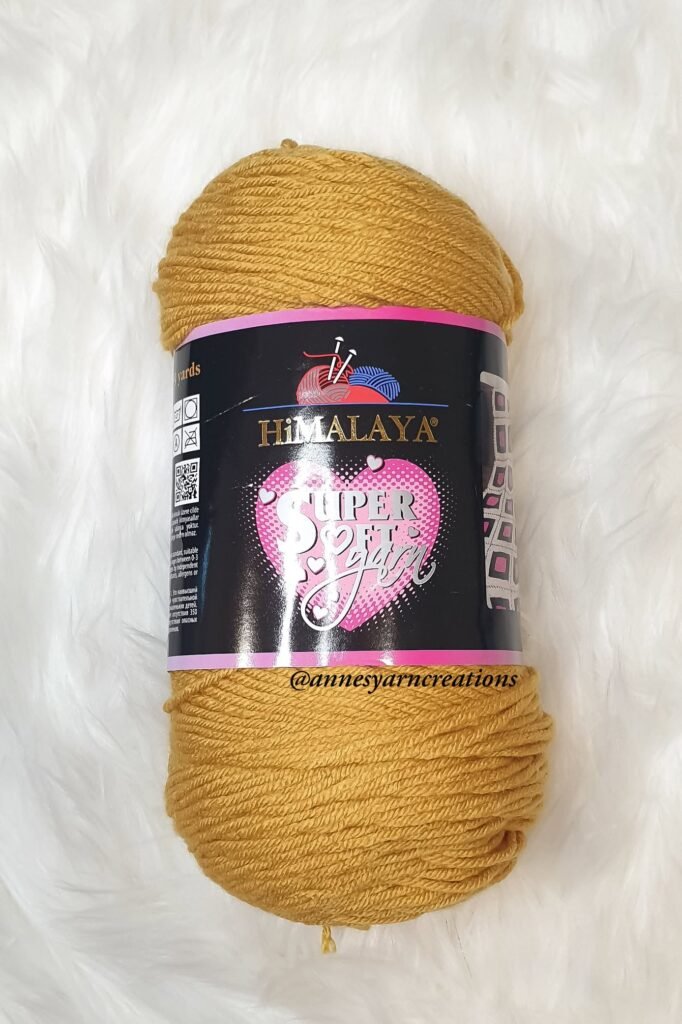
- Himalaya Super Soft Yarn 200 g (you can make 2 Bonnets using this yarn)
- 5.0 mm Crochet Hook
- A pair of scissors
- A tapestry needle
- A stitch marker
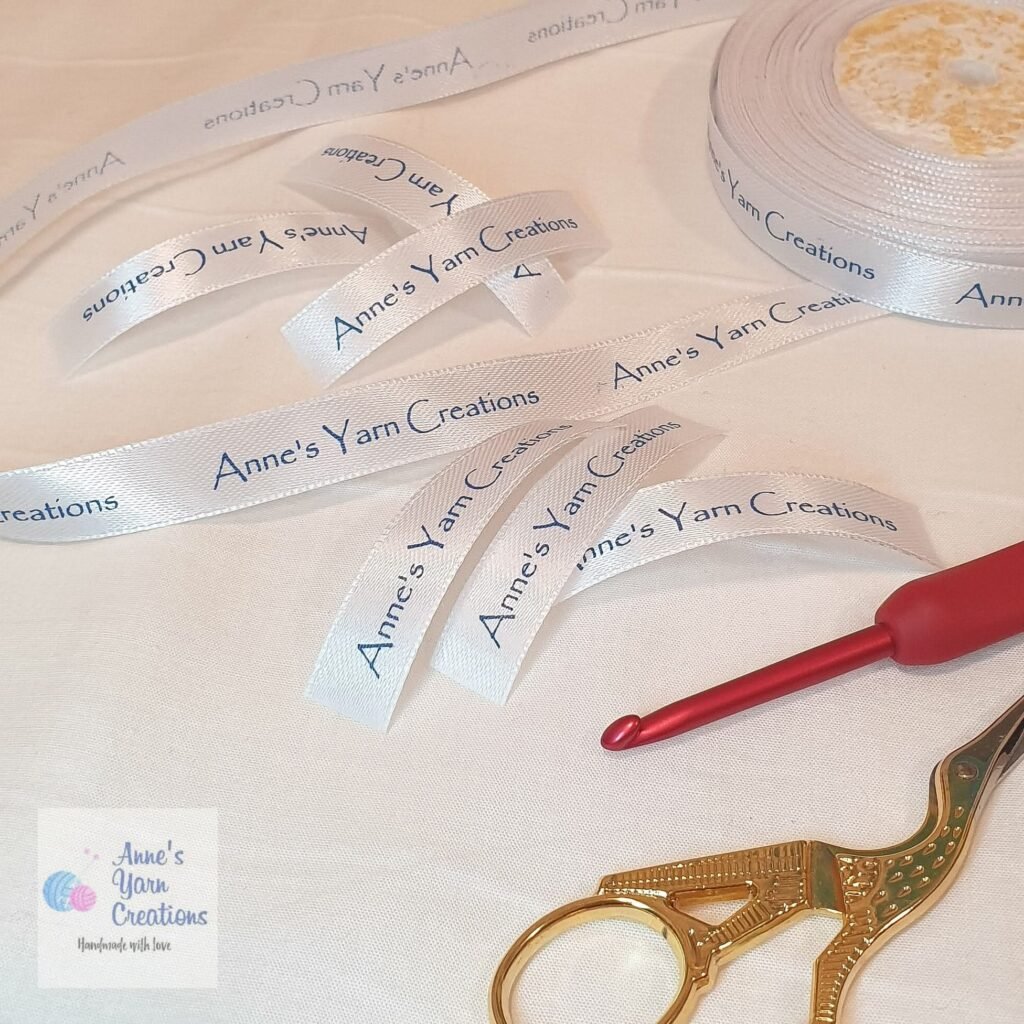
- Your own customized handmade labels (optional)
- Pompom maker (optional, you may also use ready-made pompom which can be bought from craft shops)
Start by making the bonnet:
Row 1: Make a Magic Ring, then make DC-1, 2 inside the ring, pull tight, then SL ST
Total: 12 STs
Row 2: DC-2 on each ST around from Row 1, SL ST
Total: 24 STs
Row 3: CH-1,
[(SC-2 on 1st ST, FPDC-1 on next ST) x repeat 3 times, (SC-1, FPDC-2 on the next same ST)] x repeat this pattern until the end of the row, then SL ST on top of 1st SC
Total: 36 STs
Row 4: (DC-2 on 1st ST, DC-1 on next ST, DC-1 on next ST) x repeat until the end of the row, then SL ST
Total: 48 STs
Row 5: CH-1, SC-1 on same ST,
(FPTC on the 2nd post of FPDC below from Row 3, SC-1 on next 3 STs) x repeat until you complete 4 FPTCs
We have to change the direction of the pattern…
so, on 5th FPTC, do the FPTC on the FPDC 1st post from Row 3,
then, on 6th FPTC, FPTC onf the FPDC on the same 2nd post from Row 3
(SC-1 on the next 3 STs, FPTC on the 2nd post of FPDC below from Row 3, SC-1 on next 3 STs) x repeat this pattern until the end of the row)
***Do not skip to SC on any ST at the back of all FPTCs.
Total: 15 FPTCs with 3 SCs in between each FPTC
Row 6: DC-1 on each STs around, then SL ST
Total: 60 STs (number of stitches will no longer increase from here onwards)
Row 7: CH-1, SC-1 on the first 3 STs,
1/2 (first-half) FPTC (also called FPTC decrease/ FPTC together) on the FPTC below from Row 5,
1/2 (second-half) FPTC ont the next FPTC below from Row 5,
(skip 1 ST, SC-1 on the next 3 STs,
1/2 FPTC on the same post from the previous FPTC made on this row,
1/2 FPTC on the next FPTC below from Row 5)
x repeat this pattern until the end of this row
At the end, do 1 last FPTC on the very first FPTC frpm Row 5, then SL ST
Total: 60 STs
Row 8: DC-1 on each STs around, then SL ST
Total: 60 STs
Row 9: CH-1, SC-1 on the same ST,
1/2 (first-half) FPTC on below 2 FPTCs together (slightly before the ST where you are now,
1/2 (second-half) FPTC on the next 2 FPTCs together,
skip 1 ST, SC-1 on the next 3 STs
( 1/2 (first-half) FPTC on below 2 FPTCs together,
1/2 (second-half) FPTC on the next 2 FPTCs together,
skip 1 ST, SC-1 on the next 3 STs )
x repeat this patter until the end of this row
Total: 60 STs
Repeat pattern from Rows 6 to 9 until it fits the size of your head.
Then, make the Brim part:
Row 1: DC on all STs around until the end of the row, then SL ST
Row 2: (FPDC on first ST, BPDC on the next ST) x repeat until the end of the row, then SL ST
Continue making 4 to 5 more rows of this or as your preferred length.
Last Row: SC on all STs around until the end of the row, then SL ST
Lastly, make the Pompom:
- Begin by wrapping the yarn around one of the arms. Stop when the arm is full and looks like the picture below.
2. Cut your yarn and fold the full side back to the middle. Repeat the wrapping on the other side.
3. Cut your yarn and fold the two arms back to the middle.
4. Now take a pair of sharp scissors and cut around the outside of the pompom maker.
5. Cut a length of yarn approximately, wrap it around the circumference of the circle several times and tie a secure knot. Make sure you leave a long enough tail so that you can sew the pompom to your hat. We recommend you give your pompom a trim to make sure it’s looking .
6. Ta da! You have a big squishy pompom with minimum fuss and maximum fun!
Learn How To Make Pompoms using a Pompom maker.

Finished Product:
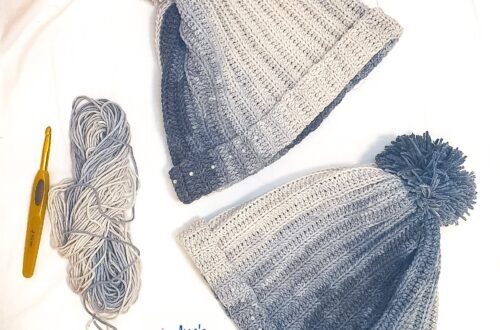
And here’s how it looks after sewing the pompom to the bonnet. Looks cute isn’t it?
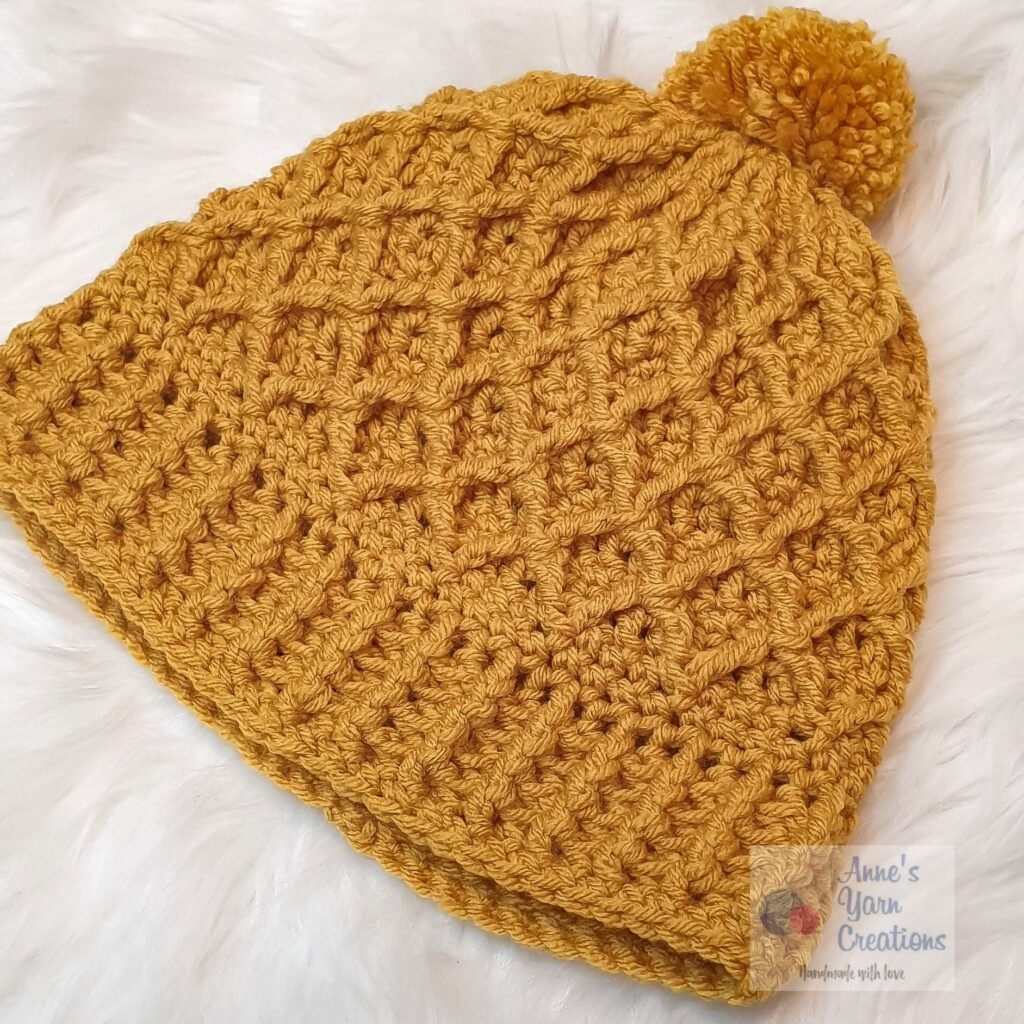
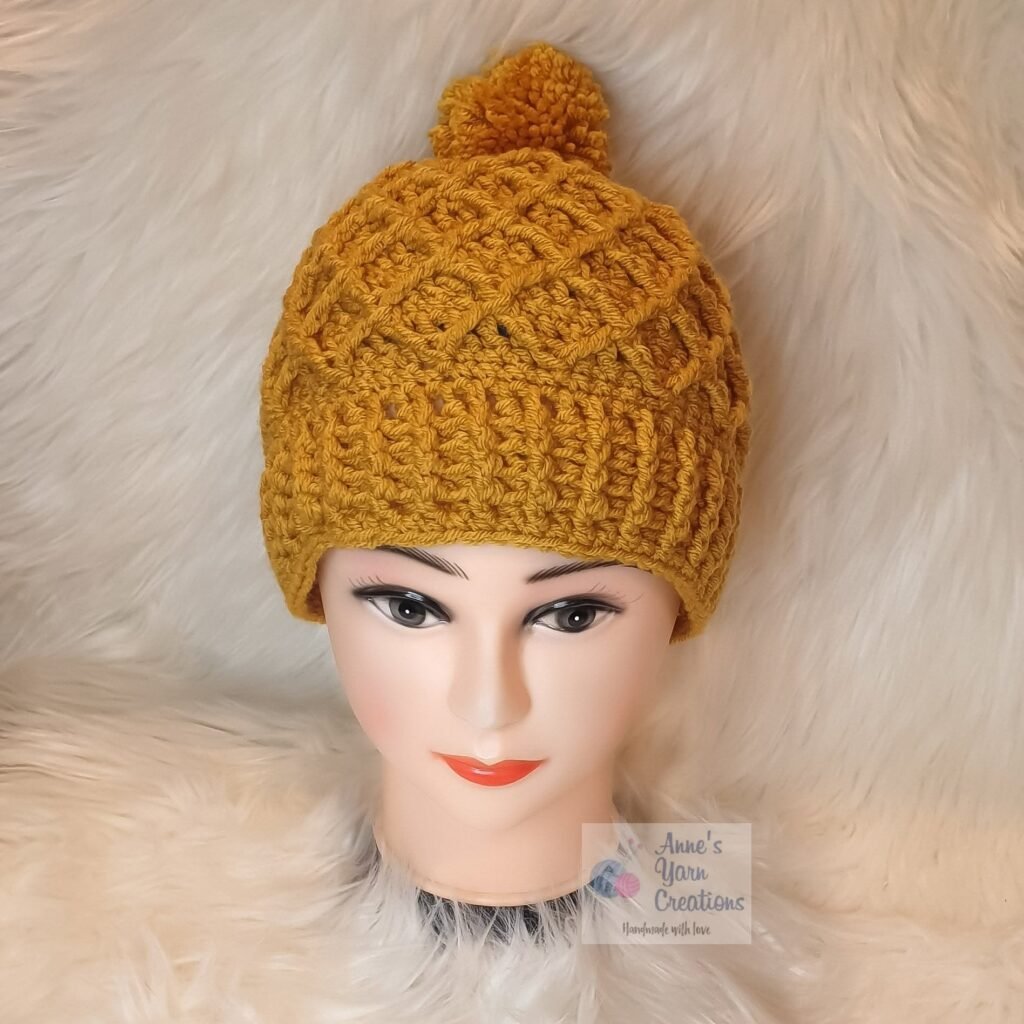
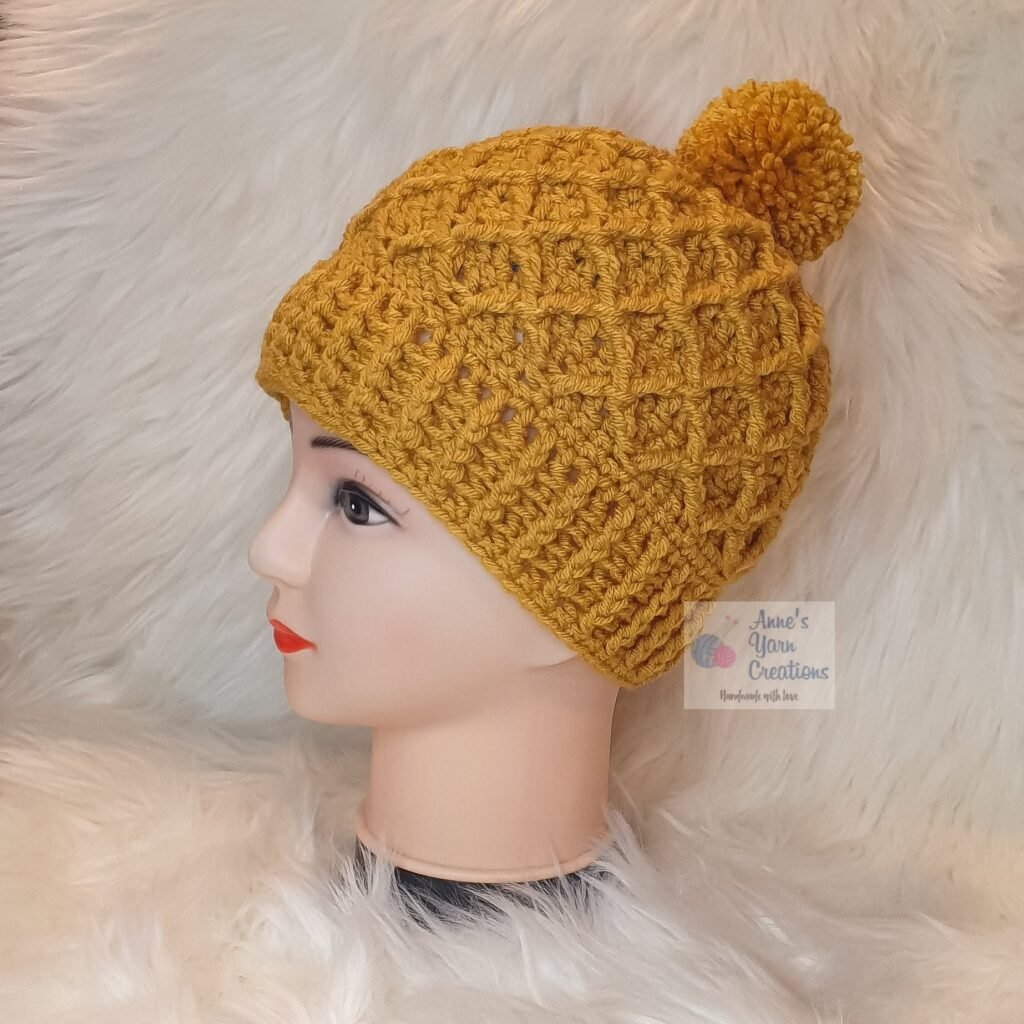
Finally!! This project is so lovely and easy to make, it is so light, comfy and soft.
This pattern is really simple. It will only take an hour or two to finish one project. And you can use one ball of yarn to make two of these cute yet elegant Bonnets!
Would love to see your projects! You may comment down below and show us your variation.
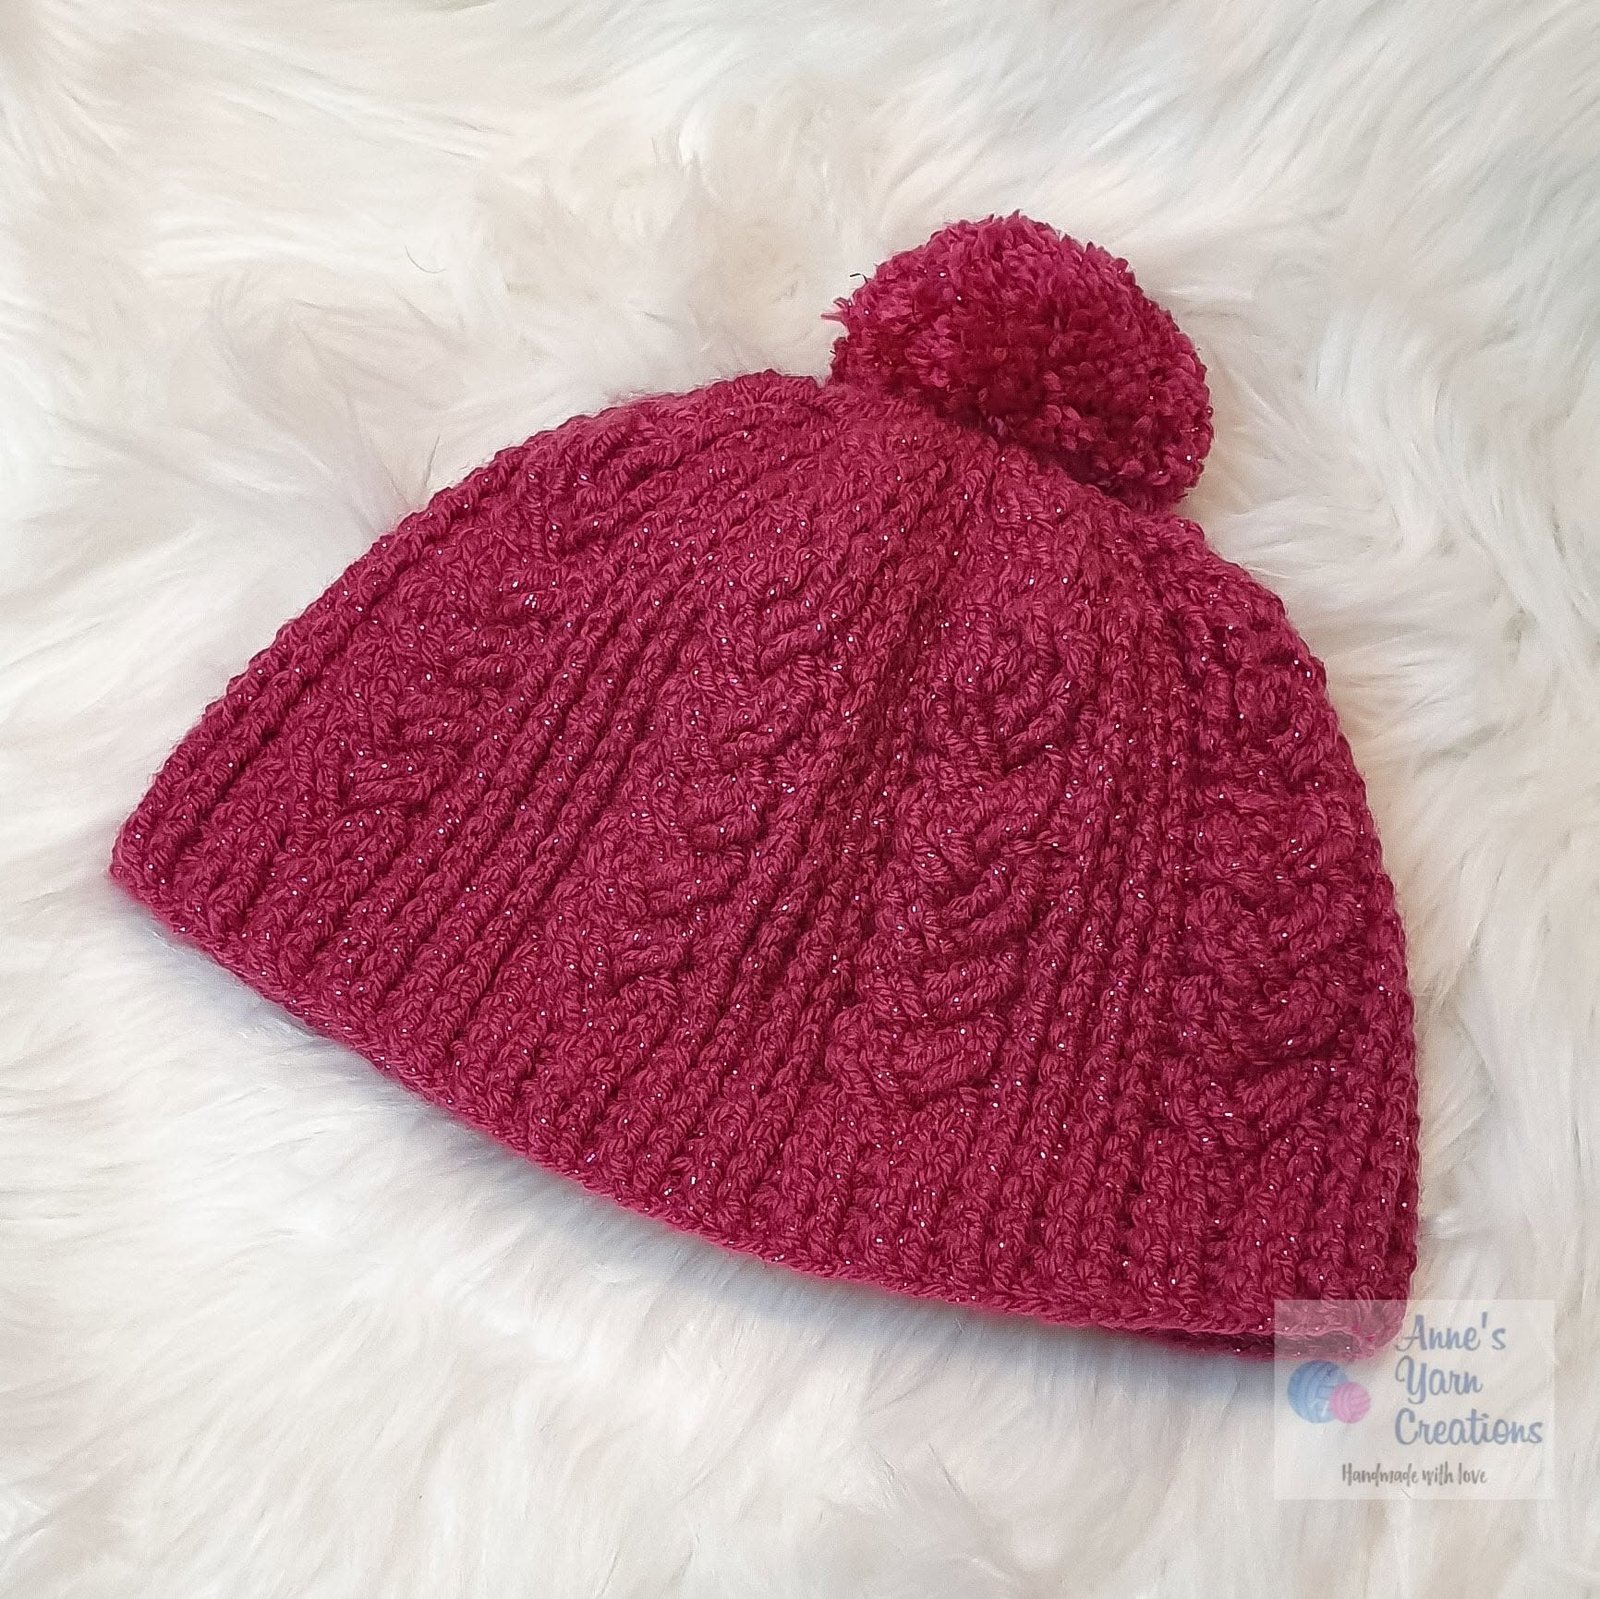
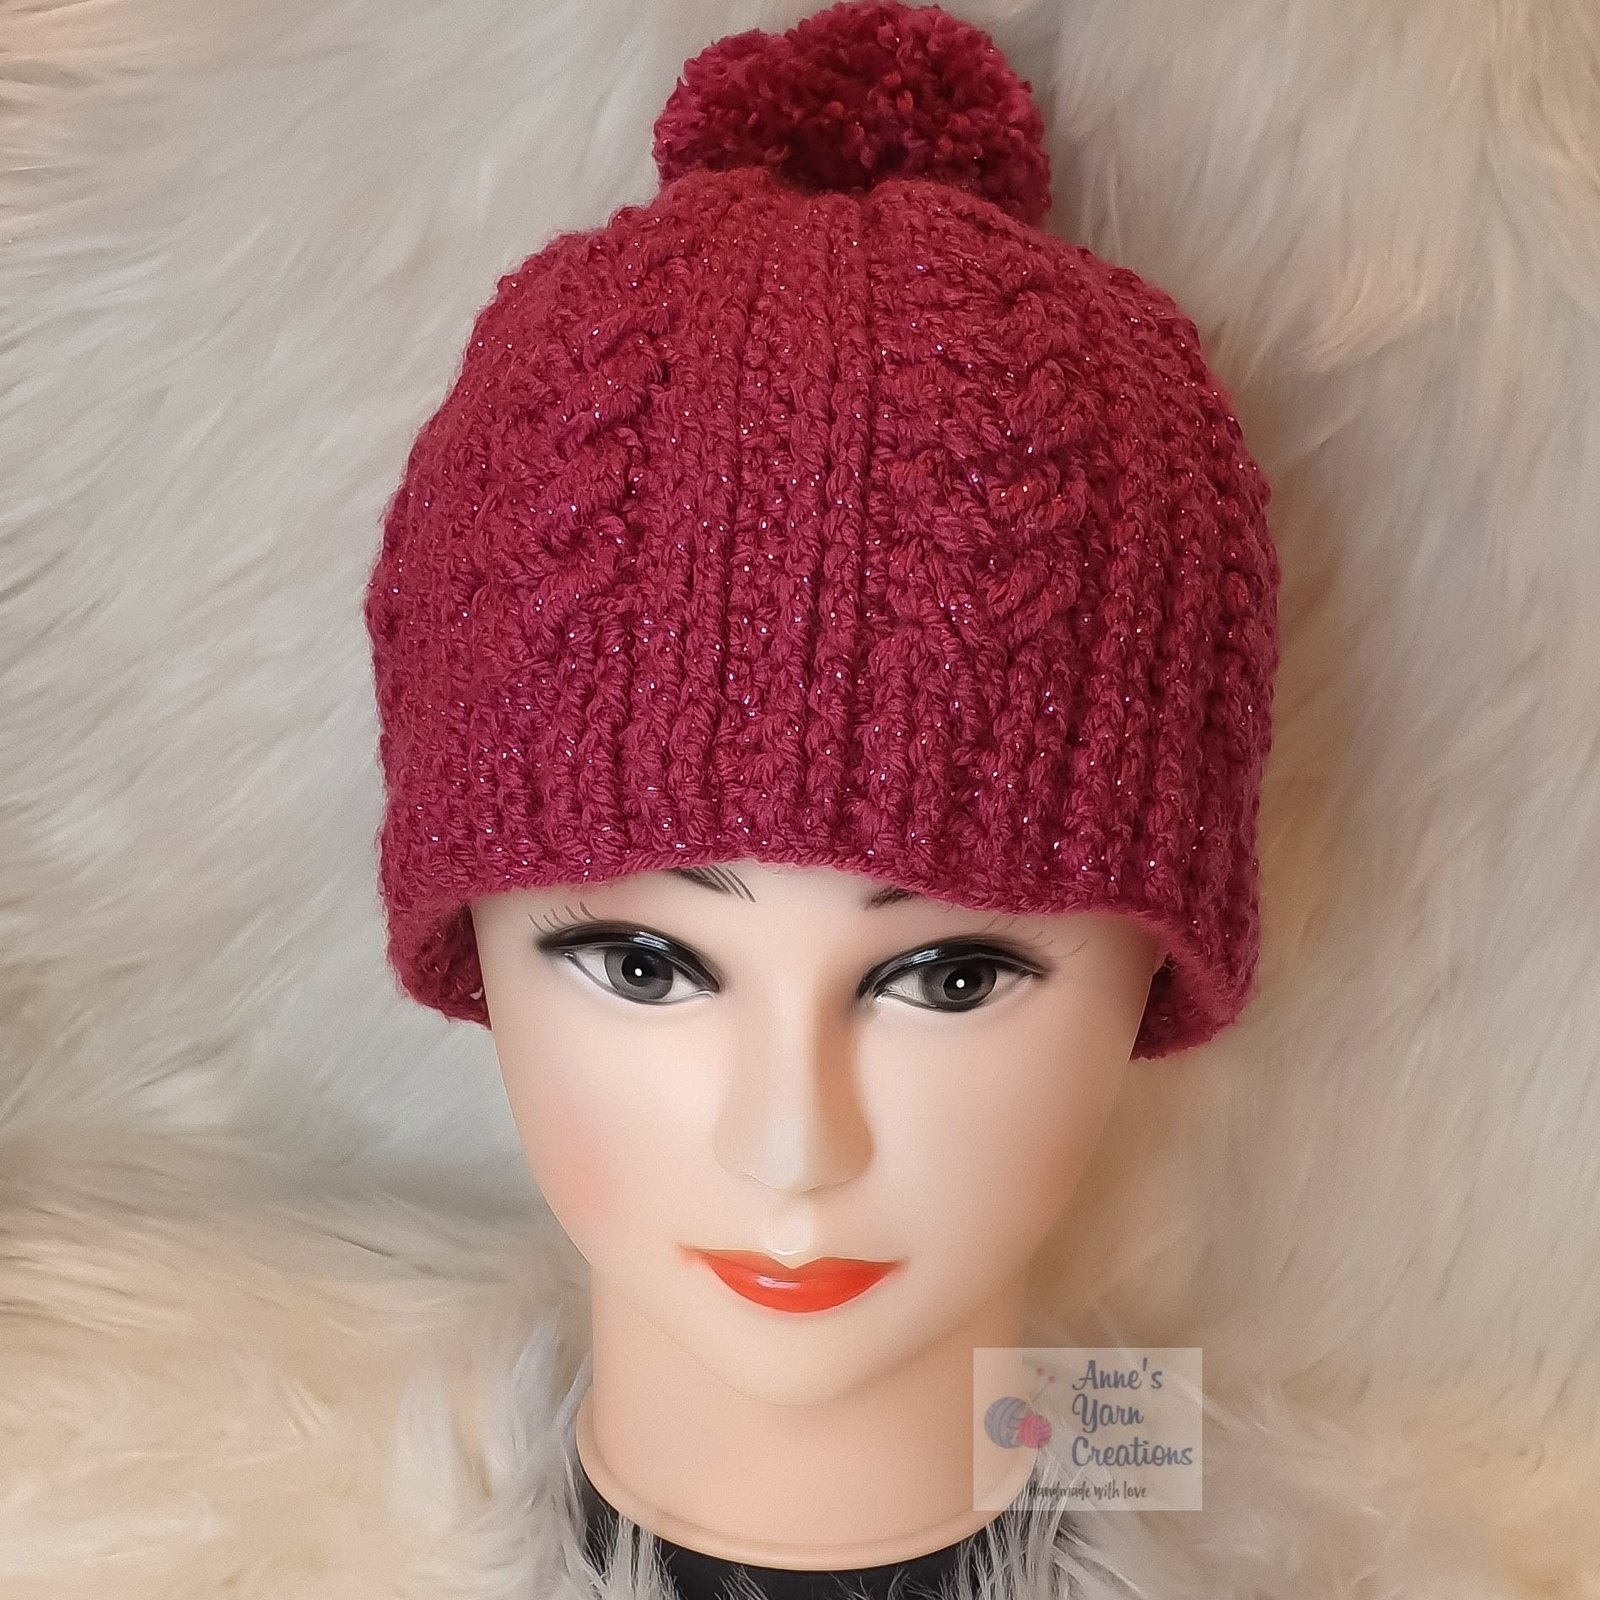
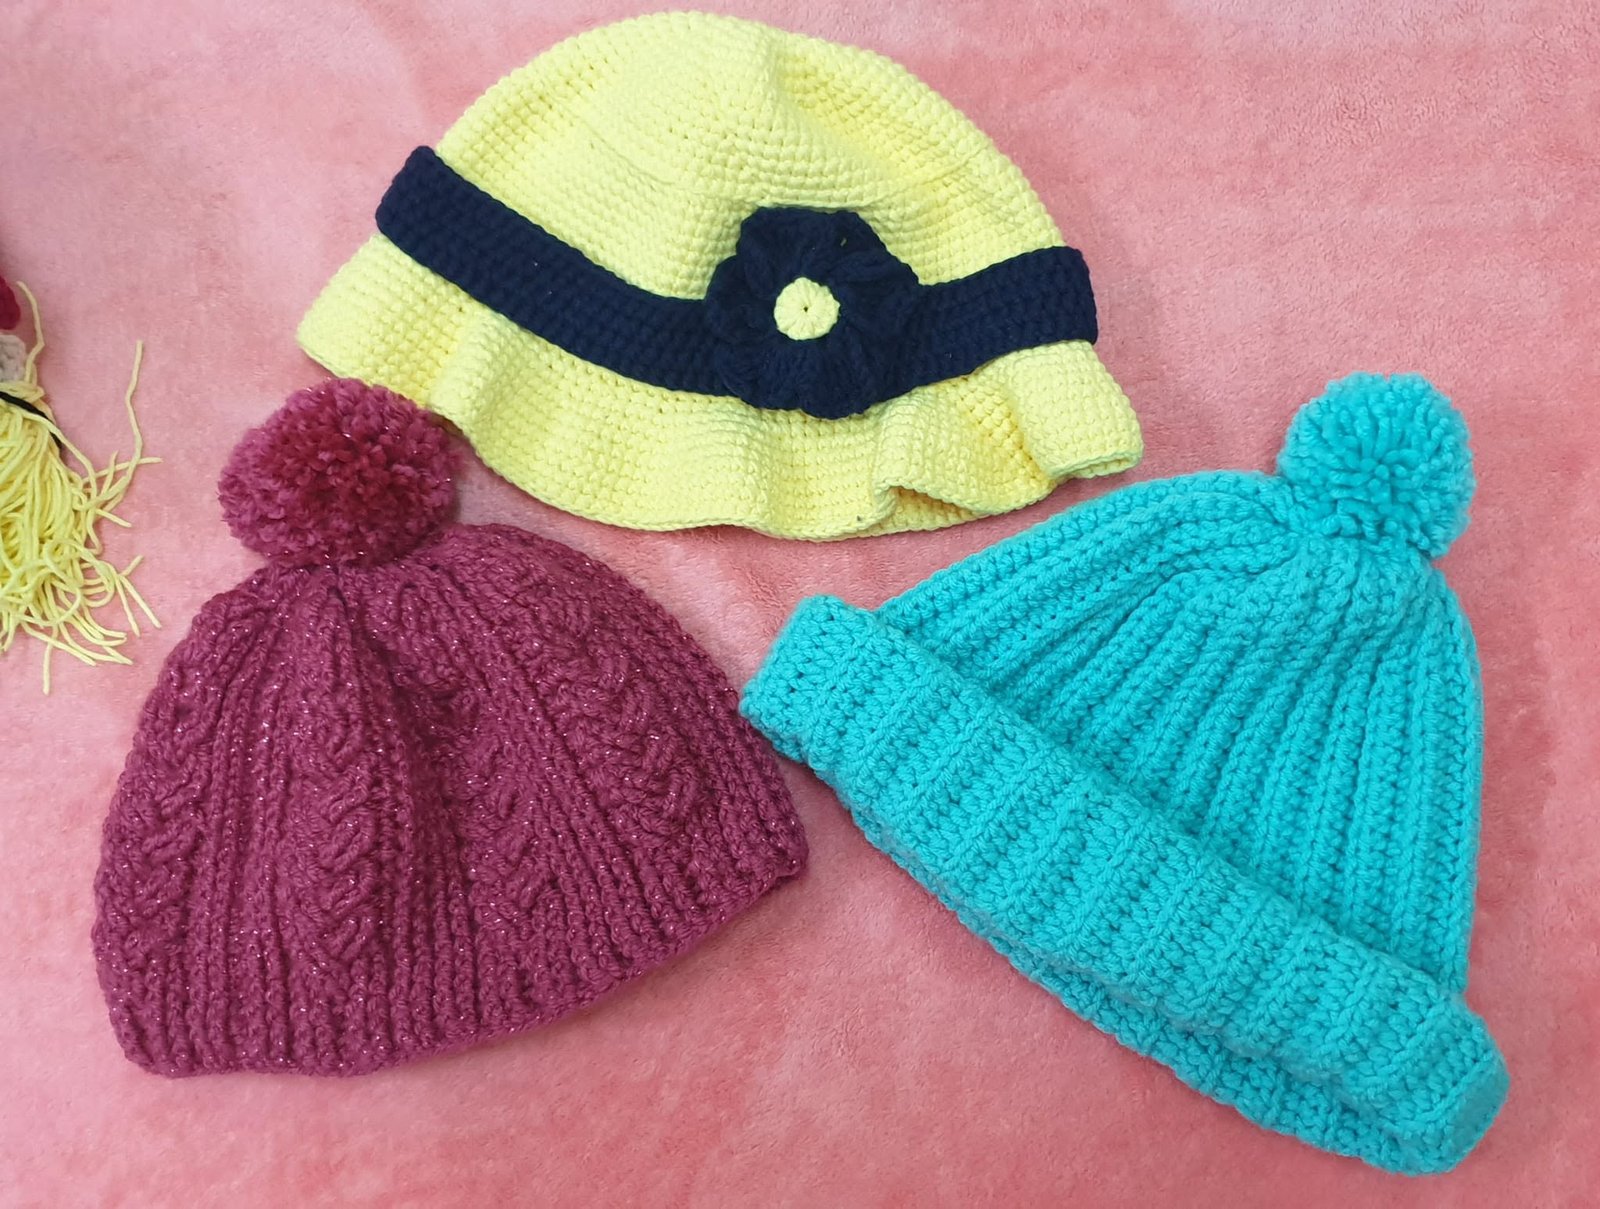
Our Other Bonnet Designs:
Please don’t forget to Like & Follow Anne’s Yarn Creations:
Facebook: Anne’s Yarn Creations
Instagram: @annesyarncreations
Crochet Halter Top Free Pattern: Creamfringe Design
Crochet Flower Pot Pattern: The Beauty of Handicrafts
Crochet Coasters Using Granny Square Stitch
Crochet Scarf Using Basic Pattern
My First Ever Crochet Project
© 2021 by Anne’s Yarn Creations and published with permission by Life Mag Health. This pattern is for personal use only. You may use the pattern to make unlimited items for yourself, for charity, or to give as gifts. You may sell items you personally make by hand from this pattern. Do not violate Anne’s Yarn Creations’ copyright by distributing this pattern or the photos in any form, including but not limited to scanning, photocopying, emailing, or posting on a website or internet discussion group. If you want to share this pattern, point your friends to this link: https://pinoyupnorth.com/crochet-bonnet-free-pattern-using-the-diamond-stitch/. Thanks for supporting freestyle designers!
Originally Published: September 28, 2021
Updated: August 2026



It isn’t a promo, there’s 6 chapters