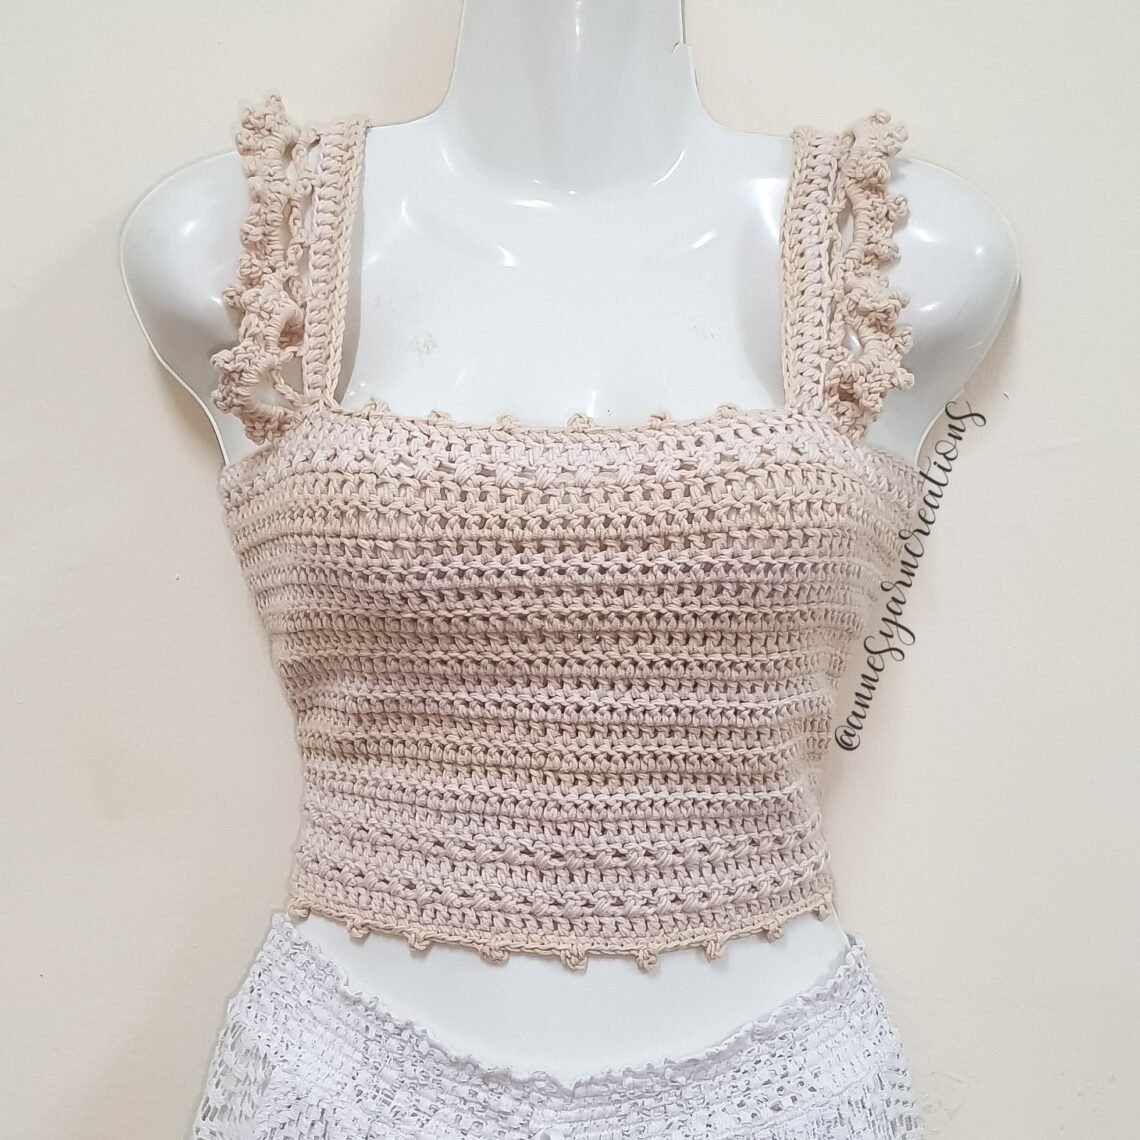
It’s a hot, hot, hot summer so far, so it’s the perfect time crochet a little summer halter top to keep cool. These fun little tops are very trendy right now. Even I personally love to wear these!
This cute halter top can do multiple functions for everyone since it can serve as a crop top, a cover up for your swimsuit or even as an insert for the low neckline blouse that one cannot seem to wear because of the plunging neckline that shows too much. It is secured using ties around the body and the neck.
Perfect for hot weather, beach days and layering, these free crochet halter top patterns make quick summer projects. Many of these patterns include plus sizes and I have tried to include that size information in the descriptions to make it easier for you to find them!
Have fun making and wearing these!
Legend:
CH – chain
SC – single crochet
DC – double crochet
CDC – cross double crochet
SL ST – slip stitch
ST / st – stitch
**repeat the same pattern until the end of the row**
Materials Used:
- Alize Cotton Gold Yarn (I have used 2 and half yarn with the 5th color on pic below in two shades – light and dark cream)
- 4.0 mm Crochet Hook
- A pair of scissors
- A darning needle
- A stitch marker
ETIMO Red Crochet Hook Set: Product Review
Customized Labels For Your Handmade Products: Where To Get
The Start
Row 1
Slip Knot, CH – 122 (about 22 inches in length, you may decrease/ increase as per your desired length, just make sure, it’s an even number, and that it fits the bust size),
Skip 2 CH, DC – 1 on each ST until the end of the row
Row 2
CH – 2, turn your work around, DC – 1 on next ST, CDC on the next 2 STs, DC – 1 on the last remaining ST
Row 3
CH – 2, DC – 1 on each ST until the end of the row
Row 4
Repeat ‘Row 2’ pattern (with CDC)
Row 5 to Row 19
Repeat ‘Row 3’ pattern (DC only)
Row 20
Repeat ‘Row 2’ pattern (with CDC)
Row 21
Repeat ‘Row 3’ pattern (DC only)
The Side Edges
Row 1
CH – 2, DC – 1 on each ST until the of the row
Row 2
CH – 2, turn your work around, DC – 1 on each ST until the end of the row
**repeat the same pattern on the other side
The Right Sleeve
- Attach your stitch marker, then CH – 84 (14 inches length or as desired)
- SL ST into the back part of the top
- SL ST into the 3 STs (from the DC row)
Row 1
Turn your work around, DC until end of chain, DC-SL ST on the back part of the top
Row 2
SL ST into the first 3 STs (from the DC row), then turn your work around, DC – 1 on each ST until the end of the row, DC-SL ST at the end
Row 3
CH – 1, turn your work around, DC – 1, **CH – 6, skip 3 sts, SC into the 4th ST**
**repeat the same pattern until the end of the row**
Row 4
CH – 2, turn your work around, DC – 1 on each of the next 2 sts, **CH – 6, SC into the next CH – 6 space**
**repeat the same pattern until the end of the row**
Row 5
CH – 2, turn your work around, DC – 1 on each of the next 2 sts,
**DC – 1, into the CH – 6 space, CH – 2, SL ST into the 1st CH,
DC – 3 into the same CH – 6 space, SL ST into the next CH – 6 space**
**repeat the same pattern until the end of the row making sure you have 10 DCs on each CH – 6 space**
On the last ST, make DC into the next 2 STs, CH- 1, then cut-off the yarn.
The Left Sleeve
- Use the same pattern as the right sleeve
- But attach the yarn, from the back side of the top
The Edgings
- Attach the yarn beside the right sleeve, CH – 1
- **SC into the next 4 STs, CH – 3, SL ST into the base of CH – 3 (picot stitch)**
- **Repeat the same pattern until end of the row**
- At the end, SL ST, CH – 1, then cut off the yarn
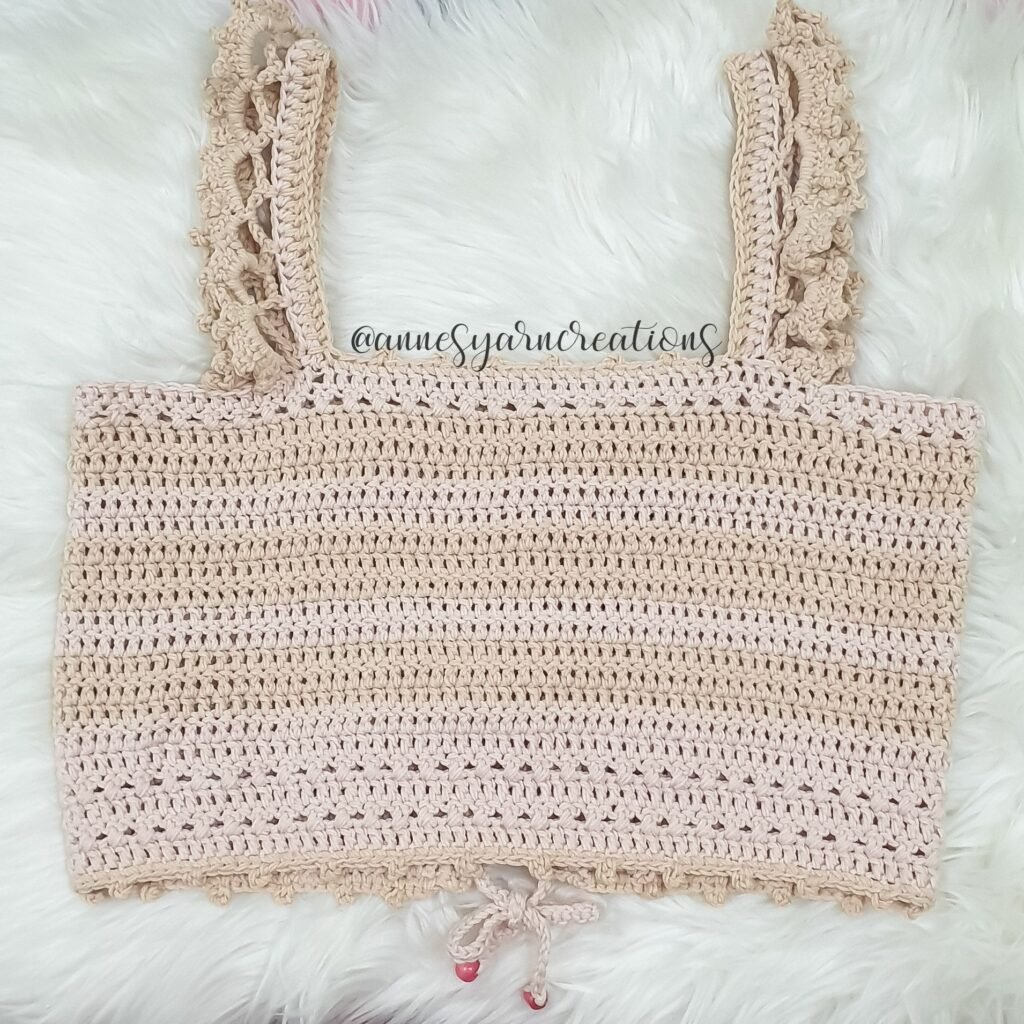
The Back Lace
Make CH – 300, SL ST on each chain until the starting CH
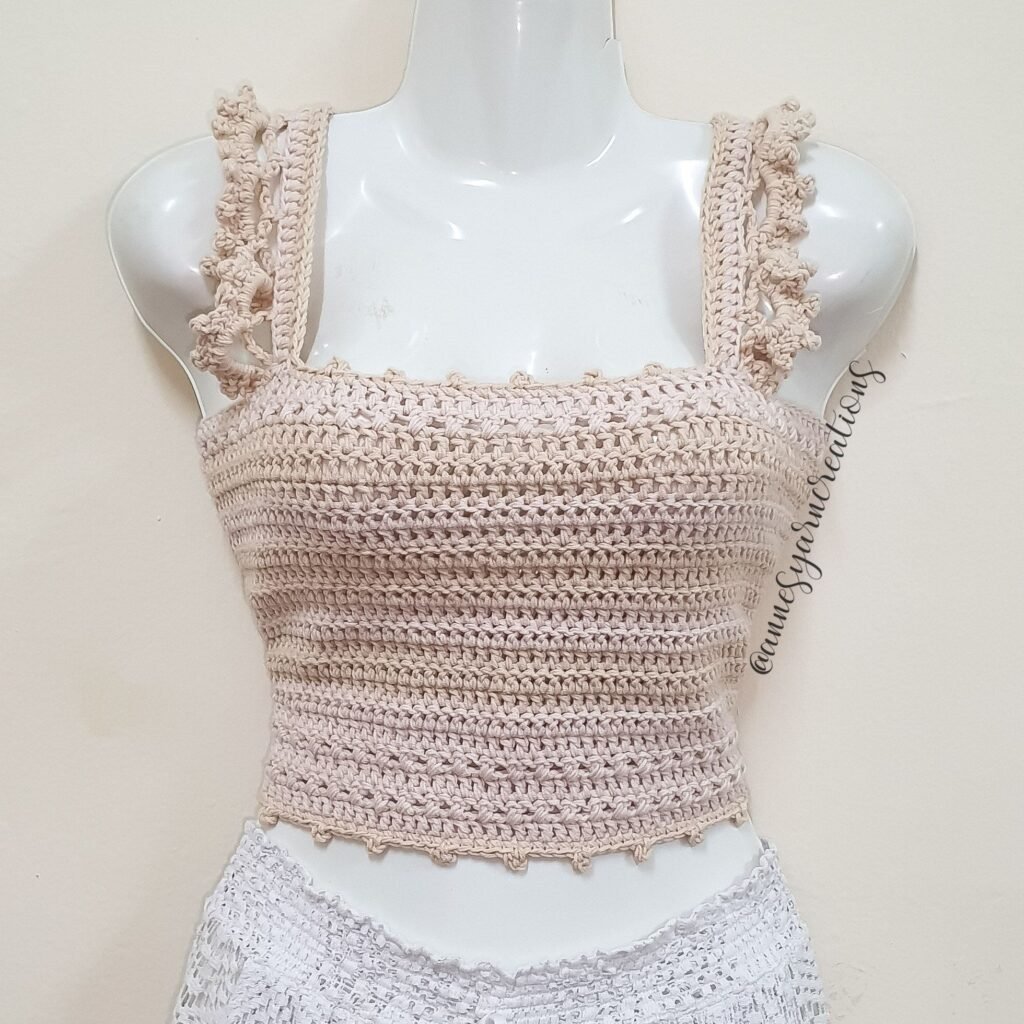
The End Product
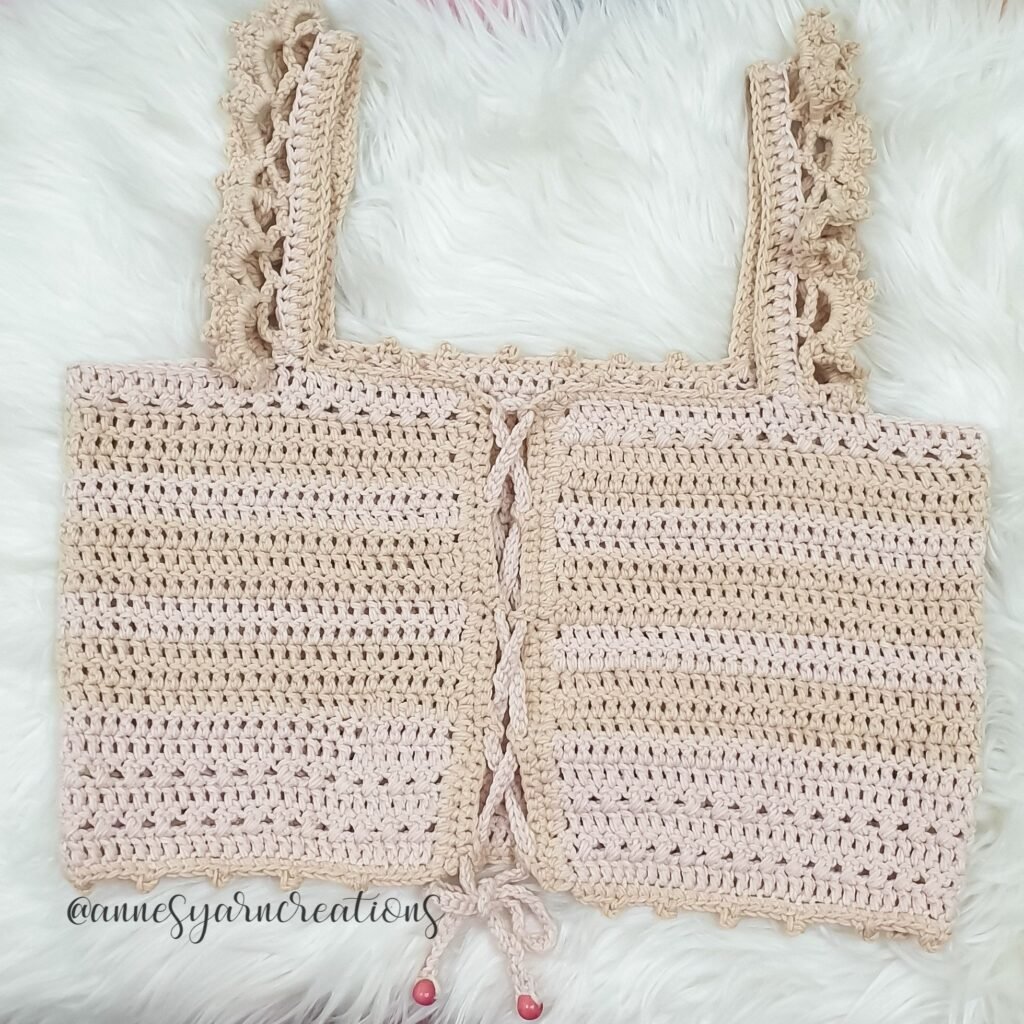
The Takeaway
Finally!! This project is so lovely and easy to make, the top is light, airy and revealing enough for the beach, but still gives enough cover to wear around town.
Would love to see your projects! You may comment down below and shows us your variation.
Please don’t forget to Like & Follow Anne’s Yarn Creations:
Facebook: Anne’s Yarn Creations
Instagram: @annesyarncreations
14 Surprising Health Benefits of Knitting And Crocheting
Crochet Flower Pot Pattern: The Beauty of Handicrafts
Crochet Coasters Using Granny Square Stitch
Crochet Scarf Using Basic Pattern
My First Ever Crochet Project
Crochet Baby Dress ‘Minnie Mouse’: Free Pattern
Crochet Kindle Cover Free Pattern
Crochet Halter Top Free Pattern: Creamfringe Design
© 2021 by Anne’s Yarn Creations and published with permission by Life Mag Health. This pattern is for personal use only. You may use the pattern to make unlimited items for yourself, for charity, or to give as gifts. You may sell items you personally make by hand from this pattern. Do not violate Anne’s Yarn Creations’ copyright by distributing this pattern or the photos in any form, including but not limited to scanning, photocopying, emailing, or posting on a website or internet discussion group. If you want to share this pattern, point your friends to this link - https://pinoyupnorth.com/crochet-newborn-bonnet-mittens-and-shoes-free-pattern/. Thanks for supporting freestyle designers!
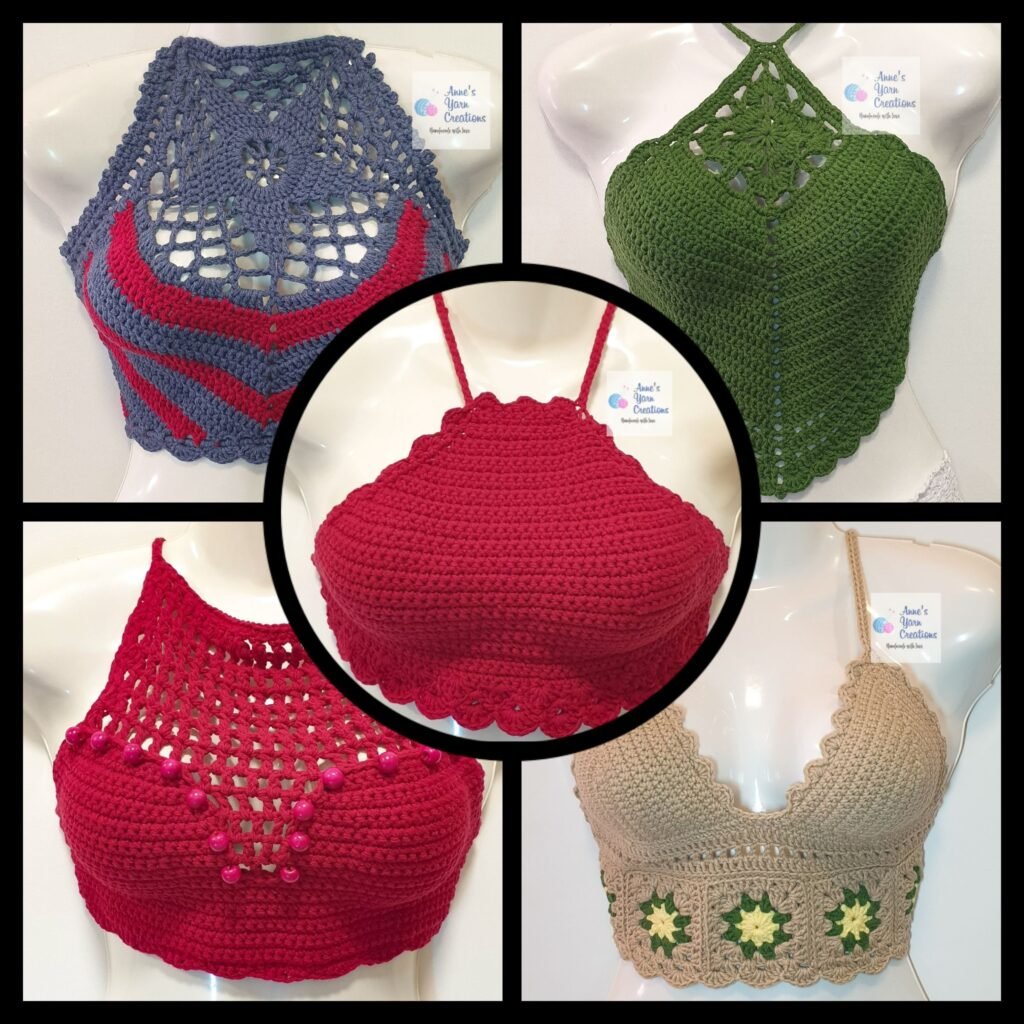
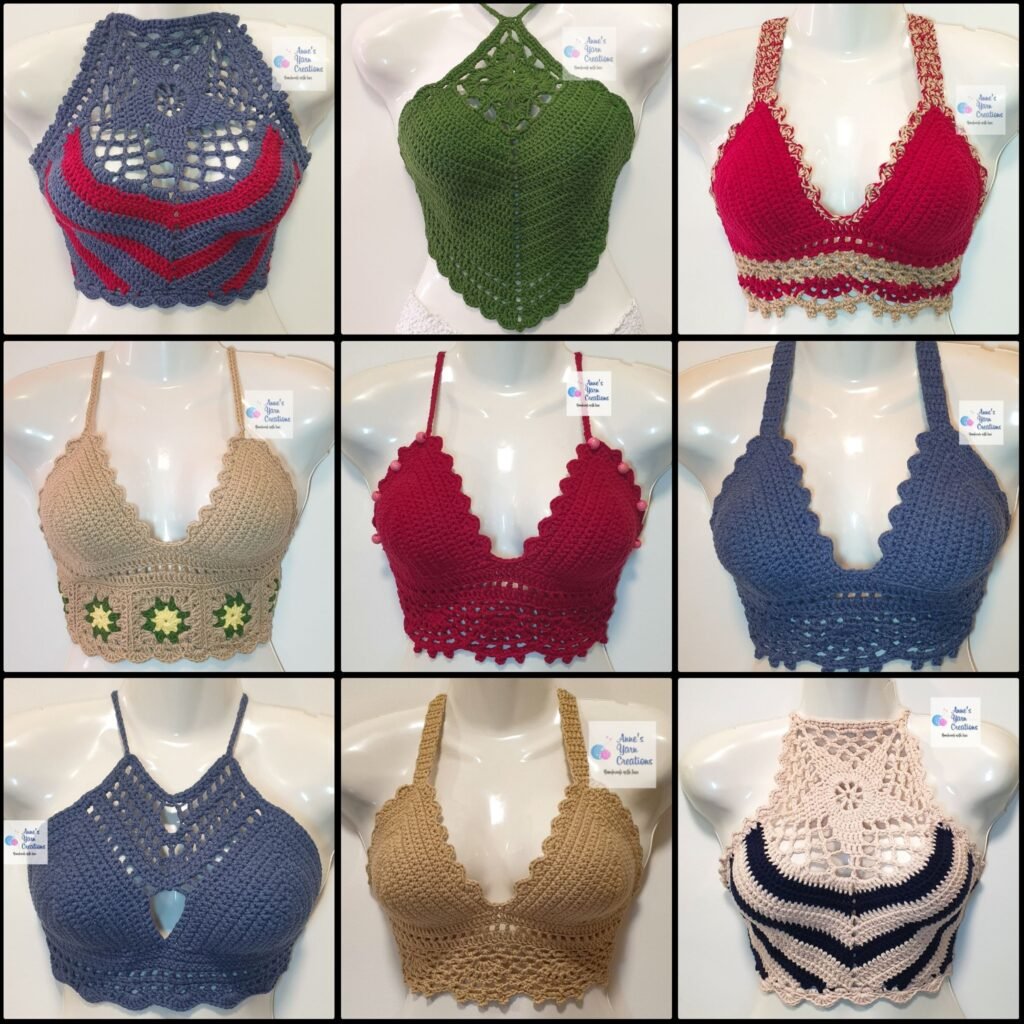
Anne’s Yarn Creations other Halter Top designs:
Originally Published: May 11, 2022
Updated: August 2026


One comment on “Crochet Halter Top Free Pattern: Ruffled Lace Design”