Hello there my fellow crochet lovers!
Ever since, I and my husband found out that we’re going to have a baby girl, I couldn’t stop myself but to create crochet items for our little one – may it be a blanket, a dress, a bonnet, or anything.
And now, I have started to crochet number pillows. I am planning to use this on her monthly milestones photoshoot! For sure, it would look really cute.
The pattern is so simple, it’s just a repeating pattern of single crochets. Hope you enjoy making it!
Legend:
CH – chain
ST / st – stitch
SC – single crochet
SC-tog – Draw up a loop in each of next 2 stitches, yarn over hook and draw through
RS – right side
WS – wrong side
Materials Used:
- Himalaya Super Soft Yarn – With this pattern, I have used around two-thirds of this yarn.
- Polyester Fiberfill – or any stuffing as preferred
- 4.0 mm Crochet Hook
- A pair of scissors
- A tapestry needle
- A stitch marker
The Start
Start with crocheting the following pattern making 2 pieces in total – for the Front and Back. Note that RS and WS will be reversed.
Row 1
CH – 11, SC – 1 on the 2nd chain from the hook, continue SC to complete the row
Row 2 to Row 34
Continue making SC to complete all rows
Each row must have 6 SCs
At Row 34
Drop the yarn for now, to continue later.
Attach a separate strand of yarn on the first SC of Row 34, make CH – 12, then fasten off.
Pick-up the drop loop from at the end of Row 34, continue making SC until the end of the row.
Row 35 – Row 40
Start the row with CH – 1, then continue making SC to complete all rows
Each row must have 22 SCs
Row 41
Ch – 1, SC – 1 on each of the next 18 sts, then SC-tog on the last 2 sts
Row 42
Sl st on the next 4 sts, CH – 1, SC-tog on the next 1 st, SC – 1 on the next 13 sts
Row 43
CH – 1, SC – 1 on the next 12 sts
Row 44
CH – 1, Sc-tog on the next 2 sts, SC – 1 on the next 10 sts
Row 45
CH -1, SC – 1 on the next 10 sts
Row 46
CH – 1, CH – 1, Sc-tog on the next 2 sts, SC – 1 on the next 8 sts
Row 47 to Row 49
CH – 1, SC – 1 on the next 9 sts
Next, make the Main Gusset
This will be the side part/ edgings which you will seam to put the Front and Back sides together.
Row 1
CH – 10, SC – 1 on 2nd chain from the hook, SC – 1 on each st until end of the row. (Total: 9 SCs)
Row 2
Turn your work, CH – 1, SC – 1 on each st until end of the row
Repeat this pattern until the Gusset measures length to fit around the outer edge of the number ‘one’.
Fasten off, then sew the Gusset seam.
The Finishing
- Position the Main Gusset seam at the lower edge of the ‘number’ and pin the Main Gusset in position.
- With WS together and working through both thicknesses, join the Front part and Main Gusset together with 1 round of SC.
- Repeat this for the Back part while leaving and opening approximately 4″ (10cm) wide.
- Stuff the pillow with Polyester Fiberfil, then close it at the end and fasten off.
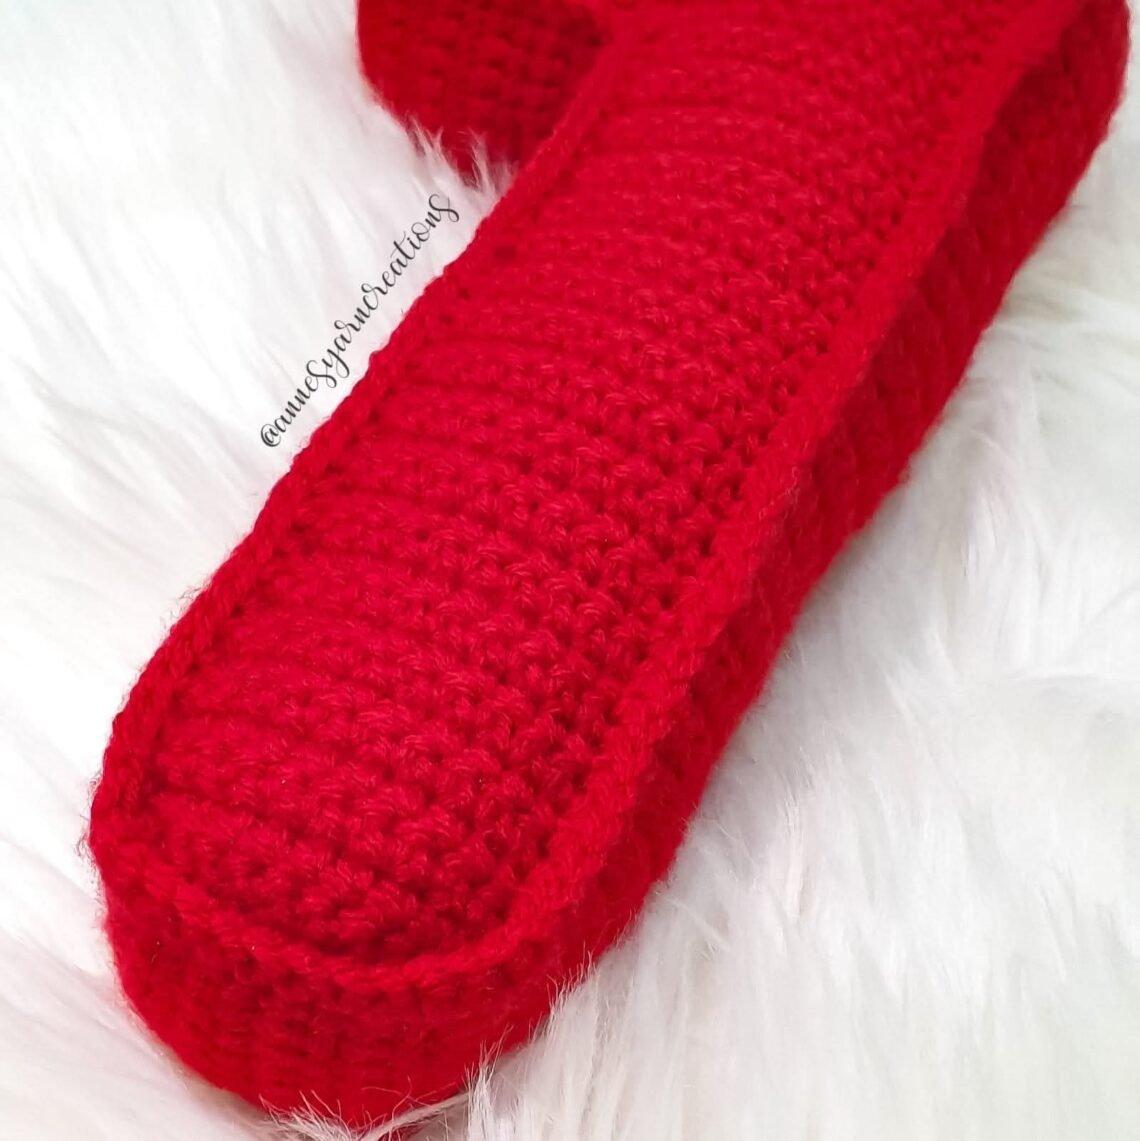
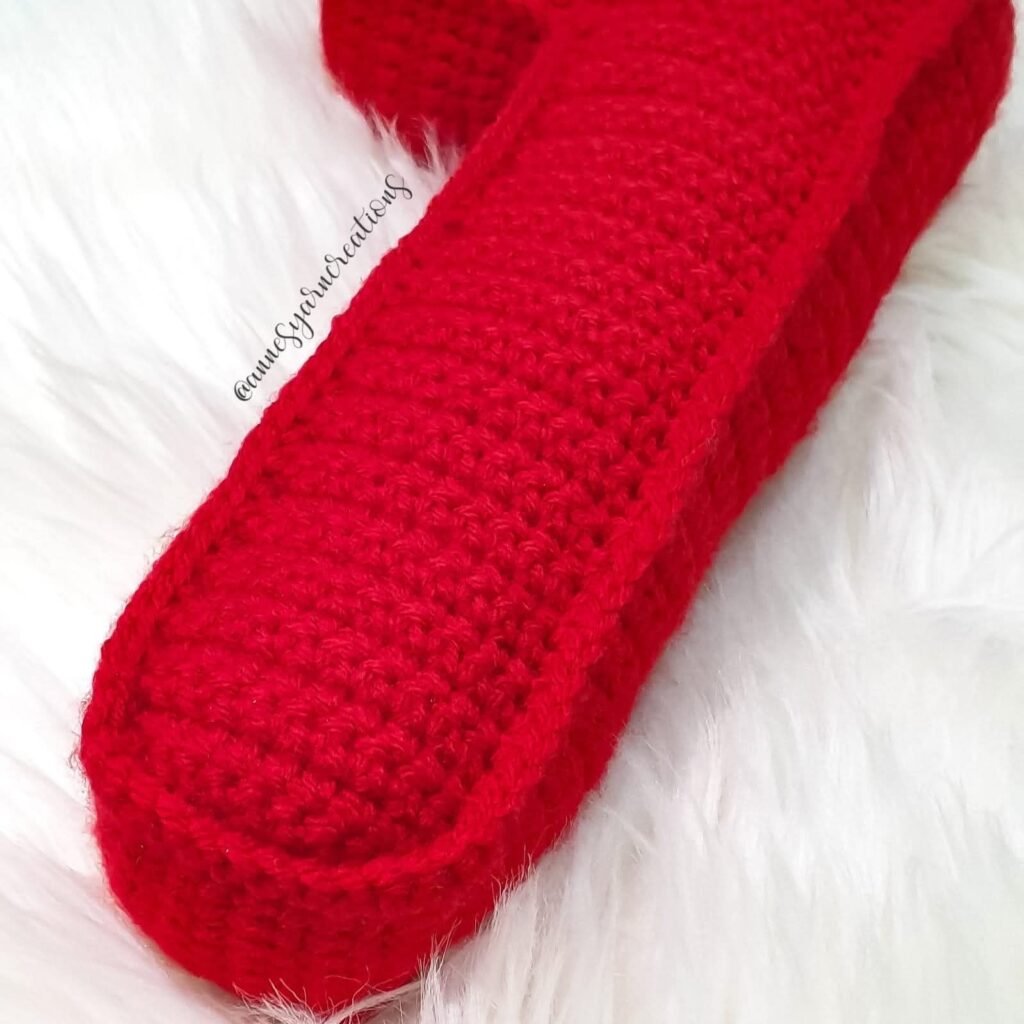
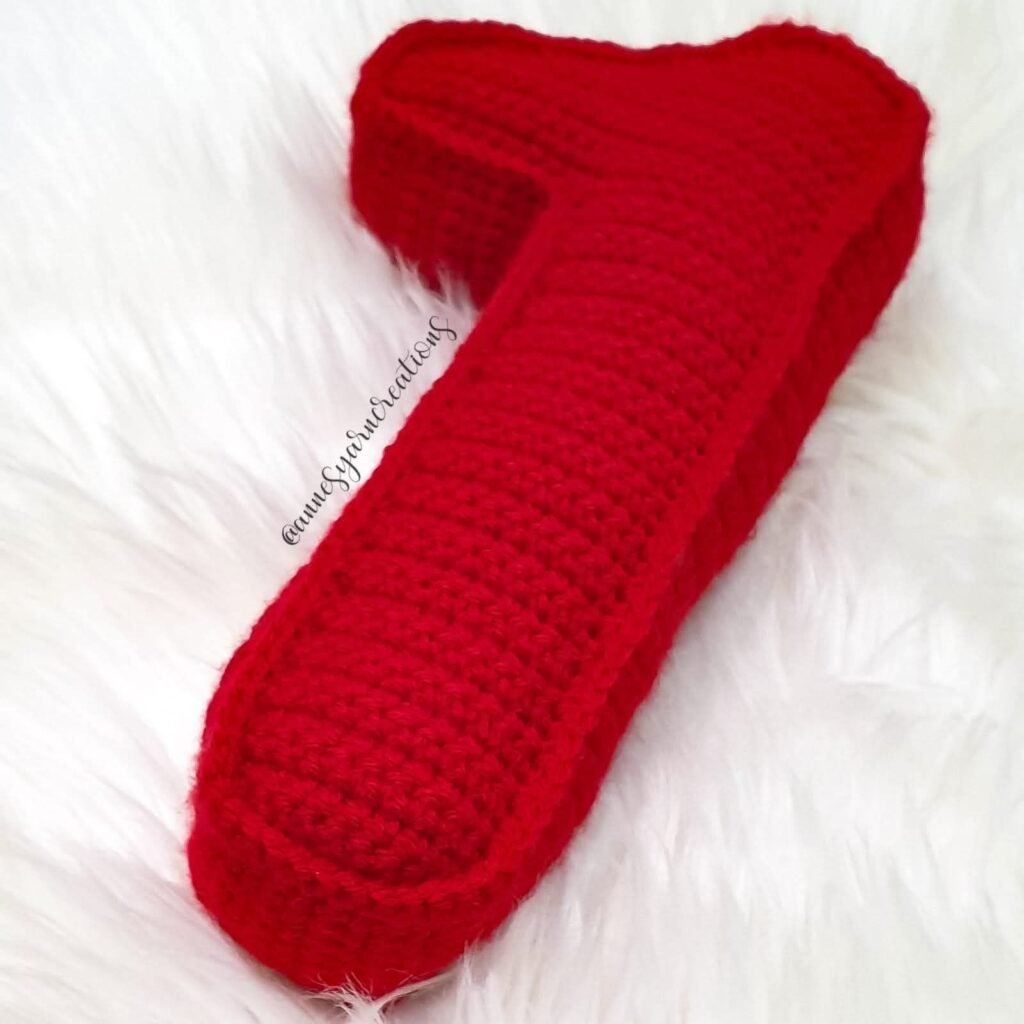
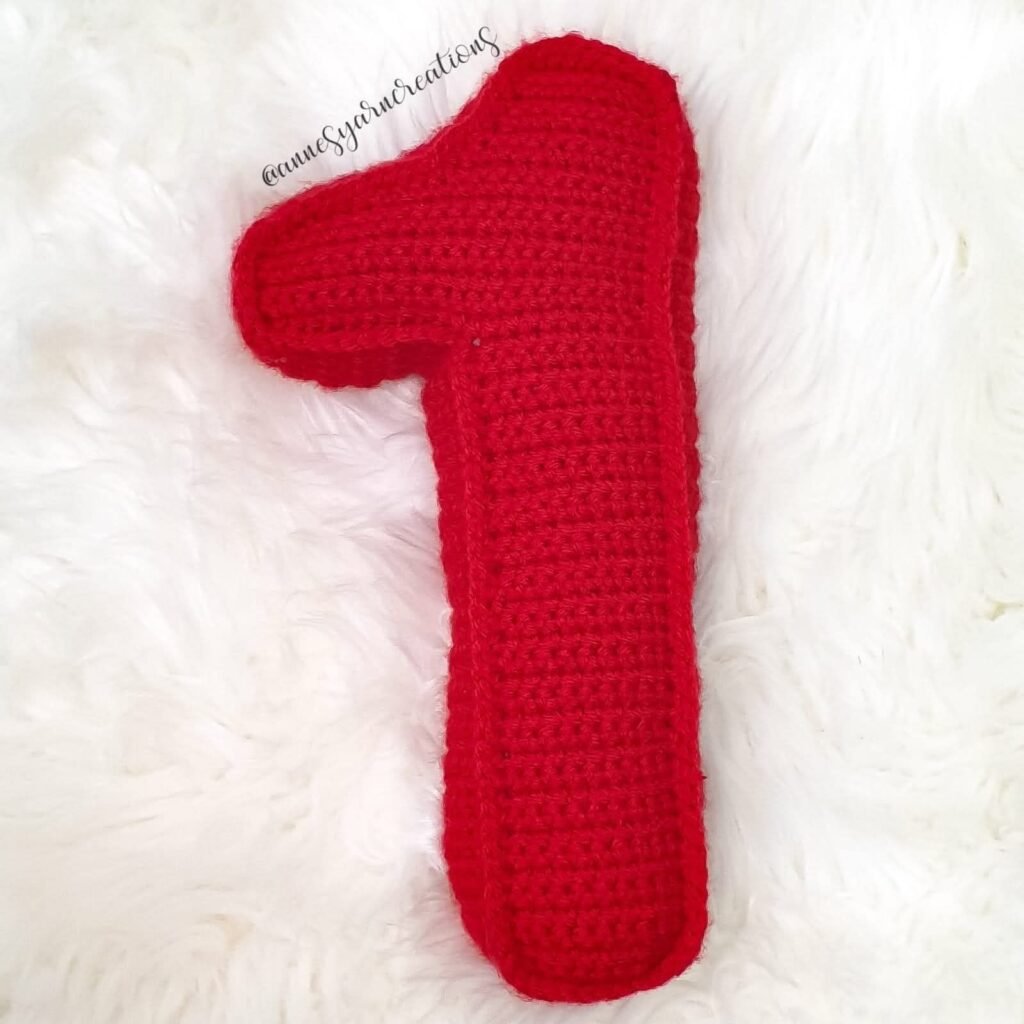
Here’s the end product:
Color: Red
Size: Approximately 13″ (33cm) tall and 1.5″ (4cm) thick
A Word From The Author
Finally!! This project is so simple and easy to make. You may use this on your baby’s photoshoot or when you are trying to teach them letters and numbers!
Would love to see your projects! You may comment down below and shows us your variations
Please don’t forget to Like & Follow Anne’s Yarn Creations:
Facebook: Anne’s Yarn Creations
Instagram: @annesyarncreations
Crochet Blanket Free Pattern: Using Harlequin Stitch
Crochet Baby Blanket Free Pattern: ‘Virus Blanket’
Crochet Water Bottle Holder Free Pattern: Mesh
Crochet Water Bottle Holder Free Pattern: Mesh With Shell
Crochet Bonnet Free Pattern: Slouchy Reggae Hat
Crochet Bonnet Free Pattern: Using The ‘Cable Stitch’
Crochet Bonnet Free Pattern: Using ‘Diamond Stitch’
Crochet Bonnet Free Pattern: For Newborns
Crochet Halter Top Free Pattern: Creamfringe Design
Crochet Table Runner Free Pattern: Using Chevron Stitch
Crochet Baby Frock Free Pattern: Using Shell Stitch
© 2021 by Anne’s Yarn Creations and published with permission by Pinoy Up North. This pattern is for personal use only. You may use the pattern to make unlimited items for yourself, for charity, or to give as gifts. You may sell items you personally make by hand from this pattern. Do not violate Anne’s Yarn Creations’ copyright by distributing this pattern or the photos in any form, including but not limited to scanning, photocopying, emailing, or posting on a website or internet discussion group. If you want to share this pattern, point your friends to this link -https://pinoyupnorth.com/crochet-number-one-free-pattern/. Thanks for supporting freestyle designers
Originally Published: March 8, 2022
Updated: August 2026