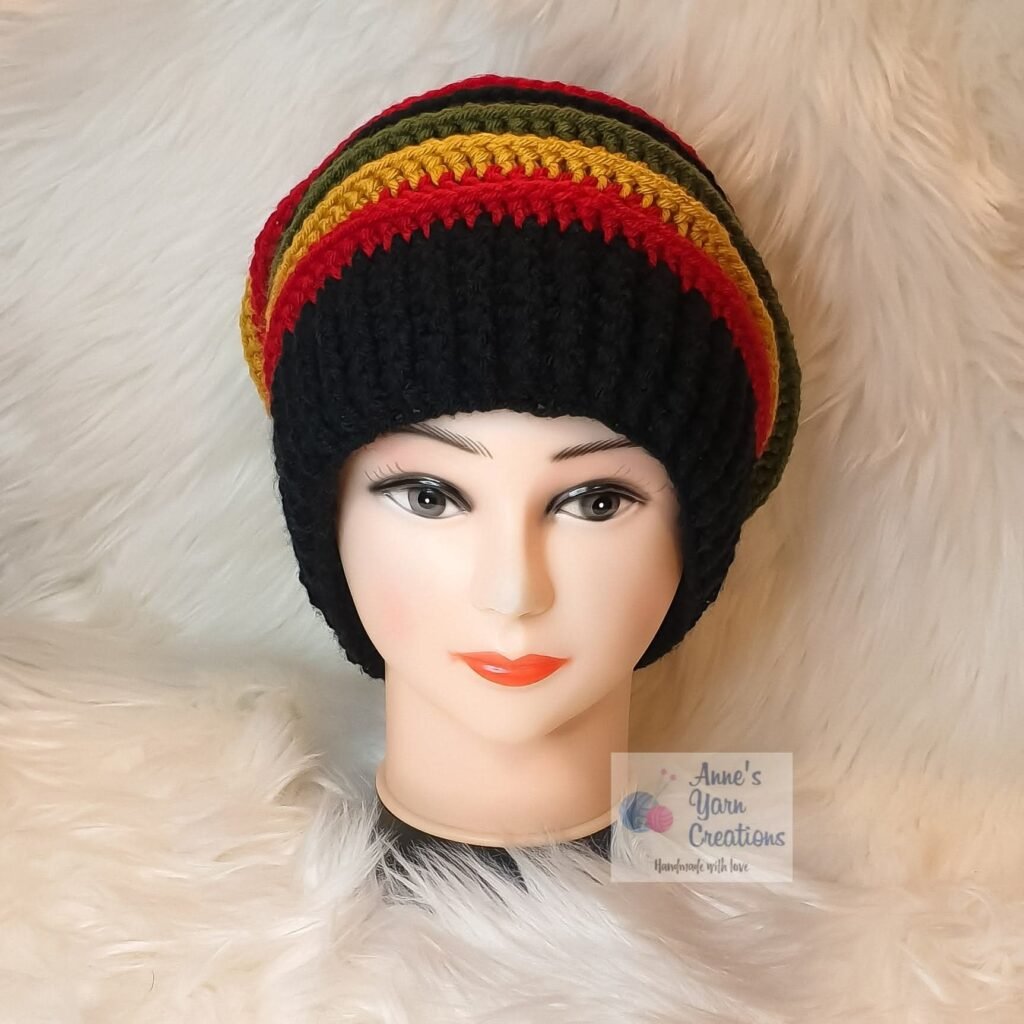
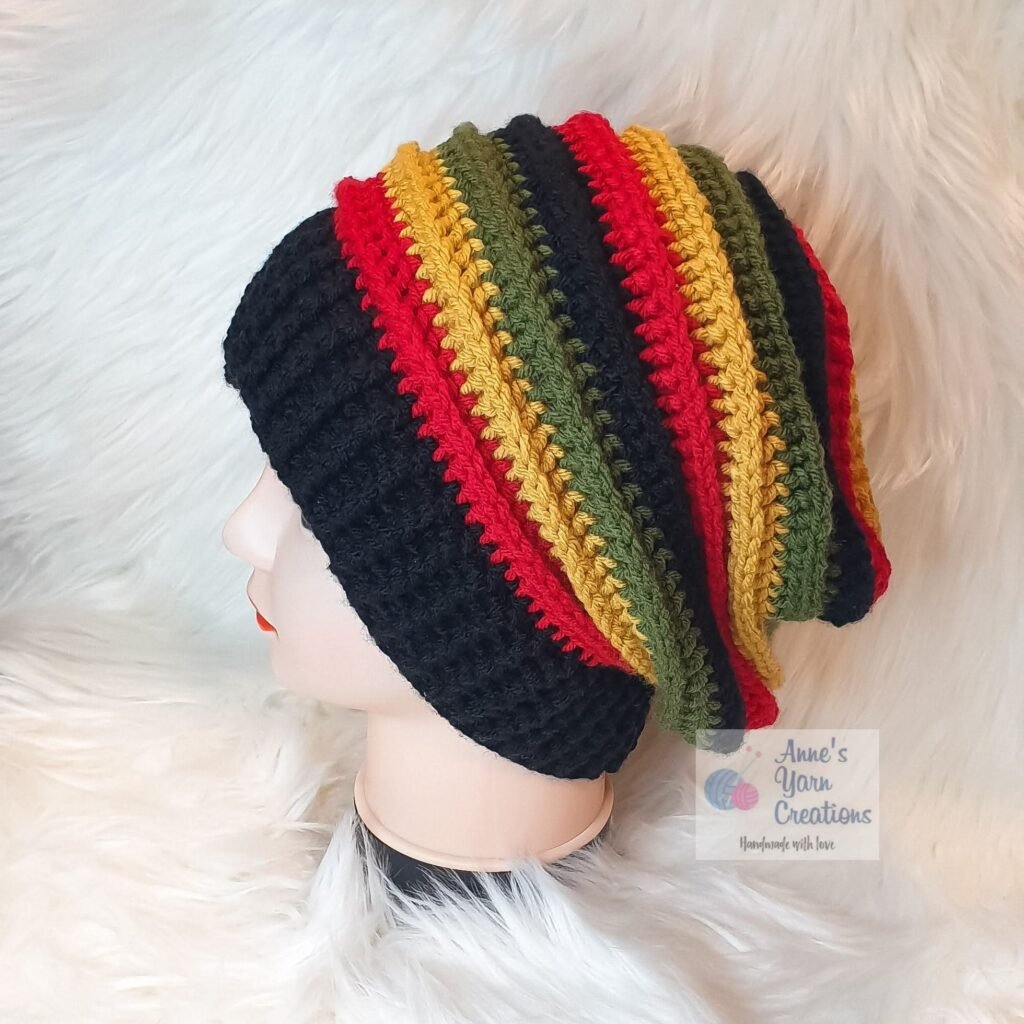
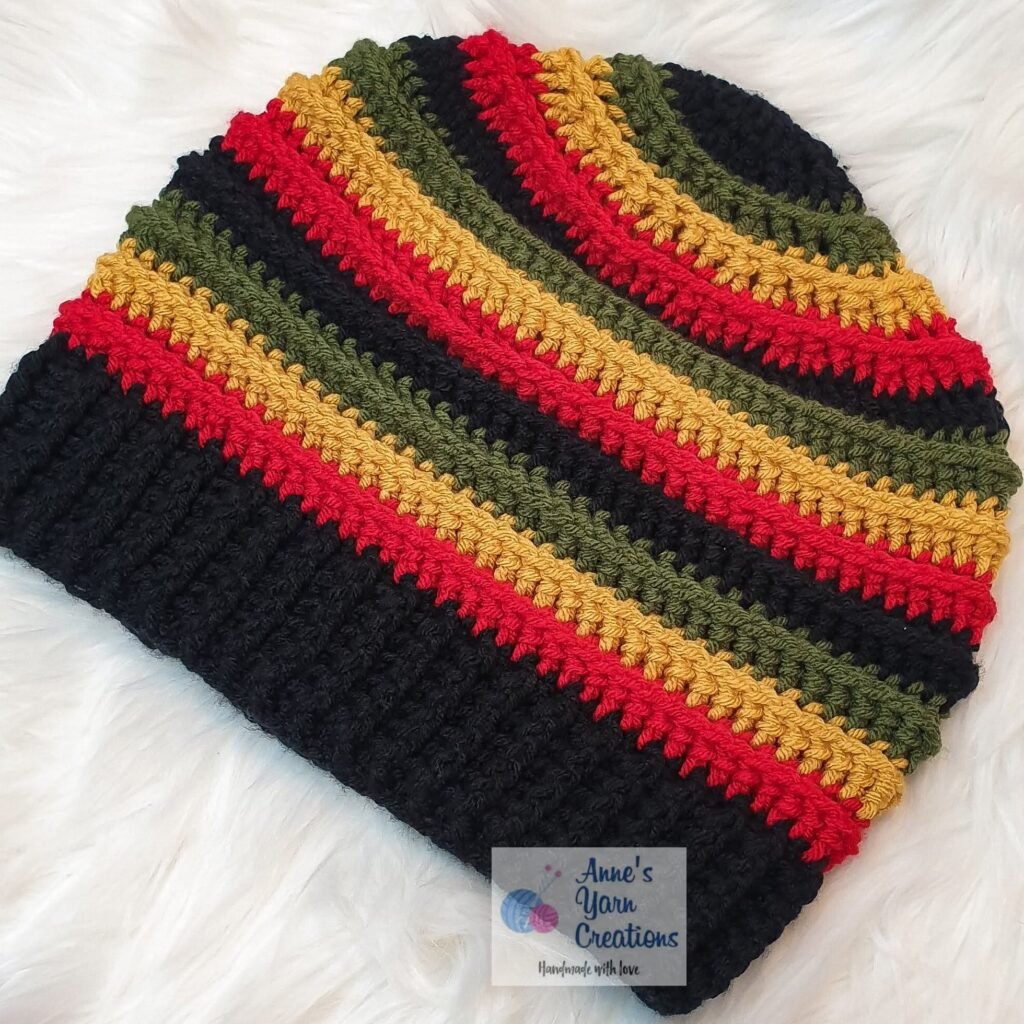
Hello there my fellow crochet lovers! I have a new hat pattern for you and I really love this one so much. This may not be the easiest in my beanie tutorials but its appearance is very pretty and it’s so fun to do!
Legend:
CH – chain
DC – double crochet
BPDC – back post double crochet
FPDC – front post double crochet
DC-tog – DC together / DC decrease
SL ST – slip stitch
ST / st – stitch
Materials Used:
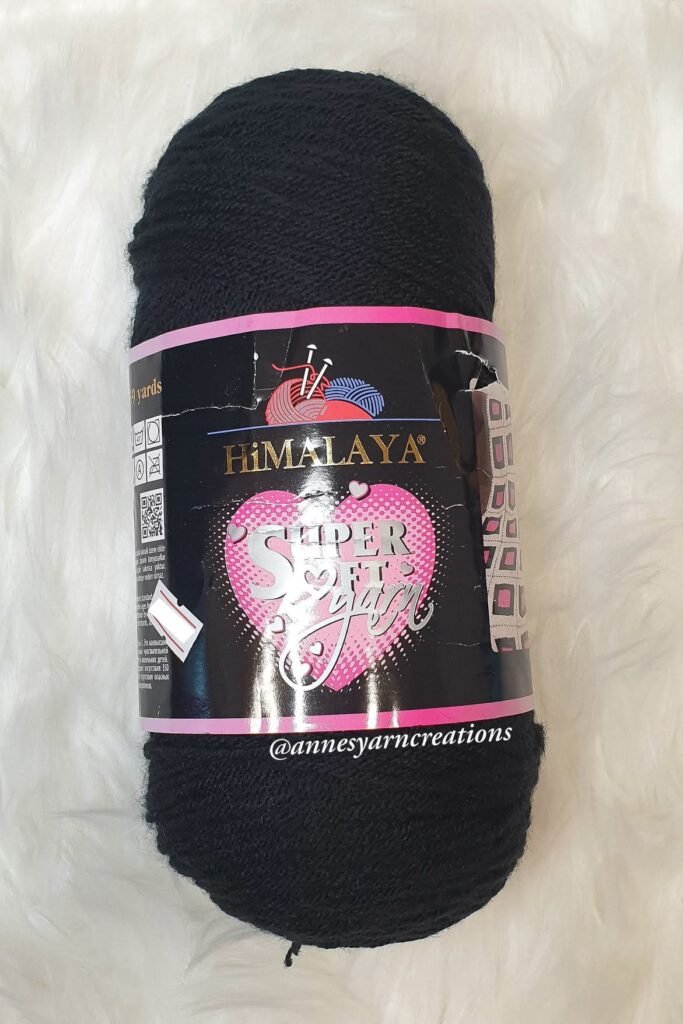
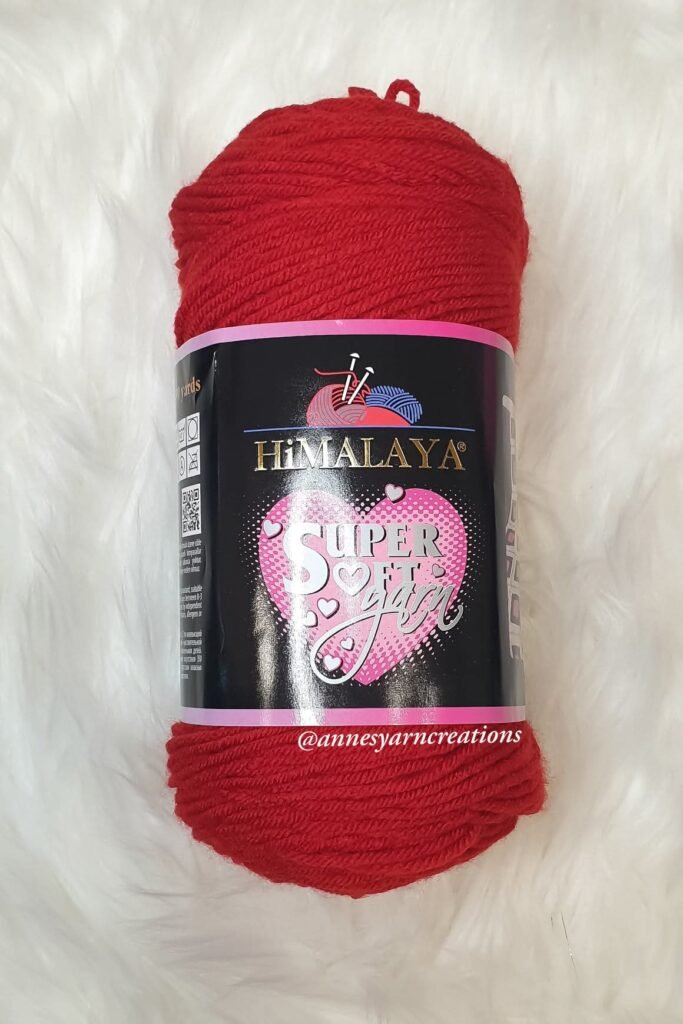
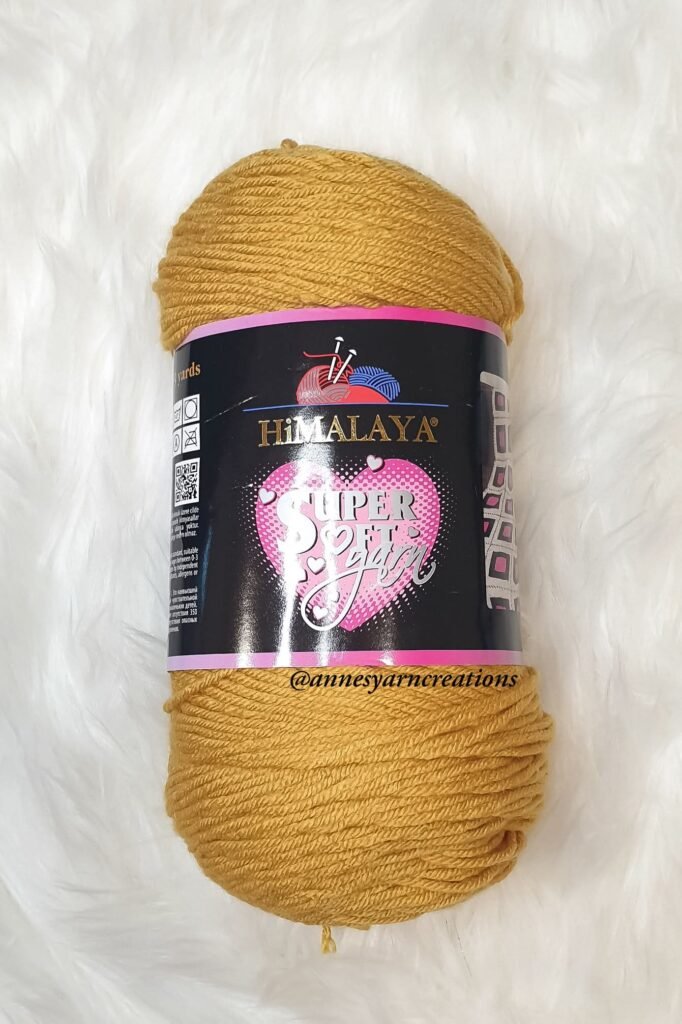
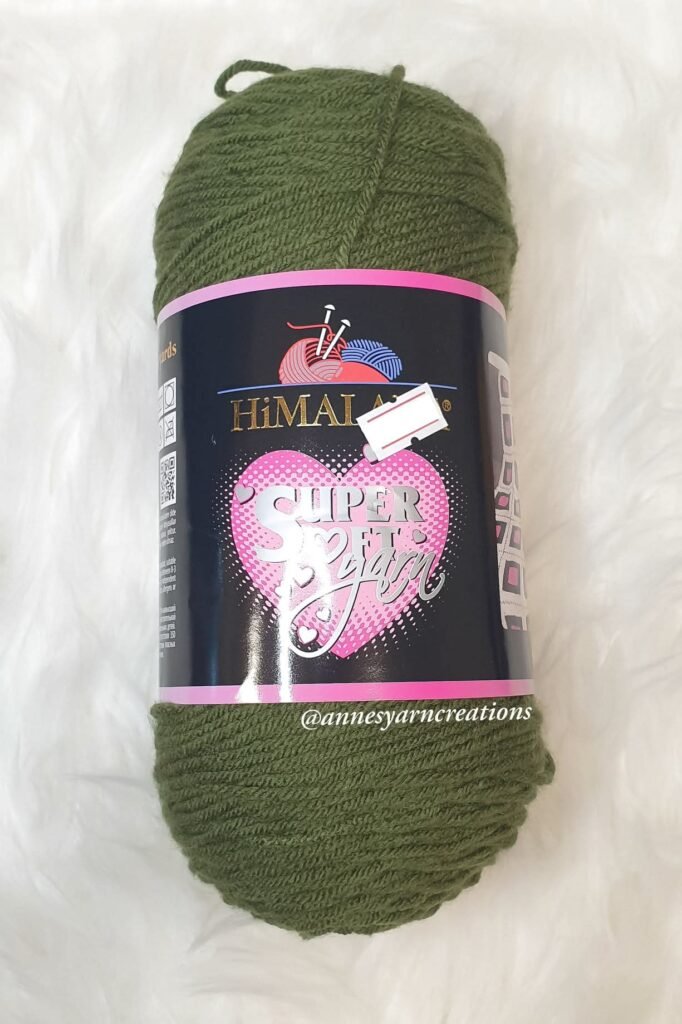
- Himalaya Super Soft Yarn 200g
- 6.0 mm Crochet Hook
- A pair of scissors
- A tapestry needle
- A stitch marker
- Your own customized handmade labels (optional)
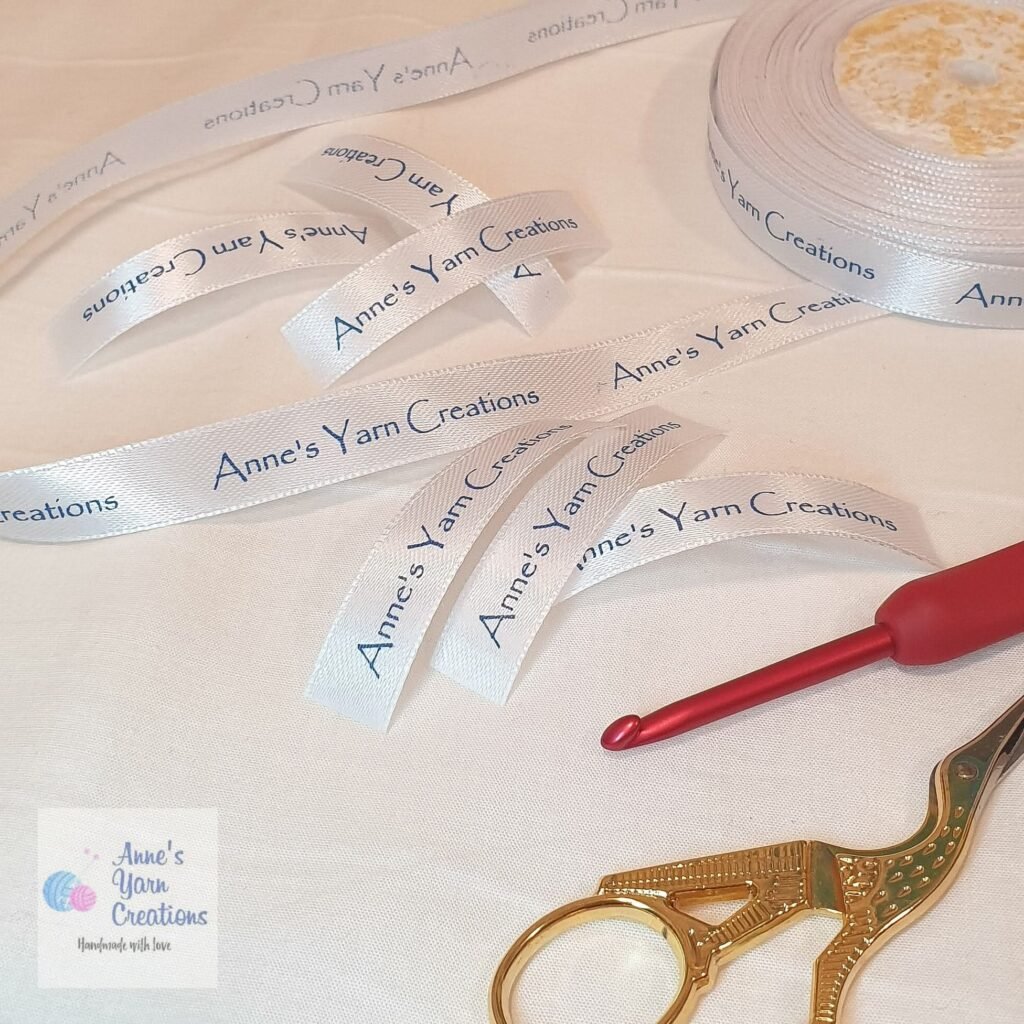
Check these: Customized Labels For Your Handmade Products: Where To Get
Start:
Row 1: Using the BLACK yarn, CH-80, SL ST to CH-1, then CH-2, DC until the end of the row, SL ST
Row 2 to Row 8: (FPDC-1 on the first ST, then BPDC-1 on the next ST) X repeat this pattern until the end the row until finishing 8th row, then cut the yarn
Row 9: Attach the RED yarn, CH-2, DC-1 on each ST until the end of the row, SL ST
Row 10: BPDC-1 on each ST until the end of the row, SL ST, cut the yarn
Row 11: Attach the YELLOW yarn, Row 9: Attach the RED yarn, CH-2, DC-1 on each ST until the end of the row, SL ST
Row 12: BPDC-1 on each ST until the end of the row, SL ST, cut the yarn
Row 13: Attach the GREEN yarn, Row 9: Attach the RED yarn, CH-2, DC-1 on each ST until the end of the row, SL ST
Row 14: BPDC-1 on each ST until the end of the row, SL ST, cut the yarn
Row 15: Attach the BLACK yarn, Row 9: Attach the RED yarn, CH-2, DC-1 on each ST until the end of the row, SL ST
Row 16: BPDC-1 on each ST until the end of the row, SL ST, cut the yarn
** Repeat this pattern until the desired length of slouchiness. As for me, I made this repettive pattern (from Row 9 – Row 16) for a total of 4 rounds.
After reaching the desired length, we will now perform a decrease to close the bonnet at the end.
Attach the next color of yarn, CH-3 on the first ST, DC-1 on the next ST,
- [DC-1 on the next 2 STS, DC-tog (or DC-decrease) on the next STS] X repeat this patter until the end of the row, then SL ST
- BDPC-1 on each ST until the end of the row, SL ST
** Repeat this pattern for a total of 2 rounds. You should see that the end of the bonnet is nearly closing, by the time it’s closed, you may cut the yarn while leaving a long yarn tail for closing and fastening the hole.
IUpdate (21-Dec-2021):
I usually give my crochet products as a gift for my friend, yet sometimes when someone loves to buy it, then I sell it for a good price.
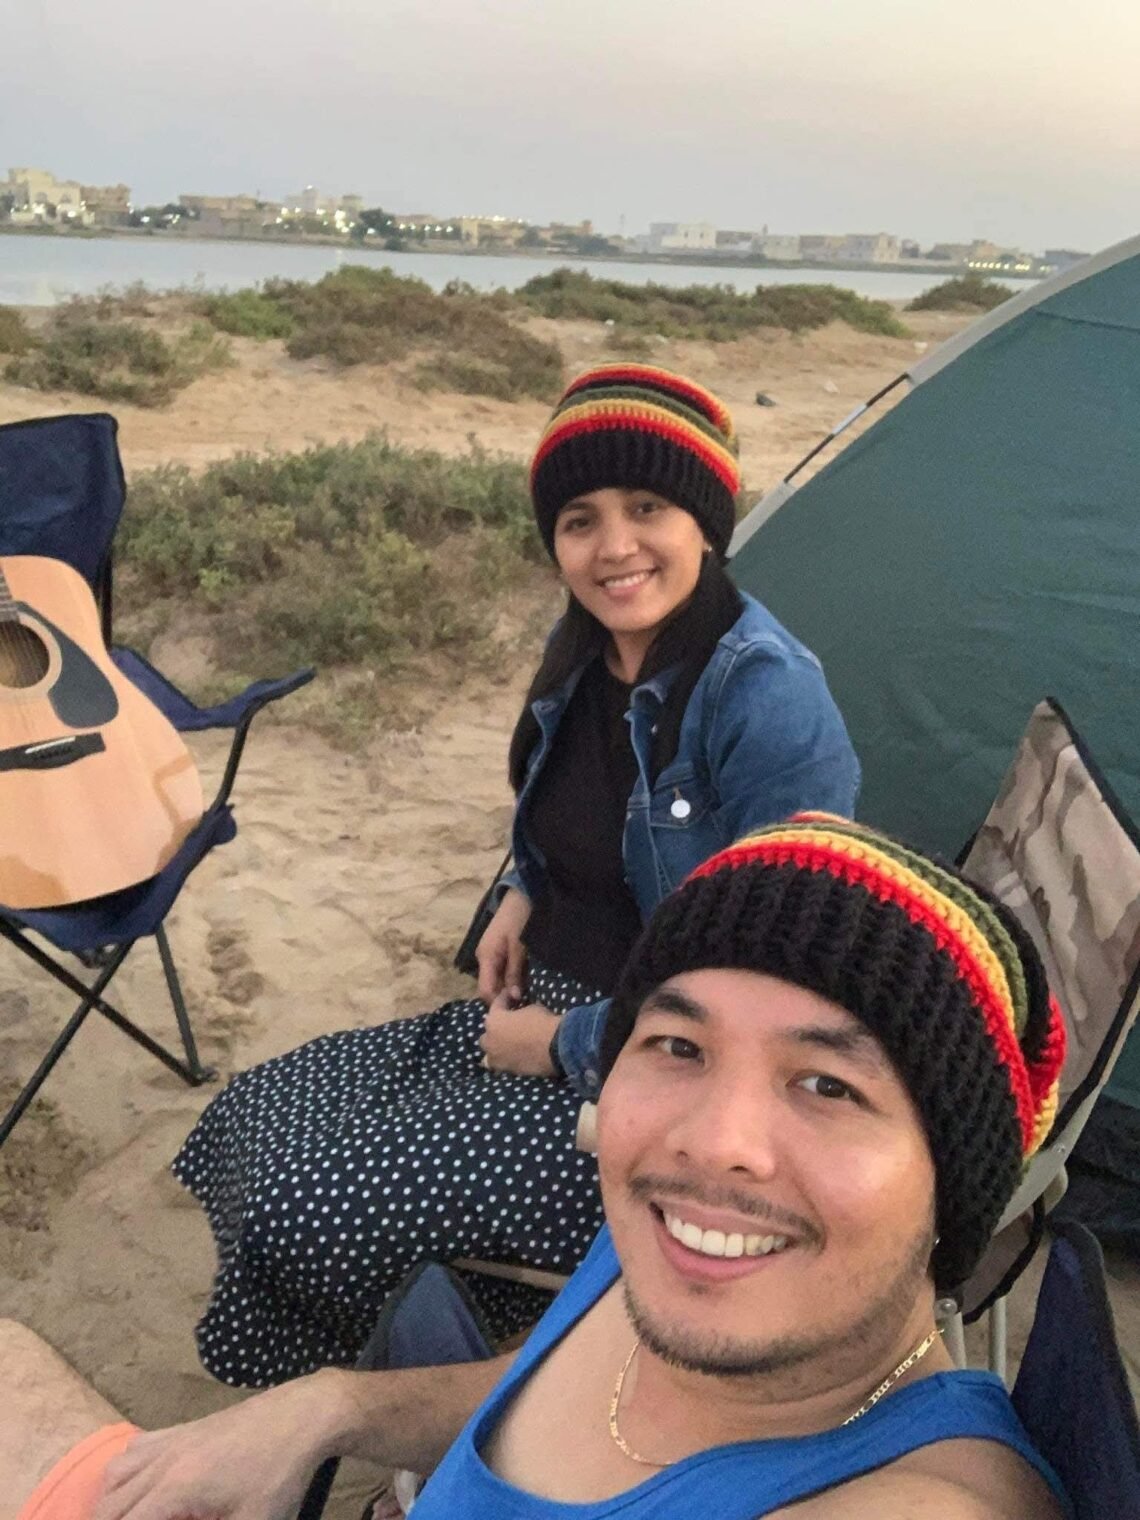
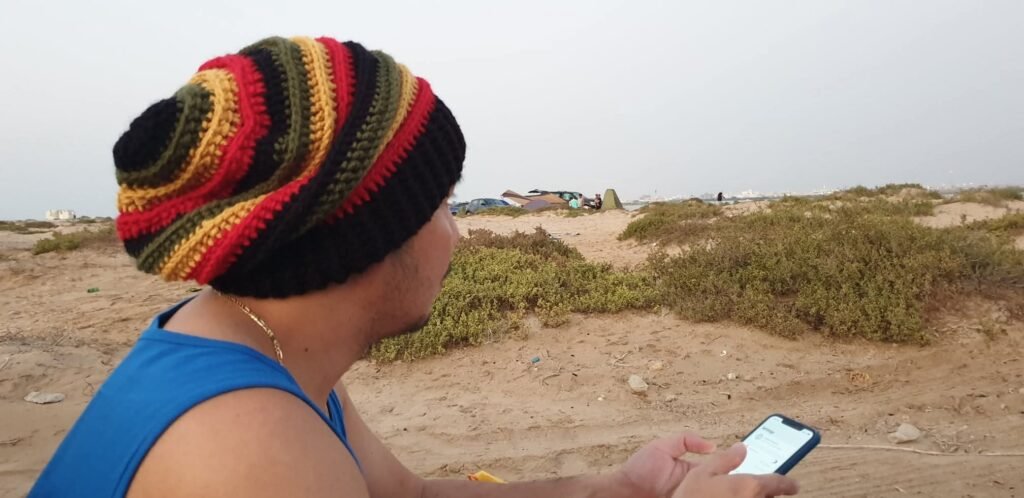
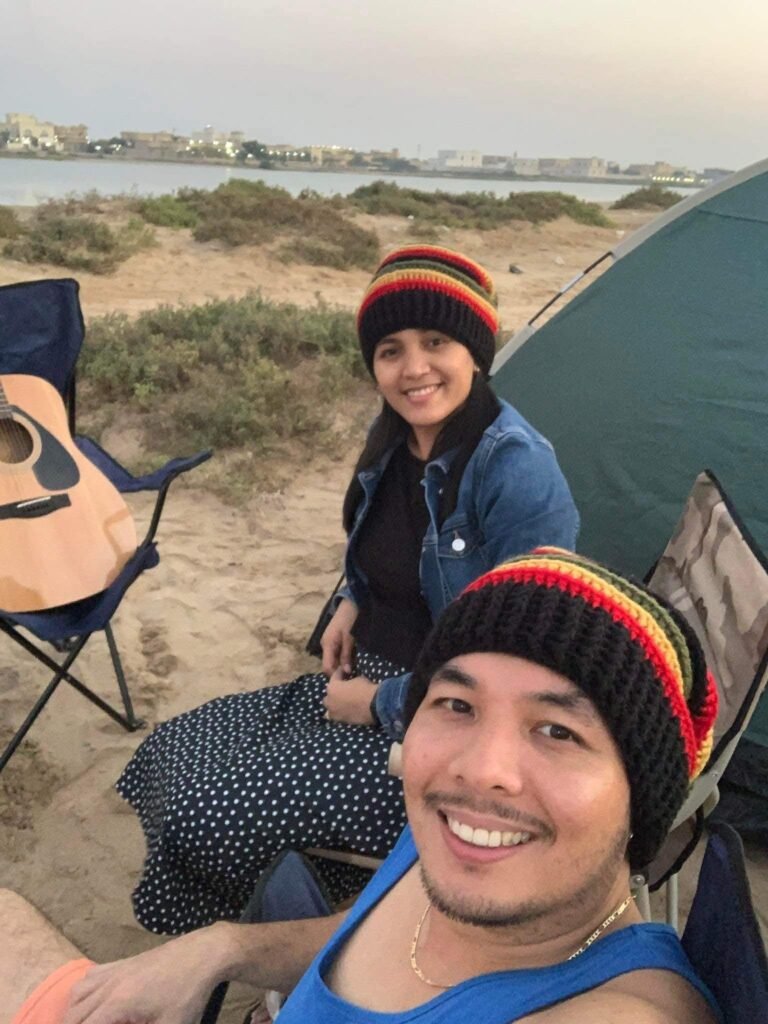
I and my husband had some me-time and enjoyed overnight camping in Saraya Island, Ras Al Khaimah, UAE. This season is perfect for camping since its winter. The weather is so cool and really nice considering the country’s tropic climate the whole-year round. So we have decided to wear my freshly-finished crocheted bonnet during our camping and we really loved it. Aside from its reggae color, the thickness was perfect to combat the cold night.
In the below picture, I was 4 months pregnant and it was easy for me to feel really cold, so wearing this bonnet was truly perfect!
Why Saraya Island Can Be Your Best Camping Spot
A Word From The Author
Finally!! This project is so lovely and easy to make, it is so light and comfy and slouchy perfect for winter, colorful and absolutely reggae style.
Would love to see your projects! You may comment down below and shows us your variation.
Please don’t forget to Like & Follow Anne’s Yarn Creations:
Facebook: Anne’s Yarn Creations
Instagram: @annesyarncreations
Crochet Bonnet Free Pattern: Using The ‘Cable Stitch’
Crochet Bonnet Free Pattern: Using ‘Diamond Stitch’
Crochet Bonnet Free Pattern: For Newborns
Crochet Halter Top Free Pattern: Creamfringe Design
Crochet Flower Pot Pattern: The Beauty of Handicrafts
© 2021 by Anne’s Yarn Creations and published with permission by Life Mag Health. This pattern is for personal use only. You may use the pattern to make unlimited items for yourself, for charity, or to give as gifts. You may sell items you personally make by hand from this pattern. Do not violate Anne’s Yarn Creations’ copyright by distributing this pattern or the photos in any form, including but not limited to scanning, photocopying, emailing, or posting on a website or internet discussion group. If you want to share this pattern, point your friends to this link: https://pinoyupnorth.com/crochet-bonnet-free-pattern-slouchy-reggae-hat/. Thanks for supporting freestyle designers!
Originally Published: October 13, 2021
Updated: August 2026


This is so cool, I can make this as a Christmas present for my loved ones. Thank you!
A beautiful and classic headdress with the colors of Jamaica … typical of there, but handmade! how beautiful!
I love the color combination and it really looks good on you!
My daughter has been teaching herself to crochet. I’m going to share this with her!
Looks so cozy and fun. Thanks for the tutorial.
I love these hats! You made the sewing process look so easy! I may give this a try this weekend since I have a few days off! These are some of my favorite colors!
Beautiful hat. I need to show my sister this post so she can make me one.
Beautiful hat. I need to show my sister this post so she can make me one.
Beautiful! I learned to crochet about a year ago and have made a few beanies (not slouching though and only really easy beginner ones). I’m not a beginner anymore but definitely still lack experience. I definitely think this will be perfect as my next project!
I wish I knew how to knit. You have designed them so beautifully. Perfect for the winter season!
Aw! You both look so cute wearing them. How fun! And you can make it in any color scheme. So perfect!
So cool! I need to try and make this. This would be super cute for gift ideas, too!
I am confuse is she good or evil