Hello there my fellow crochet lovers!
I started crocheting as a hobby. I have created different products which could be useful to anyone. Then, a close friend of mine encouraged me to do more products and sell it – she even proposed to help me sell my products. Thus, I started receiving few orders for different handmade products mainly halter tops, beanies, scarves and cute little clothes for newborn.
While making this project and writing this blog, I’m actually due to delvier our baby girl soon! Gladly, being on 38th week of pregnancy, I still have the energy to crochet some handmade gifts for our upcoming little one.
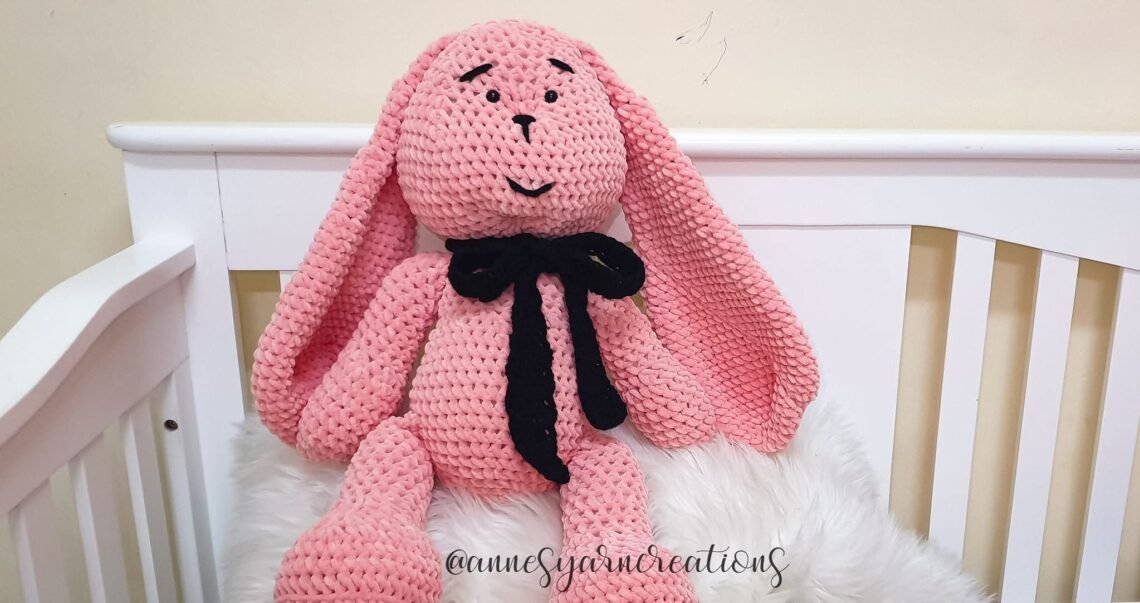
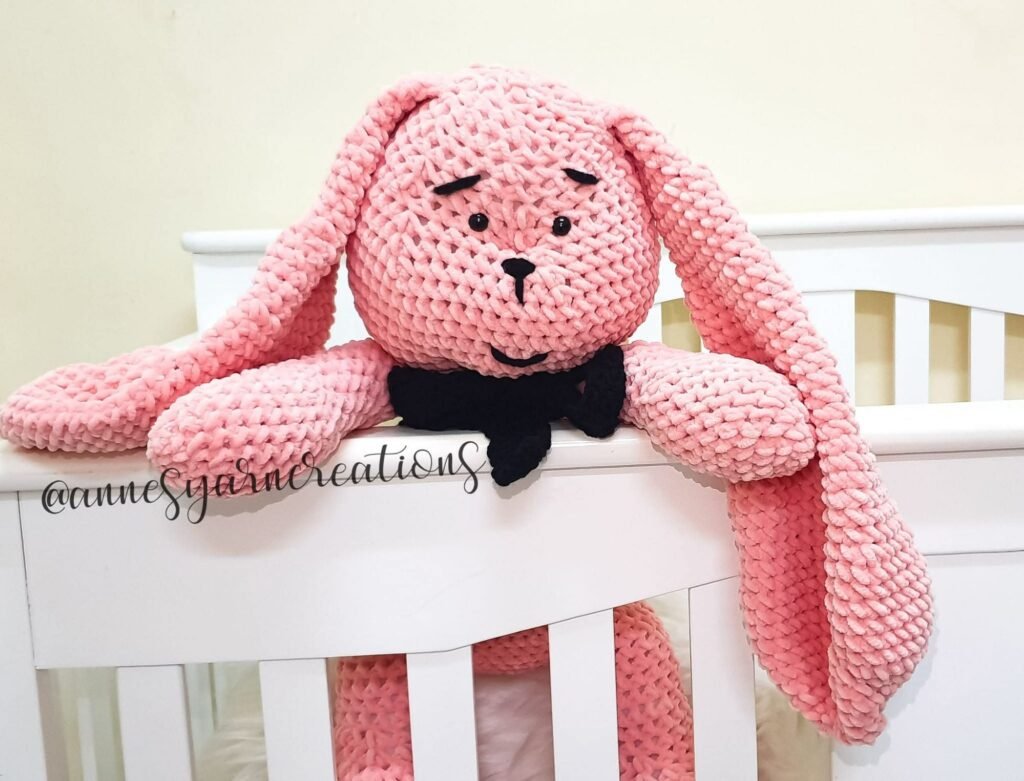
This time, I made a giant bunny rabbit, ths might be even bigger than her when I will give birth to her. So I’m expecting she shall be able to play with it after several months.
Hence, this project turned out so cute and lovely!
I have written the whole pattern on this blog and I’m hoping you’ll like it. The pattern is totally easy and beginner-friendly. Hope you like this pattern!
Legend:
SC – single crochet
SCtog – 2 single crochet together
INC – making 2 SC on one stitch
DEC – making 1 SCtog
SL ST – slip stitch
ST / st – stitch; STs – stitches
Materials:
- Chunky Velvet Yarn (For this project, I used this brand with the shade of pink to suit my baby girl and I have used a total of around 3 and 2/3 skeins of this.)
- 9.0 mm Crochet Hook
- A pair of scissors
- Polyester Synthetic Cotton or Poly Fiber Fill
- A tapestry needle
- A stitch marker
- Other Yarn color (optional for eyes, brows, nose and Bunny’s bow)
Starting with the Bunny’s Body
Row 1
Make a magic ring, then make SC – 6 inside the ring, SL SLT
Total: 6 STs
Row 2
Make SC – 2 on every ST
Total: 12 STs
Row 3
**SC – 1 on one ST, SC – 2 on the next one ST** for 6 times until the end of the row
Total: 18 STs
Row 4
**SC – 1 on one ST, SC – 1 on next ST, SC – 2 on the next one ST** for 6 times until the end of the row
Total: 24 STs
Row 5
**SC – 1 on each of the next 3 STs, SC – 2 on the next one ST** for 6 times until the end of the row
Total: 30 STs
Row 6
**SC – 1 on each of the next 4 STs, SC – 2 on the next one ST** for 6 times until the end of the row
Total: 36 STs
Row 7
Make SC – 1 on each of the 36 STs until end of the row
Total: 36 STs
Row 8
**SC – 1 on each of the next 5 STs, SC – 2 on the next one ST** for 6 times until the end of the row
Total: 42 STs
Row 9
**SC – 1 on each of the next 6 STs, SC – 2 on the next one ST** for 6 times until the end of the row
Total: 48 STs
Row 10 to Row 16
Make SC – 1 on each of the 48 STs until end of the row
Total: 48 STs
Row 17
**SC – 1 on each of the next 6 STs, SCtog -1 on the next STs** for 6 times until the end of the row
Total: 42 STs
Row 18
**SC – 1 on each of the next 5 STs, SCtog -1 on the next STs** for 6 times until the end of the row
Total: 36 STs
Row 19
**SC – 1 on each of the next 3 STs, SCtog -1 on the next STs** for 6 times,
then SC – 1 on the remaining 6 STs
Total: 42 STs
Row 20 to Row 23
**SC – 1 on each of the next 6 STs, SCtog -1 on the next STs** for 6 times until the end of the row
Total: 42 STs
Row 24
**SC – 1 on each of the next 3 STs, SCtog -1 on the next STs** for 6 times until the end of the row
Total: 24 STs
Row 25
SC – 1 on each of the 24 STs until end of the row
Total: 24 STs
Row 26
SCtog – 1 on each of the next 2 STS until end of the row
Total: 12 STs
- Start stuffing the body using Polyfiberfil.
- Do not cut the yarn yet.
Continue by making the Bunny’s head
Row 27
Make SC – 2 on each ST around until the end of the row
Total: 24 STs
Row 28
**SC – 1 on one ST, SC – 2 on the next one ST** for 12 times until the end of the row
Total: 36 STs
Row 29
**SC – 1 on each of the next 5 STs, SC – 2 on the next one ST** for 6 times until the end of the row
Total: 42 STs
Row 30
**SC – 1 on each of the next 6 STs, SC – 2 on the next one ST** for 6 times until the end of the row
Total: 48 STs
Row 31
**SC – 1 on each of the next 7 STs, SC – 2 on the next one ST** for 6 times until the end of the row
Total: 54 STs
Row 32
**SC – 1 on each of the next 8 STs, SC – 2 on the next one ST** for 6 times until the end of the row
Total: 60 STs
Row 33 to Row 37
SC – 1 on each ST until end of the row
Row 38
**SC – 1 on each of the next 8 STs, SCtog -1 on the next STs** for 6 times until the end of the row
Total: 54 STs
Row 39
**SC – 1 on each of the next 7 STs, SCtog -1 on the next STs** for 6 times until the end of the row
Total: 48 STs
Row 40
**SC – 1 on each of the next 6 STs, SCtog -1 on the next STs** for 6 times until the end of the row
Total: 42 STs
Row 41
SC – 1 on every ST until end of the row
Total: 42 STs
Row 42
**SC – 1 on each of the next 5 STs, SCtog -1 on the next STs** for 6 times until the end of the row
Total: 36 STs
- Place the safety eyes between Rows 40 and 41.
Row 43
**SC – 1 on each of the next 4 STs, SCtog -1 on the next STs** for 6 times until the end of the row
Total: 30 STs
Row 44
SC – 1 on every ST until end of the row
Total: 30 STs
Row 45
**SC – 1 on each of the next 3 STs, SCtog -1 on the next STs** for 6 times until the end of the row
Total: 24 STs
Row 46
SC – 1 on every ST until end of the row
Total: 24 STs
Row 47
**SC – 1 on one ST, SCtog -1 on the next STs** for 8 times until the end of the row
Total: 16 STs
Row 48
SC – 1 on every ST until end of the row
Total: 16 STs
- Put more stuffing on the body if needed.
- Put stuffing on the head part as well.
- Close the hole and cut the yarn.
Then, make the Bunny’s arms
Row 1
Make a magic ring, then make SC – 4 into the magic ring, SL ST
Row 2
Make SC – 2 on each ST
Total: 8 STs
Row 3
INC – 1 on 1 ST, SC – 1 on 1 ST, INC – 1 on next 3 STs, SC – 1, INC – 1 on next 2 STs
Total: 14 STs
Row 4
SC – 1 on 1 ST, INC – 1 on 1 ST, SC – 1 on next 3 STs, INC – 1 on 1 ST, SC – 1 on 1 ST, INC – 1 on 1 ST, SC – 1 on 1 ST, INC – 1 on 1 ST, SC – 1 on next 3 STs, INC – 1 on last ST
Total: 19 STs
Row 5 to Row 9
SC – 1 on each ST until end of the row
Total: 19 STs
Row 10
SC – 1 on 1 ST, DEC – 1 on 1 ST, SC – 1 on 1 ST, DEC – 1 on 1 ST, SC – 1 on last 7 STs
Total: 17 STs
Row 11
SC – 1 on the next 4 STs, DEC – 1 on the next 2 STs, SC – 1 on next 1 ST, DEC – 1 on the next 2 STs, SC – 1 on the last 4 STs
Total: 13 STs
Row 12 to Row 21
SC – 1 on every ST until end of the row
Total: 13 STs
- Stuff the arm.
Row 22
SC – 1 on the next 2 STs, SL ST on each parallel ST to close the arm hole
- Cut the yarn and leave long yarn tail for sewing later.
- Make another one (arm) using the same pattern.
Then, make the Bunny’s Legs
Row 1
Make a magic ring, then make SC – 7 into the magic ring
Row 2
Make SC- 2 on each ST until the end of the row
Total: 14 STs
Row 3
INC – 1 on 1 ST, SC – 1 on the next 4 STs, INC – 1 on next 3 STs, SC – 1 on the next 4 STs, INC – 1 on the next 2 STs
Total: 20 STs
Row 4
SC – 1 on 1 ST, INC – 1 on next 1 ST, SC – 1 on next 5 STs, INC – 1 on next 1 ST, SC – 1 on next 3 STs, INC – 1 on next 1 ST, SC – 1 on next 5 STs, INC – 1 on next 1 ST, SC- 1 on next 2 STs
Total: 24 STs
- Let’s make the following pattern simpler and easier to read. 🙂
Row 5
SC – 1 on the next 2 STs, INC – 1 on next 1 ST,
(SC – 1 on next 5 STs, INC on next 1 ST) **repeat this for 3 times**,
INC – 1 on next 1 ST, SC – 1 on the last 2 STs
Total: 29 STs
Row 6
(SC – 1 on 1 ST, INC – 1 on 1 ST) **repeat this for 2 times**,
SC – 5, INC – 1, SC – 1, INC -1,
SC – 3, INC – 1, SC – 1, INC -1,
SC – 5, INC – 1, SC – 1, SC – 4
Total: 36 STs
Row 7
SC – 1 on each ST until the end of the row (using the Back Loops only)
Row 8 to Row 9
SC – 1 on each ST until the of the row (this time, using both the Front and Back Loops)
Row 10
SC – 9, DEC – 1,
(SC – 1, DEC – 1) **repeat this for 5 times**
SC – 8, DEC – 1
Total: 29 STs
Row 11
SC – 8, DEC – 2, SC – 3, DEC – 2, SC – 8, DEC – 2
Total: 24 STs
Row 12
SC – 8, DEC – 4, SC – 8
Total: 20 STs
Row 13
SC – 7, DEC – 2, SC – 9
Total: 18 STs
Row 14
SC – 7, DEC- 2, SC – 7
Total: 16 STs
Row 15 to Row 24
SC – 1 on every ST until end of the row
Total: 16 STs
- Stuff the leg.
Row 25
SC – 2, SL ST on each parallel ST to close the leg
- Cut the yarn and leave long yarn tail for sewing later.
- Make another one (leg) using the same pattern.
Then, make the Bunny’s ears
Row 1
Make a magic ring, SC – 6 into the magic ring
Row 2
Make SC- 2 on each ST until end of the row
Total: 12 STs
Row 3
SC – 1, INC – 1
**repeat for 6 times until end of the row
Total: 18 STs
Row 4
SC – 2, INC – 1
**repeat for 6 times until end of the row
Total: 24 STs
Row 5
SC – 3, INC – 1
**repeat for 6 times until end of the row
Total: 30 STs
Row 6
SC – 4, INC – 1
**repeat for 6 times until end of the row
Total: 36 STs
Row 7
SC – 5, INC – 1
**repeat for 6 times until end of the row
Total: 42 STs
Row 8 to Row 12
SC – 1 on each ST around
Total: 42 STs
Row 13
SC – 5, DEC – 1
**repeat for 6 times until end of the row
Total: 36 STs
Row 14 to Row 18
SC – 1 on each ST around
Total: 36 STs
Row 19
SC – 4, DEC – 1
**repeat for 6 times until end of the row
Total: 30 STs
Row 20 to Row 24
SC – 1 on each ST around
Total: 30 STs
Row 25
SC – 3, DEC – 1
**repeat for 6 times until end of the row
Total: 24 STs
Row 26 to Row 30
SC – 1 on each ST around
Total: 24 STs
Row 31
SC – 2, DEC – 1
**repeat for 6 times until end of the row
Total: 18 STs
Row 32 to Row 36
SC – 1 on each ST around
Total: 18 STs
Row 37
SC – 1, DEC – 1
**repeat for 6 times until end of the row
Total: 12 STs
Row 38 to Row 42
SC – 1 on each ST around
Total: 12 STs
- Do not stuff the ears.
- SL ST the edges to close the hole.
- Cut the yarn and leave long yarn tail for sewing later.
- Make another one (ear) using the same pattern.
At The End
- Attach the ears to the head part while arms and legs to the body part by sewing through the front and back seams.
- Crunch the bear’s face from the middle to make it cuter.
- Sew the nose, eyebrows and lips as desired.
- You may also add a cute little bow if preferred.
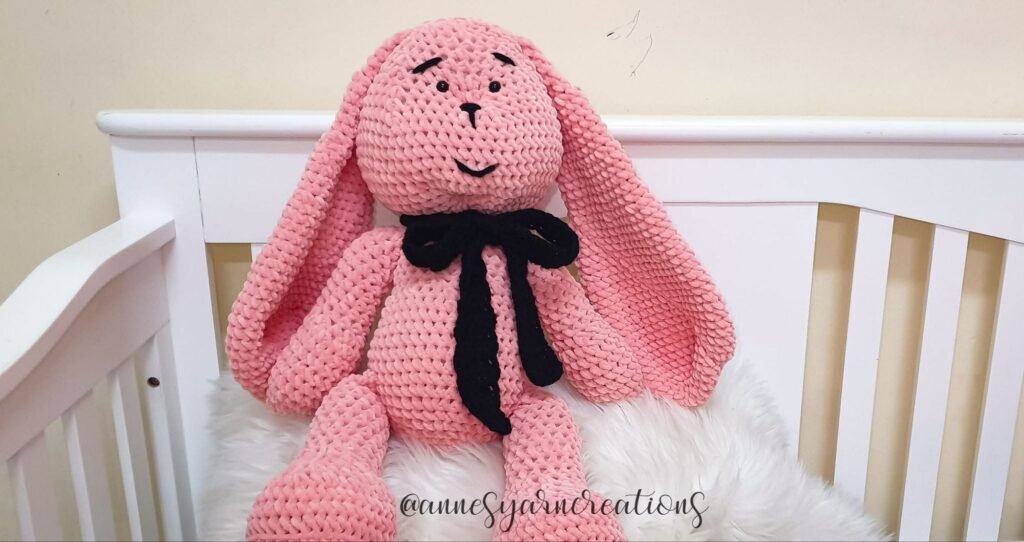
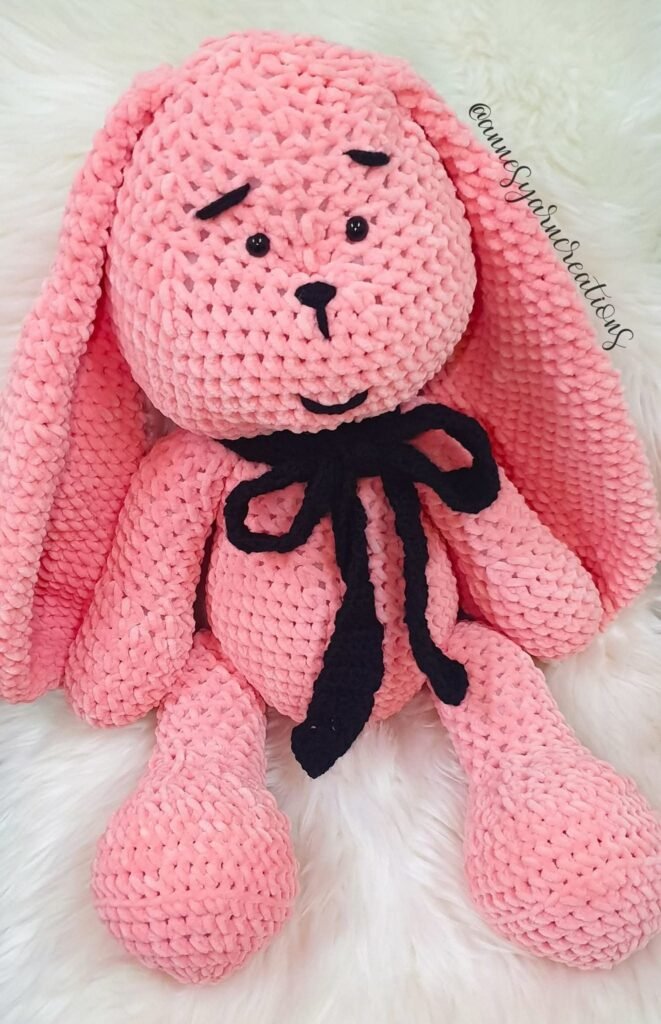
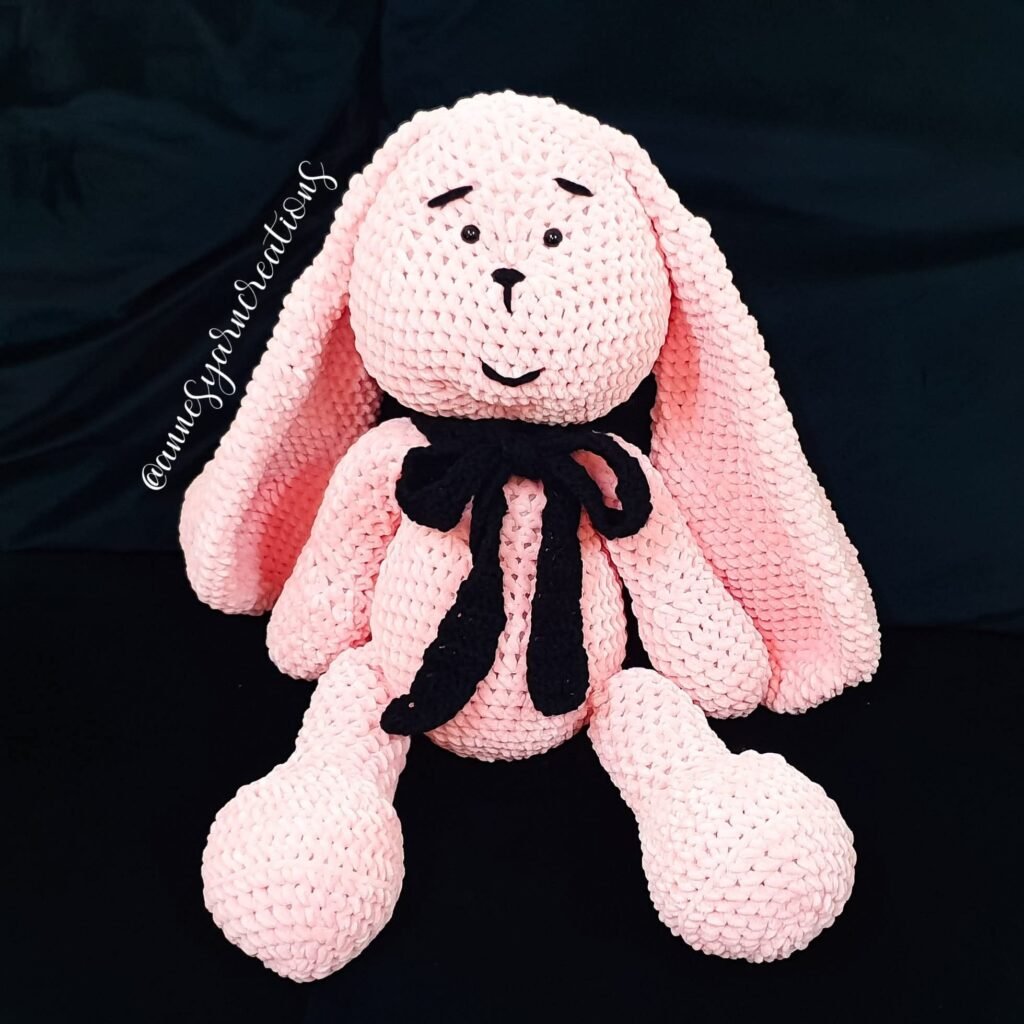
The End Product
The Takeaway
Finally!! This bunny project is so cute and easy to make. This pattern is also perfect for any gender – either for a baby girl or boy. You may use different shades of yarn that would look cheerful for our little ones.
Would love to see your projects! You may comment down below and shows us your variations.
Please don’t forget to Like & Follow Anne’s Yarn Creations:
Facebook: Anne’s Yarn Creations
Instagram: @annesyarncreations
Check out our other projects!
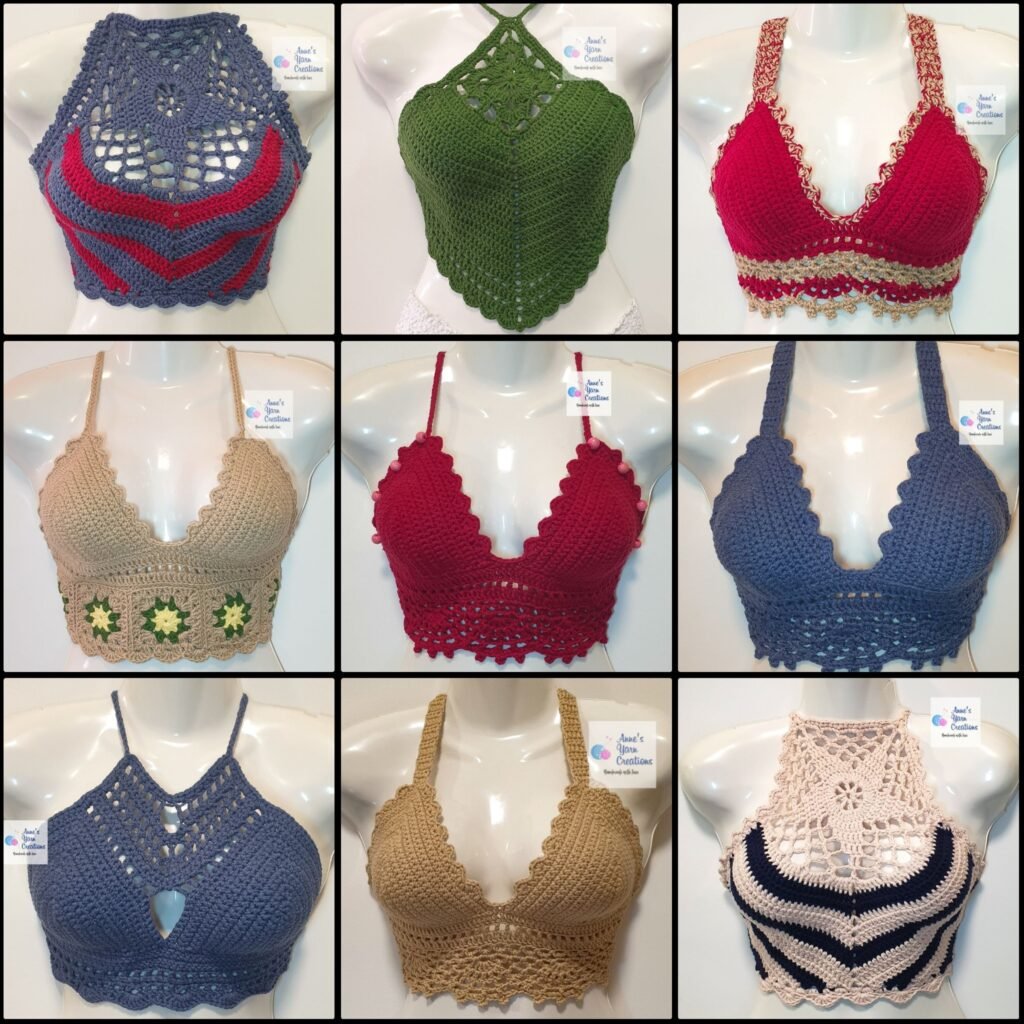
Crochet Halter Top Free Pattern: Ruffled Lace Design
Crochet Face Mask Free Pattern
Crochet Blanket Free Pattern: Using Harlequin Stitch
Crochet Baby Blanket Free Pattern: ‘Virus Blanket’
Crochet Table Runner Free Pattern: Using Chevron Stitch
Crochet Number ‘One’ Free Pattern
Crochet Baby Frock Free Pattern: Using Shell Stitch
Crochet Baby Dress ‘Minnie Mouse’: Free Pattern
Crochet Kindle Cover Free Pattern
Crochet Newborn Bonnet, Mittens and Shoes: Free Pattern
© 2021 by Anne’s Yarn Creations and published with permission by Pinoy Up North. This pattern is for personal use only. You may use the pattern to make unlimited items for yourself, for charity, or to give as gifts. You may sell items you personally make by hand from this pattern. Do not violate Anne’s Yarn Creations’ copyright by distributing this pattern or the photos in any form, including but not limited to scanning, photocopying, emailing, or posting on a website or internet discussion group. If you want to share this pattern, point your friends to this link - https://pinoyupnorth.com/crochet-giant-bunny-rabbit-free-pattern/. Thanks for supporting freestyle designers!
Originally Published: May 20. 2022
Updated: August 2026


This website makes me very angry!👉
http://I.RUNHAI.ME/i94702WY
you are smart 😏😏 so pls give me the link