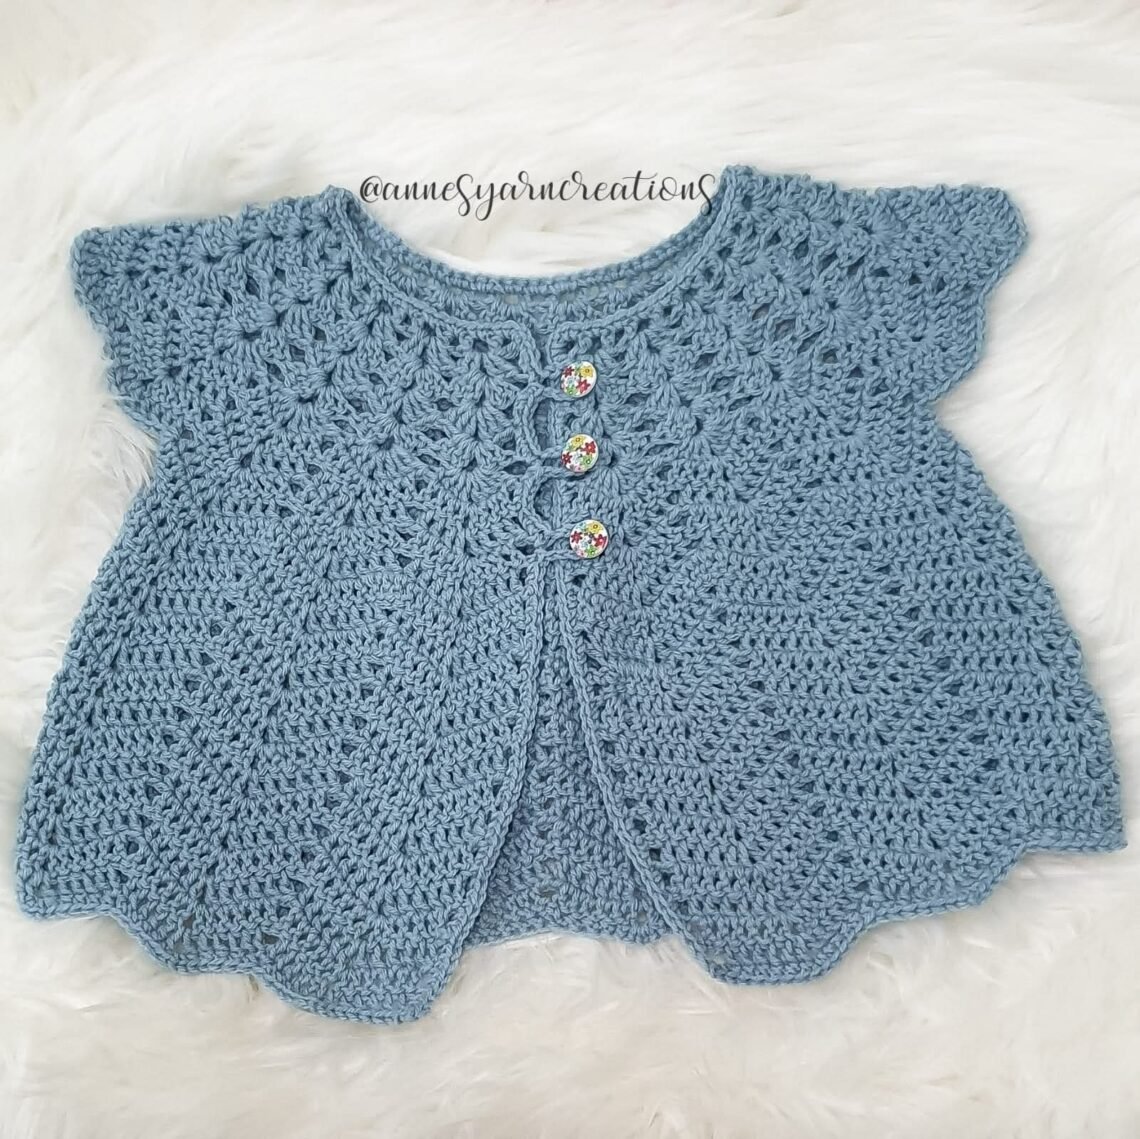
Hello there my fellow crochet lovers!
Ever since, I and my husband found out that we’re going to have a baby girl, I couldn’t stop myself but to create crochet items for our little one – may it be a blanket, a dress, a bonnet, or anything.
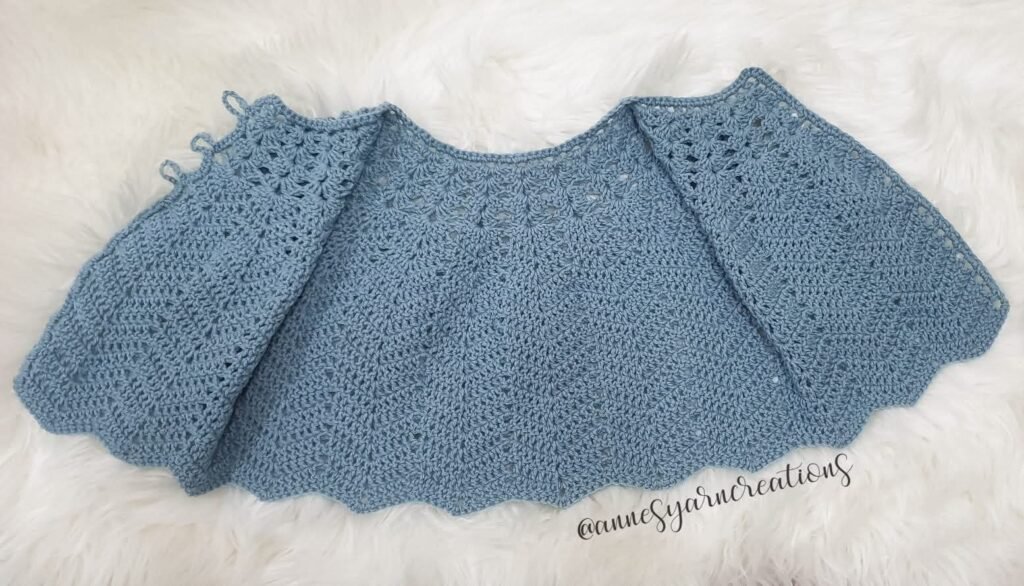
Now, I have just finished this frock for our baby and it turned out so cute and comfy! The pattern itself is actually repetitive. Using the shell stitch, this product will make a unique, eye-catchy yet really cute garment.
I have written the whole pattern on this blog and I’m hoping you’ll like it. The pattern is totally easy and beginner-friendly, you’ll be able to memorize it right after few rows! You can even do it with eyes closed. Haha! Hope you like this pattern…
Legend:
CH – chain
HDC – half double crochet
DC – double crochet
ST / st – stitch
*** *** repeat this pattern to complete the row
Materials Used:
- DMC 100% Baby Cotton Light Blue – With this pattern, I have used 2 full balls of yarn.
- 4.0 mm Crochet Hook
- A pair of scissors
- A tapestry needle
- A stitch marker
- Colorful wooden / plastic buttons for closure
- Your own customized handmade labels or handmade buttons (optional)

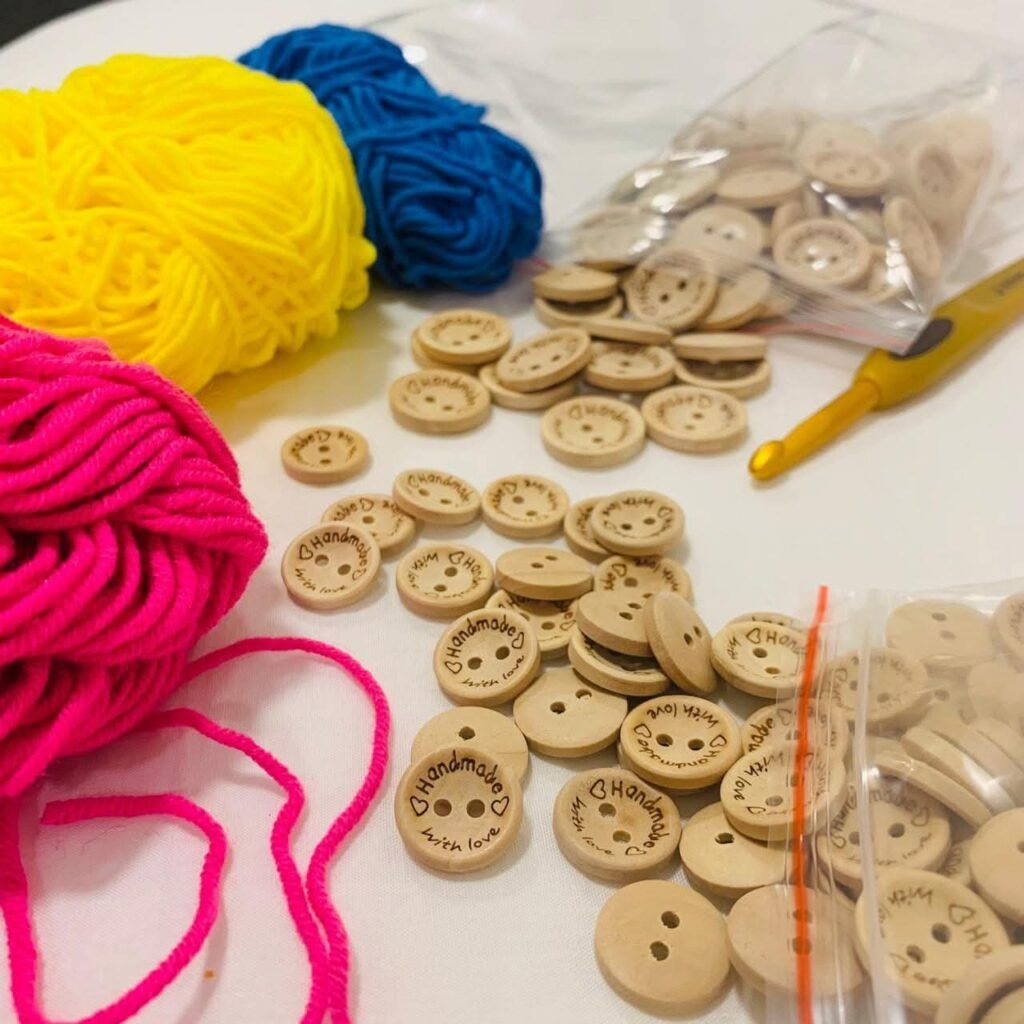
Check these: Customized Labels For Your Handmade Products: Where To Get
The Start
Row 1
CH – 86, skip 4 st, HDC on 5th CH from the hook,
***(CH – 1, skip 1 st, HDC – 1 on the next st)***
***repeat this pattern to complete the row***
TOTAL CH – 1 spaces = 41
Row 2
CH – 3, turn your work around,
***(skip 1 space, DC – 2, CH – 1 , DC – 2 on the next space)***
***repeat this pattern to complete the row***
at the end, make DC – 1 on 2nd CH from the start of previous row
TOTAL SHELL ST = 20
Row 3 to Row 5
CH – 3 , turn your work around,
***(DC – 3, CH – 1, DC – 3) all into each CH – 1 space from the previous row***
***repeat this pattern to complete the row***
at the end, DC – 1 on 1st CH from the start of previous row
Row 6
CH – 3, turn your work around,
***(DC – 4, CH – 1, DC – 4) all into each CH – 1 space from the previous row***
at the end, DC – 1 on the last st
Row 7 to Row 8
CH – 3 , turn your work around, skip 1st st,
***make DC – 3 on the next 3 sts from the previous row,
then, (DC – 1, CH – 1 , DC – 1) into CH – 1 space from the previous row,
skip 2 sts in between the shells***
***repeat this pattern to complete the row***
at the end, make DC – 1 into the top of CH – 3 from the previous row
Row 9
CH – 3, turn your work around, skip 1st st,
***make DC – 3 on the next 3 sts from the previous row,
then, (DC – 2, CH – 1 , DC – 2) into CH – 1 space from the previous row,
skip 2 sts in between the shells***
***repeat this pattern to complete the row***
at the end, make DC – 1 into the top of CH – 3 from the previous row
Row 10
CH – 3, turn your work around, skip 1st st,
***make DC – 4 on the next 4 sts from the previous row,
then, (DC – 1, CH – 1 , DC – 1) into CH – 1 space from the previous row,
skip 2 sts in between the shells***
***repeat this pattern to complete the row***
at the end, make DC – 1 into the top of CH – 3 from the previous row
At this point, there should be a total of 20 shells on your work.
These 20 shells will be divided as follows:
3 shells – for the first half of front part
4 shells – for the first armhole
6 shells – for the whole back part
4 shells – for the second armhole
3 shells – for the second half of front part
Row 11
CH – 3,
DC – 5 on the next 5 sts,
***DC – 1 , CH – 1 , DC – 1*** (repeat this pattern for the first 3 shells)
***DC – 1 , CH – 1 , DC – 1*** (repeat this pattern for the next 4 shells)
***DC – 1 , CH – 1 , DC – 1*** (repeat this pattern for the next 6 shells)
***DC – 1 , CH – 1 , DC – 1*** (repeat this pattern for the next 4 shells)
***DC – 1 , CH – 1 , DC – 1*** (repeat this pattern for the last 3 shells)
Row 12
- Repeat Row 10 without any increase until desired length of frock.
- From this row onwards, we will not do increase and keep on doing the same pattern.
- You may do 16 rows or more for complete length.

The End
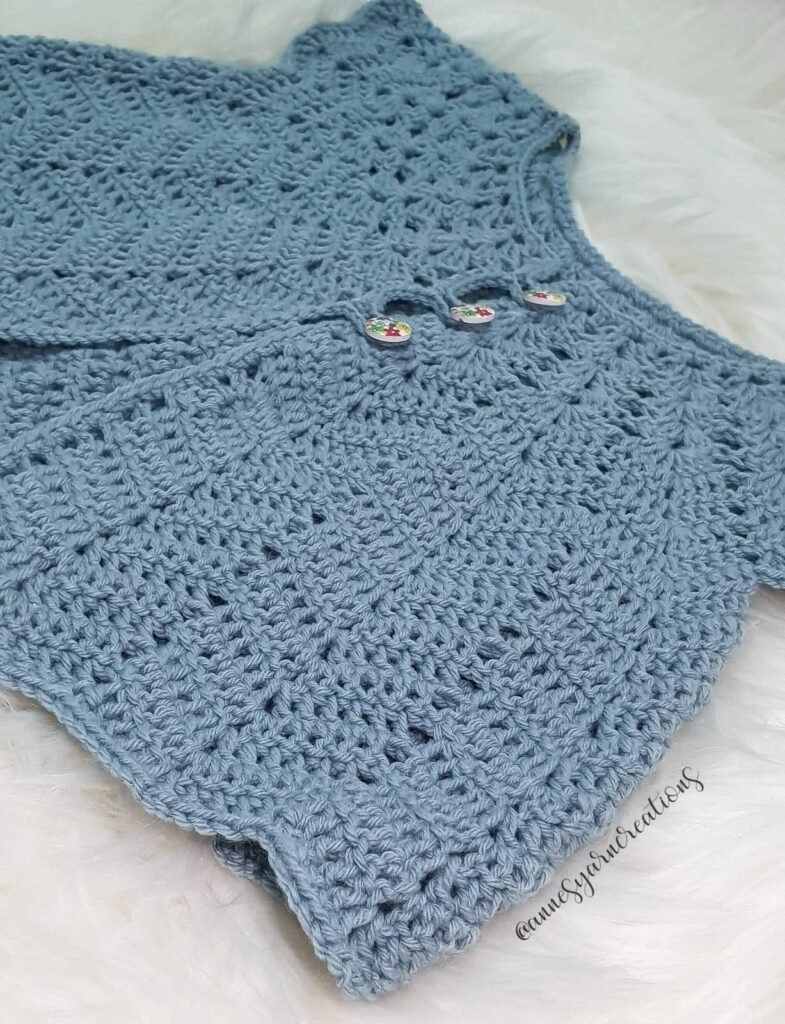
Once desired length has been achieved, you may do HDC along the edges, and SC on the bottom edges. You may also leave some holes on the edges of front seam to act as button holes – I did 3 holes, you may do more or less.
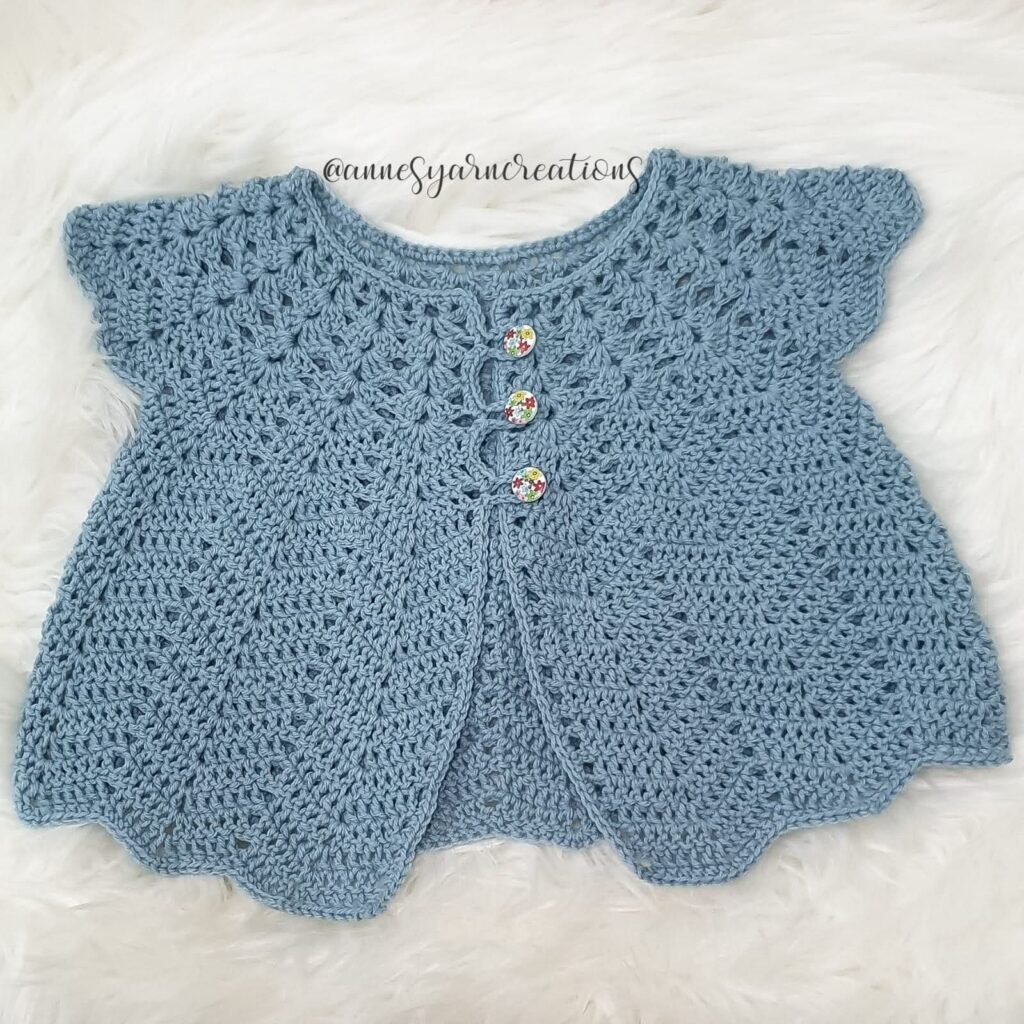
Here’s the end product:
Size: 27 cm (10.6″) by 36 cm (14.2″)
Color: Light Blue / Baby Blue
A Word From The Author
Finally!! This project is so lovely and easy to make, it is so comfy, just perfect for our little angels. This pattern would also be very great for adult blouses or dresses which I’m planning to make soon! Gonna share the result here for sure.
Would love to see your projects! You may comment down below and shows us your variations
Please don’t forget to Like & Follow Anne’s Yarn Creations:
Facebook: Anne’s Yarn Creations
Instagram: @annesyarncreations
Crochet Blanket Free Pattern: Using Harlequin Stitch
Crochet Baby Blanket Free Pattern: ‘Virus Blanket’
Crochet Water Bottle Holder Free Pattern: Mesh
Crochet Water Bottle Holder Free Pattern: Mesh With Shell
Crochet Bonnet Free Pattern: Slouchy Reggae Hat
Crochet Bonnet Free Pattern: Using The ‘Cable Stitch’
Crochet Bonnet Free Pattern: Using ‘Diamond Stitch’
Crochet Bonnet Free Pattern: For Newborns
Crochet Halter Top Free Pattern: Creamfringe Design
Crochet Table Runner Free Pattern: Using Chevron Stitch
© 2021 by Anne’s Yarn Creations and published with permission by Life Mag Health. This pattern is for personal use only. You may use the pattern to make unlimited items for yourself, for charity, or to give as gifts. You may sell items you personally make by hand from this pattern. Do not violate Anne’s Yarn Creations’ copyright by distributing this pattern or the photos in any form, including but not limited to scanning, photocopying, emailing, or posting on a website or internet discussion group. If you want to share this pattern, point your friends to this link - https://pinoyupnorth.com/crochet-baby-frock-free-pattern-using-shell-stitch/. Thanks for supporting freestyle designers
Originally Published: February 10, 2022
Updated: August 2026


Very adorable!! I wish I could learn how to crochet so I can make cute pieces like this 🙂
Oh this is the most adorable thing Ive seen today. I would love to make it
This project is so lovely yet easy to make. Its great for our little babies!
I love it! I am such crochet lover and Ive been doing it as a hobby for years. I cannot wait to start this
That is a really pretty piece. It’s nice an easy, too. I think even beginners could probably make this one.
Okay this is the cutest ever! I would love to make one for my friend’s baby.
This looks very cute and with someone knows how to do it and have steady hand. It will be easy. Thank you for the tutorial!
This looks absolutely gorgeous!!! Might have to pick up this as a hobby again, but i may just ruin the design huhu
Hhhhmmm….alright then! I will surely share my variation here. I love this shell stitch!
Nice work of art.
Wow, to a novice like myself, this looks like a lot of work. Would love to try one day!