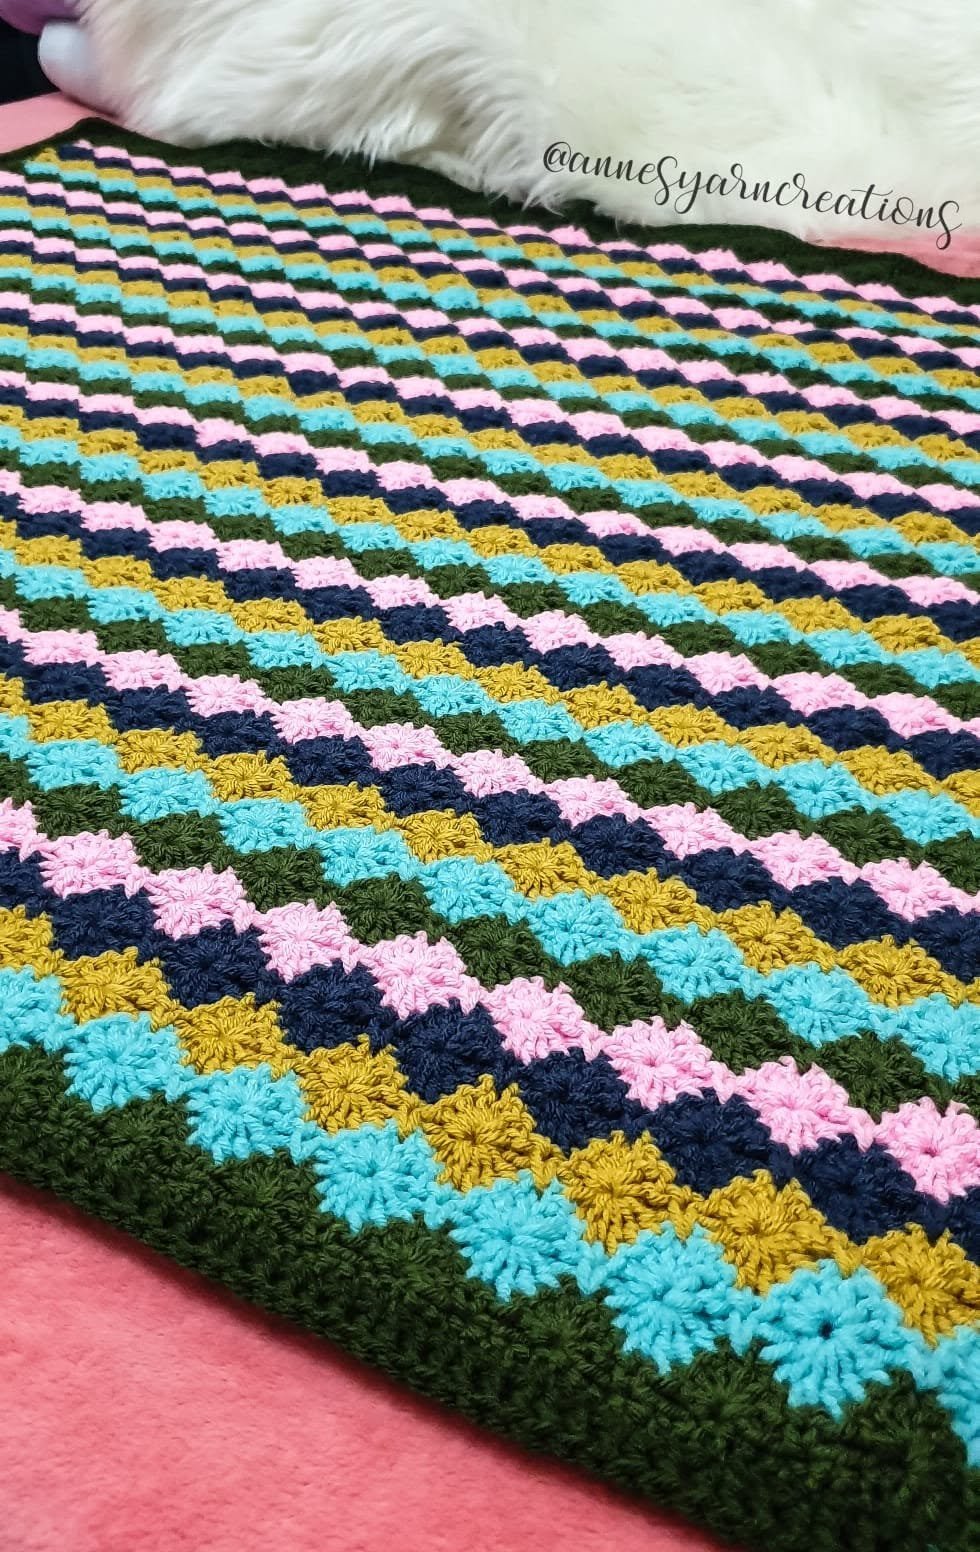
Hello there my fellow crochet lovers! I have been yearning to make a blanket using the Harlequin Stitch pattern because aside from its unique design, the result of mixing colored yarns or just using the gradient ones looks really magnificent and eye-catching.
This was the first harlequin blanket I’ve made which is meant for our upcoming baby girl! I cannot contain my joy and excitement that I started to make crochet products for her! 🙂
I have written the whole pattern on this blog and I’m hoping you’ll like it. The pattern itself is actually repetitive, you’ll be able to memorize it right after the 6th Row! You can even do it with eyes closed. Haha! Hope you like this pattern…
Legend:
CH – chain
DC – double crochet
SL ST – slip stitch
ST / st – stitch
DC – 3 tog – double crochet 3 together
DC – 6 tog – double crochet 6 together
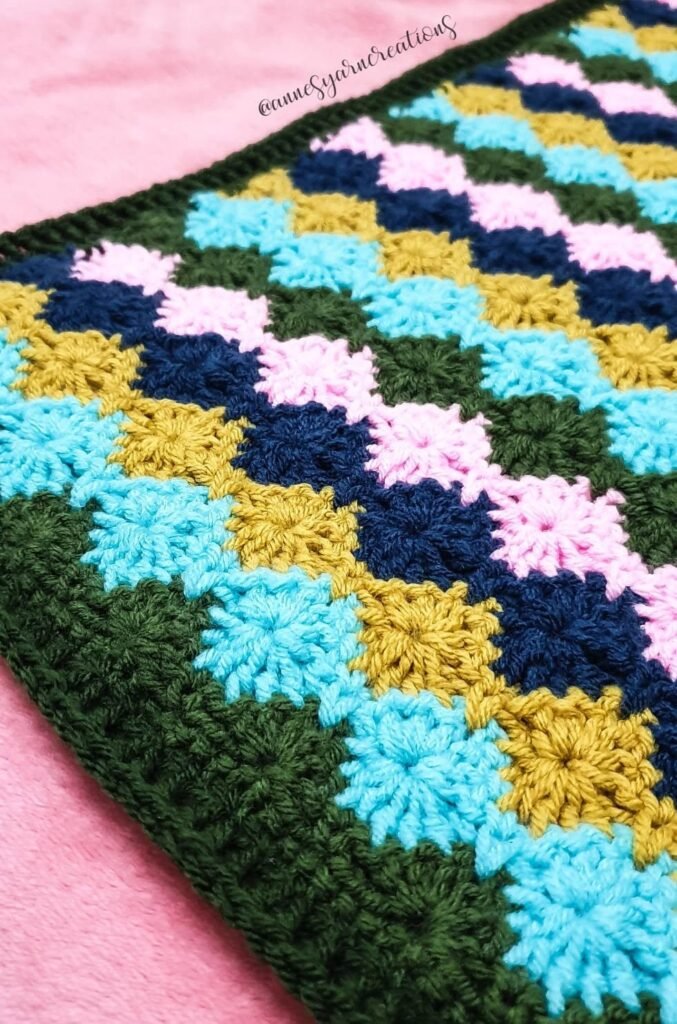
‘eye of the star’ – term used to describe the start formed in the middle of a ‘harlequin stitch’
*** *** repeat this pattern to complete the row
Materials Used:
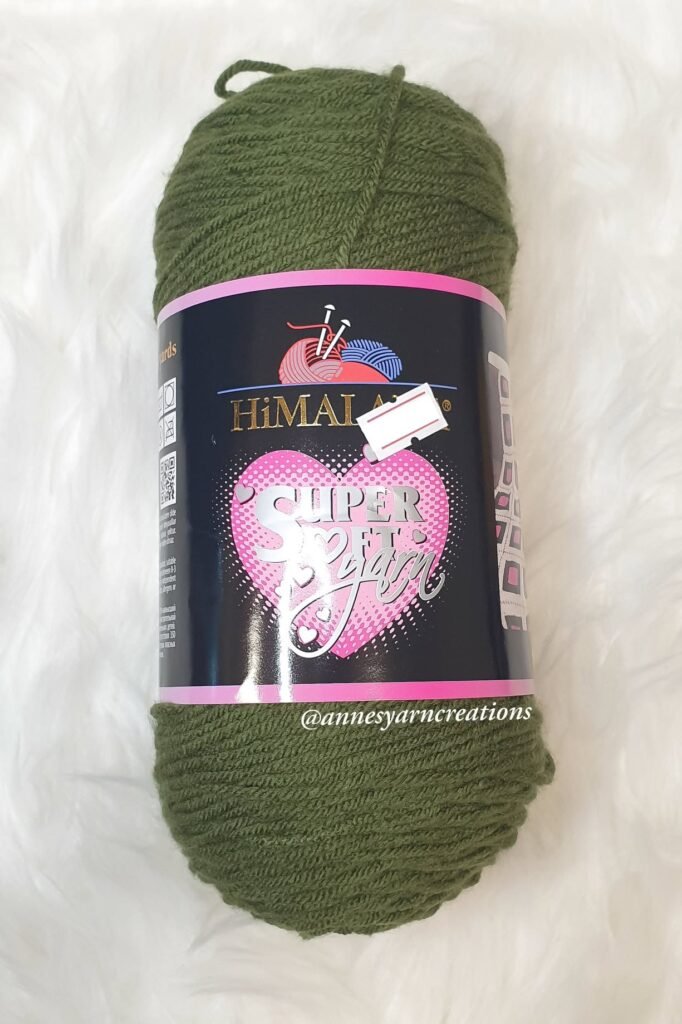
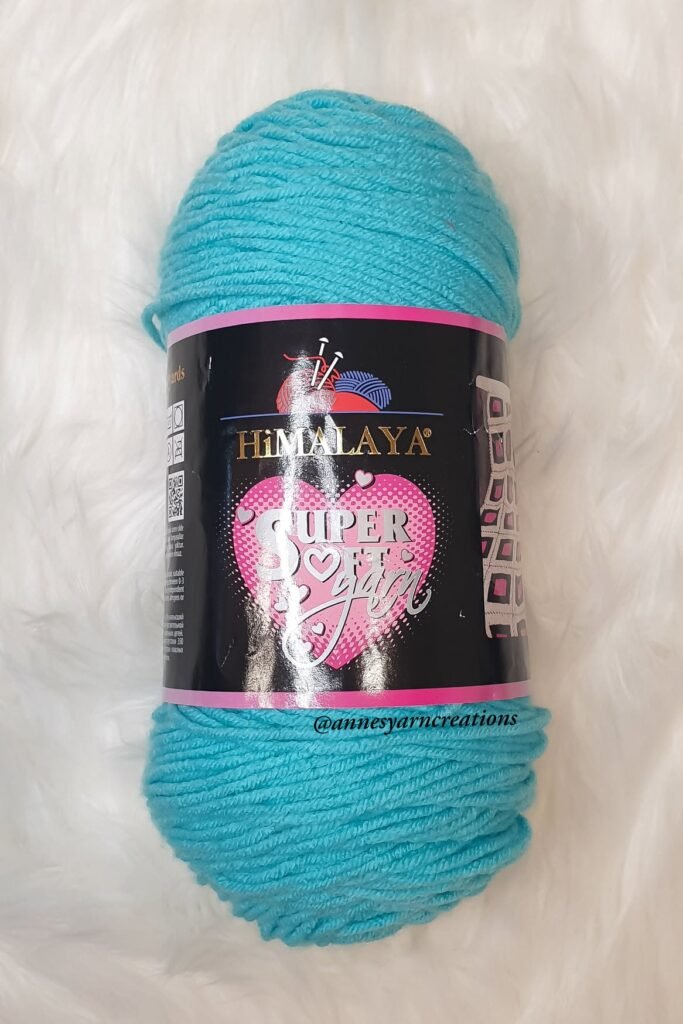
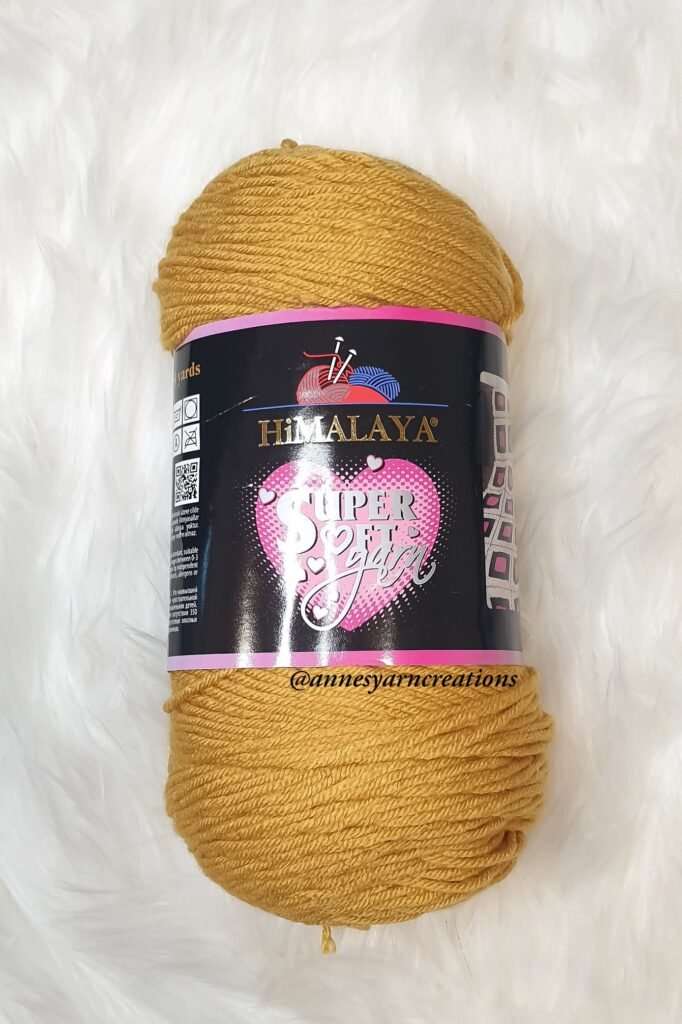
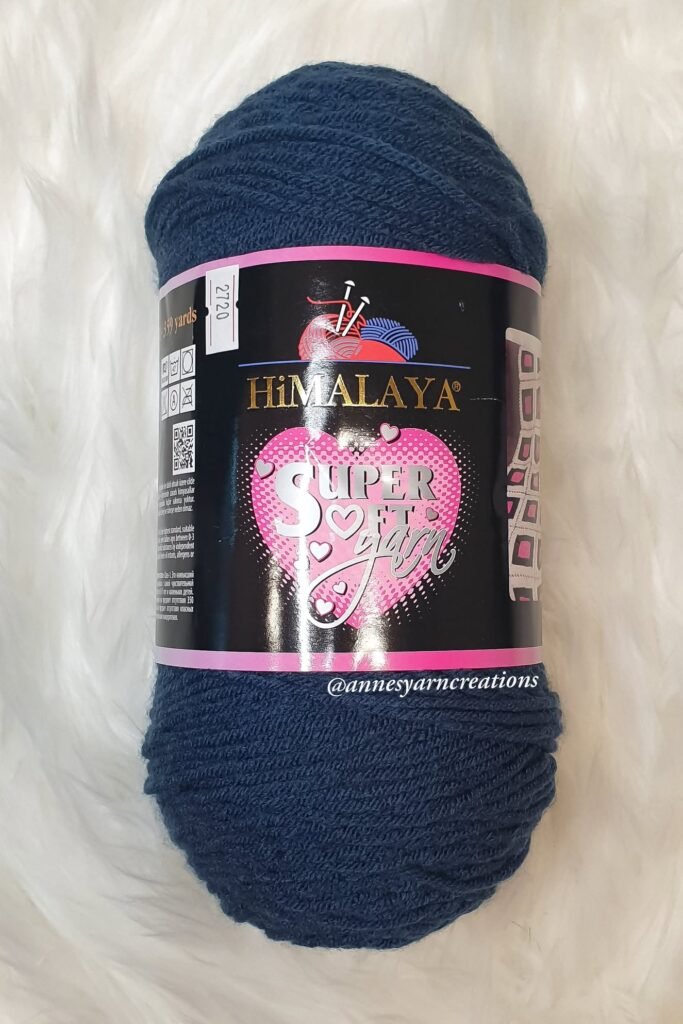
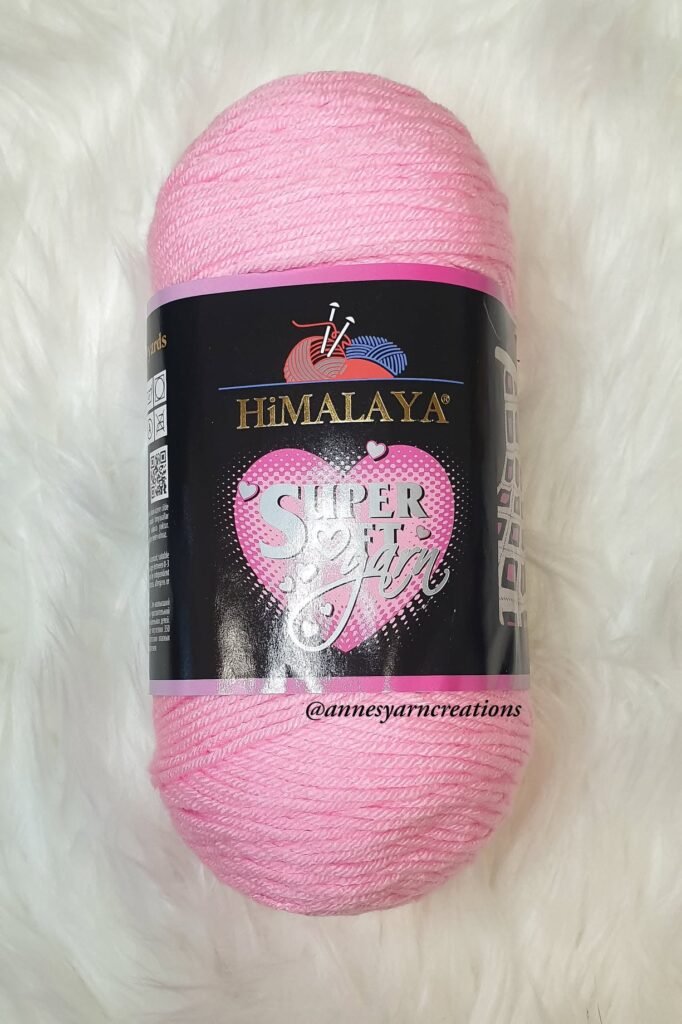
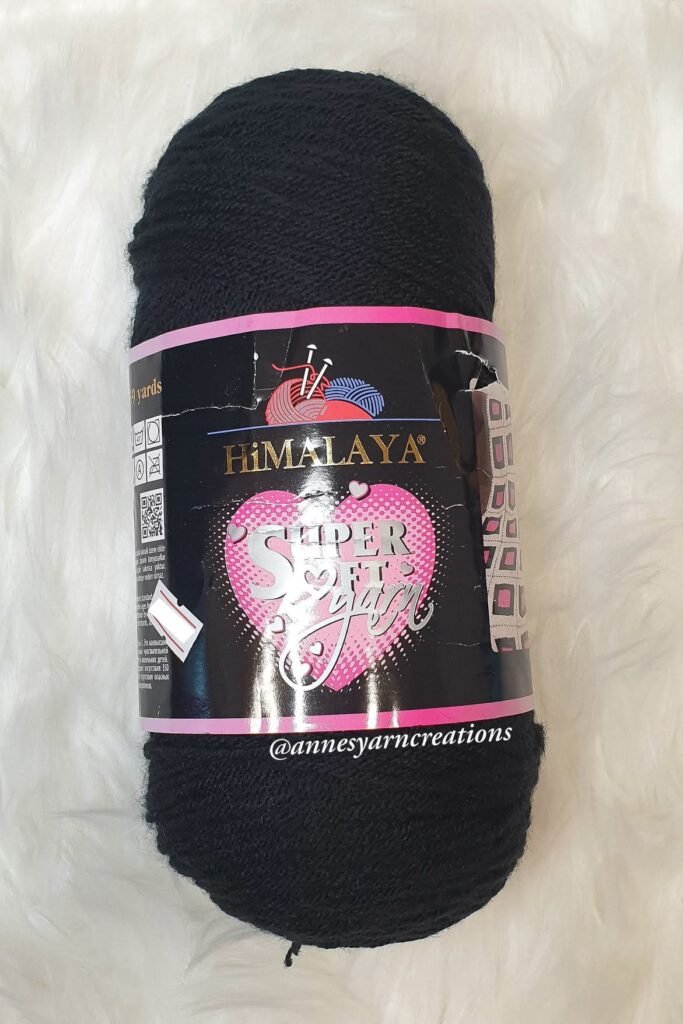
- Himalaya Super Soft Yarn Cake 200g – In this project, I’ve used 5 colors of yarn and only small amount of each yarn was left when I finished
- 4.0 mm Crochet Hook
- A pair of scissors
- A tapestry needle
- A stitch marker
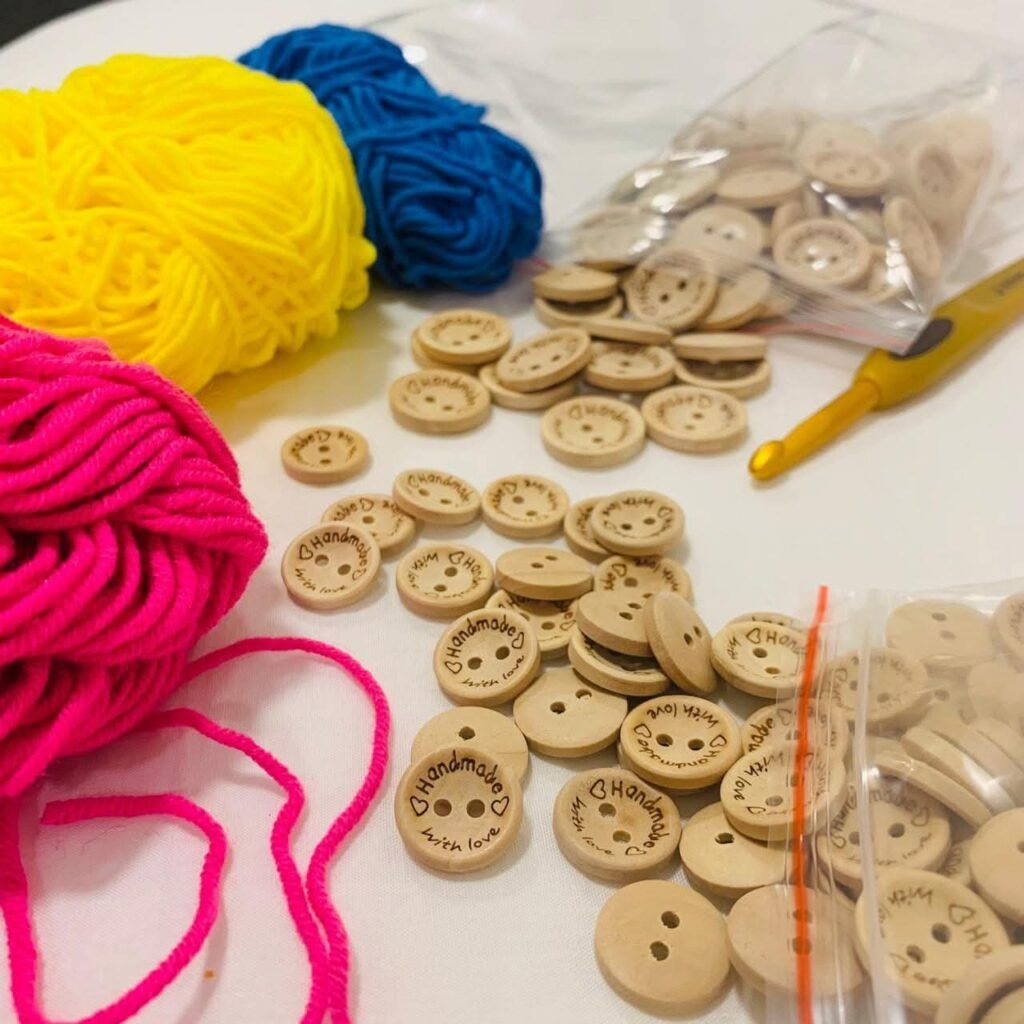
- Your own customized handmade labels or handmade buttons (optional)

Check these: Customized Labels For Your Handmade Products: Where To Get
Start
Chain in multiples of 8’s, plus 2 at the end
(as for this project, I chained 25 multiples of 8’s, and that’s a total of 200 chains plus 2 chains as mentioned)
Row 1:
Make SC on the 2nd chain from the hook, continue making SC until the end of the row
Row 2:
CH – 1, turn your work, sc on 1st st, then skip 3 sts,
(DC – 3 on 4th st, then ch – 1, DC – 3 on the same st,
skip 3 st, SC on 4th st, skip 3 st)
*** repeat this pattern until the end of the row***
at the end, skip 3 st, SC – 1 on end, then change the color of your yarn
Row 3:
CH – 4, turn you work, DC – 3 tog on the next 3 sts,
(CH – 7, skip CH – 1 space below, make DC – 6 tog on the next 6 sts)
***repeat this pattern until the end of the row***
at the end, make DC – 3 tog, DC – 1 on the last st
Row 4:
CH – 4 , turn your work, make DC – 3 on ‘eye of the star’,
(SC – 1 on CH – 1 space from Row 2 while including the CH – 7 from row 3,
DC – 3 on ‘eye of the star’, CH – 1, DC – 3 on the same ‘eye of the star’)
***repeat this pattern until the end of the row***
at the end, DC – 3 on ‘eye of the star’, DC – 1 on last, then change the color of yarn
Row 5:
CH – 4, turn your work, make DC – 6 tog on each DCs from previous row,
(CH – 7, skip CH – 1 space, DC – 6 tog)
***repeat this pattern until the end of the row***
at the end, CH – 3, SC – 1 on 4th chain
Row 6:
CH – 1 , turn your work,
(DC – 3 on ‘eye of the star’, CH – 1, DC – 3 on the same ‘eye of the star’,
SC – 1 on CH – 1 space from Row 4 while including the CH – 7 from row 5)
***repeat this pattern until the end of the row***
at the end, change the color of your yarn
Row 7 onwards:
Keep repeating the same pattern from Row 3, 4, 5 and 6 until you’ve reached your desired blanket length.
2nd to the Last Row:
**no need to change the color of your yarn unless you prefer to
CH – 4,
(DC – 1, HDC – 1, SC – 3, HDC – 1, DC – 1) ***repeat this pattern until end of the row***
at the end, DC – 1 on the very last st
Last Row:
CH – 1, SC until end of the row
End
You may finish your work by cutting the yarn and weaving the ends from the last row and the sides of the blanket. You might want to weave a long end of yarn since this is a blanket and will be used for long time.
I made this blanket for our upcoming baby girl and I hope she loves it. 🙂
You may continue the doing the pattern as many rows as you like based on your desired length. You may also use plain-colored yarns and switch colors every after few number of rows. For sure, it would turn out really cute too!
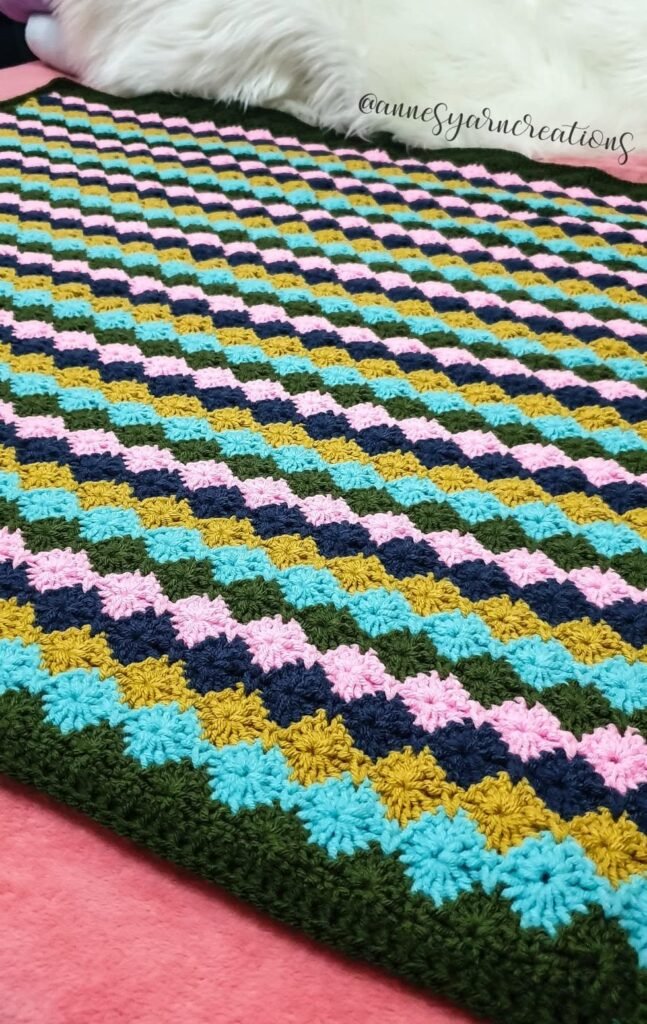
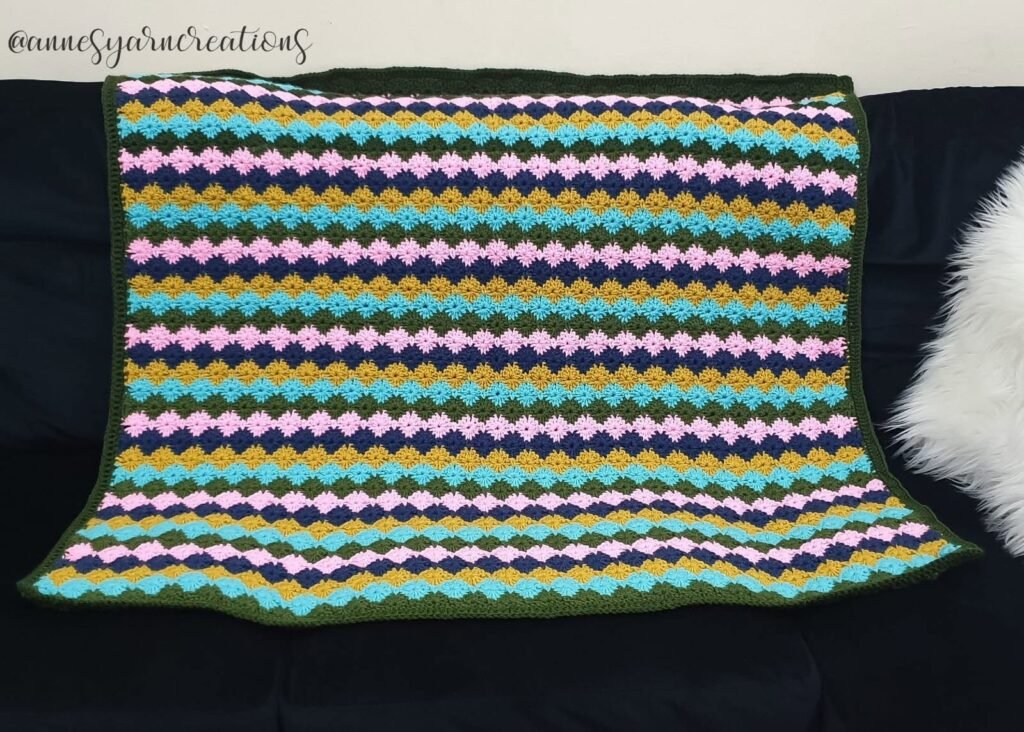
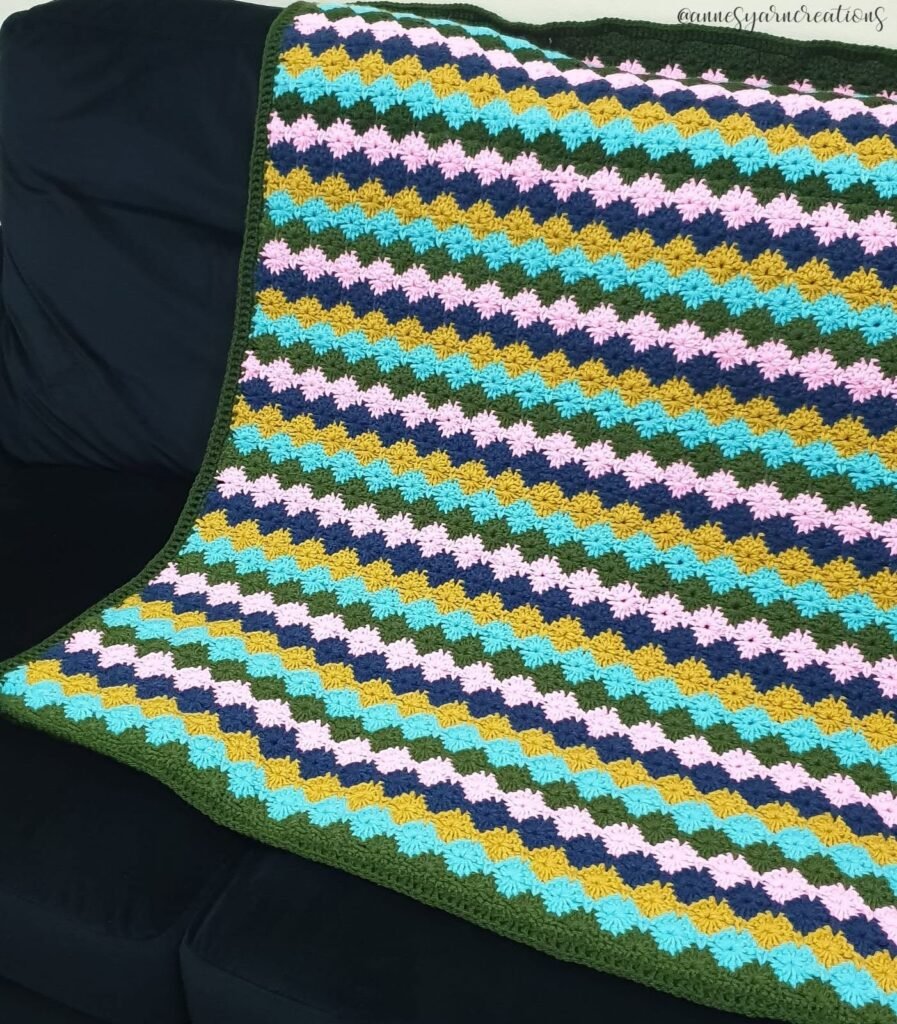
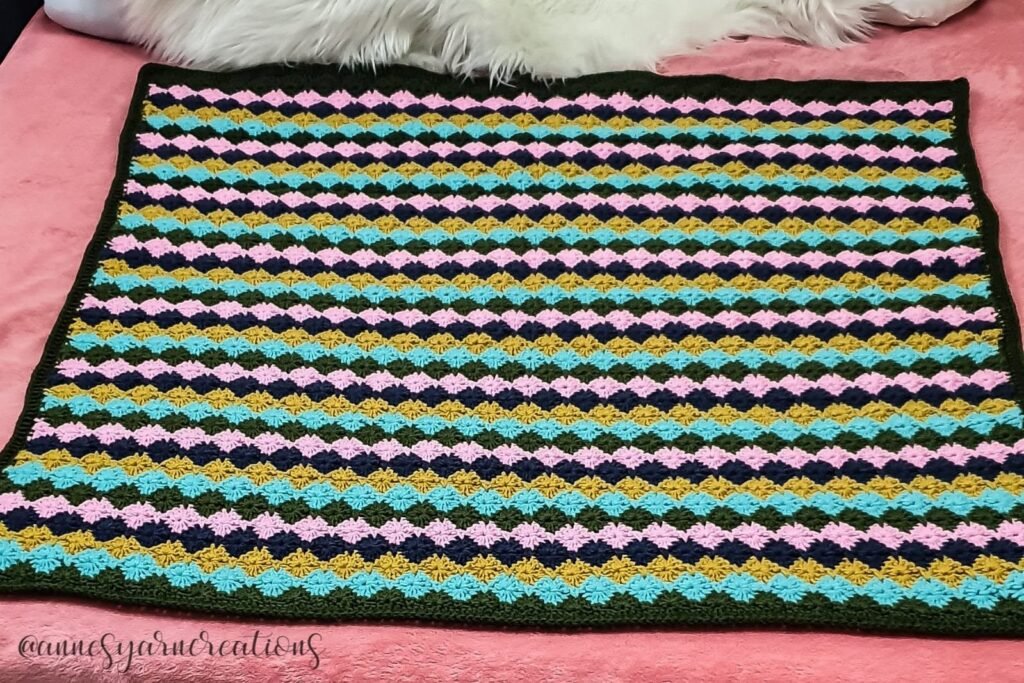
Here’s the end product:
Size: 110 cm (43.3″) x 98cm (38.6″)
Color: Multi-color
A Word From The Author
Finally!! This project is so lovely and easy to make, it is so comfy perfect for our little angels. This pattern would also be very great for adult blankets which I’m planning to make soon! Gonna share the result here for sure.
Would love to see your projects! You may comment down below and shows us your variations
Please don’t forget to Like & Follow Anne’s Yarn Creations:
Facebook: Anne’s Yarn Creations
Instagram: @annesyarncreations
Crochet Baby Blanket Free Pattern: ‘Virus Blanket’
Crochet Water Bottle Holder Free Pattern: Mesh
Crochet Water Bottle Holder Free Pattern: Mesh With Shell
Crochet Bonnet Free Pattern: Slouchy Reggae Hat
Crochet Bonnet Free Pattern: Using The ‘Cable Stitch’
Crochet Bonnet Free Pattern: Using ‘Diamond Stitch’
Crochet Bonnet Free Pattern: For Newborns
Crochet Halter Top Free Pattern: Creamfringe Design
© 2021 by Anne’s Yarn Creations and published with permission by Life Mag Health. This pattern is for personal use only. You may use the pattern to make unlimited items for yourself, for charity, or to give as gifts. You may sell items you personally make by hand from this pattern. Do not violate Anne’s Yarn Creations’ copyright by distributing this pattern or the photos in any form, including but not limited to scanning, photocopying, emailing, or posting on a website or internet discussion group. If you want to share this pattern, point your friends to this link: https://pinoyupnorth.com/crochet-blanket-free-pattern-using-harlequin-stitch/. Thanks for supporting freestyle designers!
Originally Published: February 1, 2022
Updated: August 2026


I just found my new hobby. This was inspiring for me to start Crochet
I haven’t had the chance to even finish a piece of thing when it comes to crocheting. I ended up starting over again especially when I missed the steps. I guess I need to relearn this again. Thanks for this!
Super handy instruction for those who wanna attempt doing this! I could see the detail in your work. Great job!
This is really good, I sent to my friend as she loves these. It looks soooo beautiful.
My daughter loves to crochet. I’m going to see if she can do this stitch!
What a pretty blanket! I love the colors and the pattern. You have a lot of patience to make this – I am impressed with the final product.
Wow….this is very pretty, a blanket! I am very optimistic she will love it. Thanks for sharing your guide on making it.
This is a perfectly timed article, as I was thinking about taking this up as a hobby. So will deffo be giving it a go now. Thank you x
Oh my! This is pretty cool! I love those patterns! Thanks for sharing
I quite enjoy the odd crochet moment {when I have the time} but I have never tried this stitch before, so thank you for sharing!
Oh its so pretty! Love it!