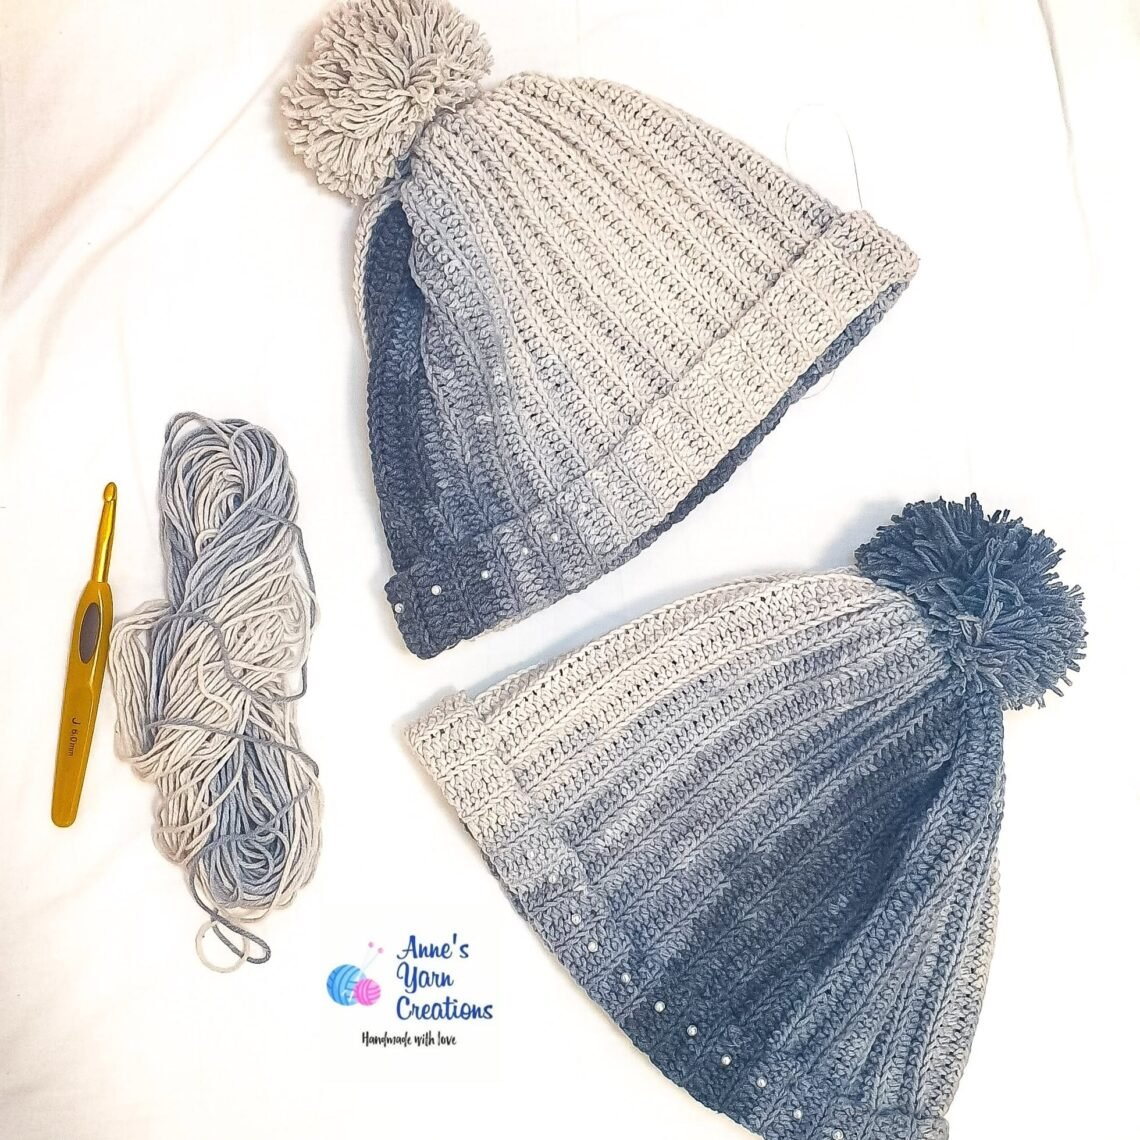
Hello there my fellow crochet lovers! I have a new hat pattern for you and I really love this one so much. This may not be the easiest in my beanie tutorials but its appearance is very pretty and it’s so fun to do!
Legend:
CH – chain
SC – single crochet
HDC – half double crochet
DC – double crochet
BPDC – back post double crochet
FPDC – front post double crochet
TC – triple (“trebble”) crochet
FPTC – front post triple crochet
SL ST – slip stitch
ST / st – stitch
Materials Used:
- Nako Vizon Simli Color No. 6578PB – 100g Yarn
- 4.0 mm Crochet Hook
- A pair of scissors
- A tapestry needle
- A stitch marker
- Your own customized handmade labels (optional)
- Pompom maker (optional, you may also use ready-made pompom which can be bought from craft shops)
Check these: Customized Labels For Your Handmade Products: Where To Get
Notes:
- When you see *( )** it means you repeat the instructions until the end of the row.
- Where you see the word turn it means to turn your work clockwise and work back down the row.
Making the Bonnet:
Start:
Row 1: SL ST, then CH – 72, SL ST on the very first CH, then CH – 2 (not counted as DC), make DC on back loop st only, repeat until the end, SL ST
***you may increase the number of Chains in group of 12’s based on your preference
***CH – 72 is for adult woman size
Row 2: CH – 2 (not counted as DC), (FPDC-1 on 1 ST, FPDC-1 on 1 ST, BPDC-1 on 1 ST) X repeat until the end of the row, then SL ST
Row 3 – Row 6: CH – 2, repeat the pattern same as Row 2
***making a total of 5 rows with this same pattern
Row 7: Ch2 (not count) 2fpdc+1hdc in the bpdc of previous row+2fpdc+2fpdc in the bpdc of previous row+
*(2fpdc+1hdc+2fpdc+1hdc+2fpdc+1hdc+2fpdc+2pfdc in the bpdc of previous row)**
You will finish the row7 with a hdc.
Row 8: Ch2 (not count) 2fpdc+1hdc+
*(2fpdc+yarn over twice and skip 2st+insert your hook from the 3rd st and make a fptc+yarn over twice and make a fptc in the 4th st+yarn over twice and turn back to the 1st st front of the treples and make a fptc in the 1st st+yarn over twice and turn back to the 2nd st front of the trebbles and make a fptc in the 2nd st+1hdc+2fpdc+1hdc+2fpdc+1hdc)**
Row 9: Ch2(not count) 2fpdc+1hdc+
*(skip 2 st+yarn over twice and make a fptr in the 3rd st+yarn over twice and make a fptc in the 4th st+yarn over twice and make a fptc in the 1st st behind from the trebbles +yarn over twice and make a fptc in the 2nd st behind from the trebbles+2fpdc+1hdc+2fpdc+1hdc+2fpdc+1hdc)**
Repeat Row 8 and Row 9 until your bonnet size is 6 inches long.
Start to decrease from the repeat of Row 2.
Decrease Row 1: Ch2(not count)+decrease 2 fpdc to the 1 fpdc
(yarn over insert the 1st fpdc and take a yarn and pull through 2 yarns+insert the 2nd fpdc take a yarn and pull through 2 yarns and you have 3 yarns on your hook pull through together)+1hdc+
*(2fpdc+skip 2st+make a fptr in the 3rd st+make a fptr in the 4th st+turn back front of the treples and make a fptr in the 1st st+make a fptr in the 2nd st+1 hdc+decrease 2 fpdc to the 1 fpdc +1hdc+decrease 2 fpdc to the 1 fpdc +1hdc)**
Decrease Row 2: Ch2 (not count)+1 fpdc+1hdc+*(yarn over twice,skip 2 st and make a fptr in the 3rd st+make a fptr in the 4th st+make a fptr in the 1st st behind of the treples+make a fptr in the 2nd st behind of the treples+2fpdc+1hdc+1fpdc+1hdc+1fpdc+1hdc)**
Decrease Row 3: Ch2 (not count)+1fpdc+1hdc+
*(decrease 2 fpdc to the 1 fpdc + yarn over twice and insert the 3rd st,take a yarn and pull through 2 step and you have 2 yarns on your hook+
+yarn over twice and insert the 4th st,take a yarn and pull through 2 step,you have 3 yarns on your hook and pull through all together (so you decrease 2 fptr to the 1 fptr)+
yarn over twice and insert the 1st stfrom front of the treples,take a yarn and pull through 2 step and you have 2 yarns on your hook+ yarn over twice and insert the 2nd st from the front of the trebbles,
take a yarn and pull through 2 step,you have 3 yarns on your hook and pull through all together,
(so you decrease 2 fptr to the 1 fptr)+1hdc+1fpdc+1hdc+1fpdc+1hdc)**
Decrease Row 4: Ch2 (not count)+make a fphdc in the fpdc of previous row+skip 1st in the hdc of previous row+*(yarn over and skip the 1st st and make a fpdc in the 2nd st+turn back to the 1st st behind the fpdc and make a fpdc+1fpdc+skip 1st in the hdc of previous row+insert your hook from the fpdc and pull through 2 yarns+skip 1st in the hdc of previous row+insert your hook from the 2nd fpdc and pull through 2 yarns you have 3 yarns on your hook and pull through together+skip 1st in the hdc of previous row)**
Decrease Row 5: Ch2(not count)+ crochet the 1st and the last st together and make a fpdc+ make a fpdc in every st.
Decrease Row 6: Ch2(not count)+*(crochet 2 fpdc together and decrease to the 1 fpdc)**
***You can sew to close your beanie since you decreasing rows are enough.
Cut the yarn while leaving a short allowance around 2-inch length for darning.
Hide the yarn ends.
**Start with the wrong side facing you.
**Thread your sewing needle with the yarn tail.
**Insert the needle and yarn under the two strands at the back of your stitches.
**Repeat this for a few stitches.
**Move down a row and work back in the opposite direction to secure your yarn tail.
**Cut the excess yarn.
Making the Pompom:
- Begin by wrapping the yarn around one of the arms. Stop when the arm is full and looks like the picture below.
2. Cut your yarn and fold the full side back to the middle. Repeat the wrapping on the other side.
3. Cut your yarn and fold the two arms back to the middle.
4. Now take a pair of sharp scissors and cut around the outside of the pompom maker.
5. Cut a length of yarn approximately, wrap it around the circumference of the circle several times and tie a secure knot. Make sure you leave a long enough tail so that you can sew the pompom to your hat. We recommend you give your pompom a trim to make sure it’s looking .
6. Ta da! You have a big squishy pompom with minimum fuss and maximum fun!
Learn How To Make Pompoms using a Pompom maker.
Finished Product:
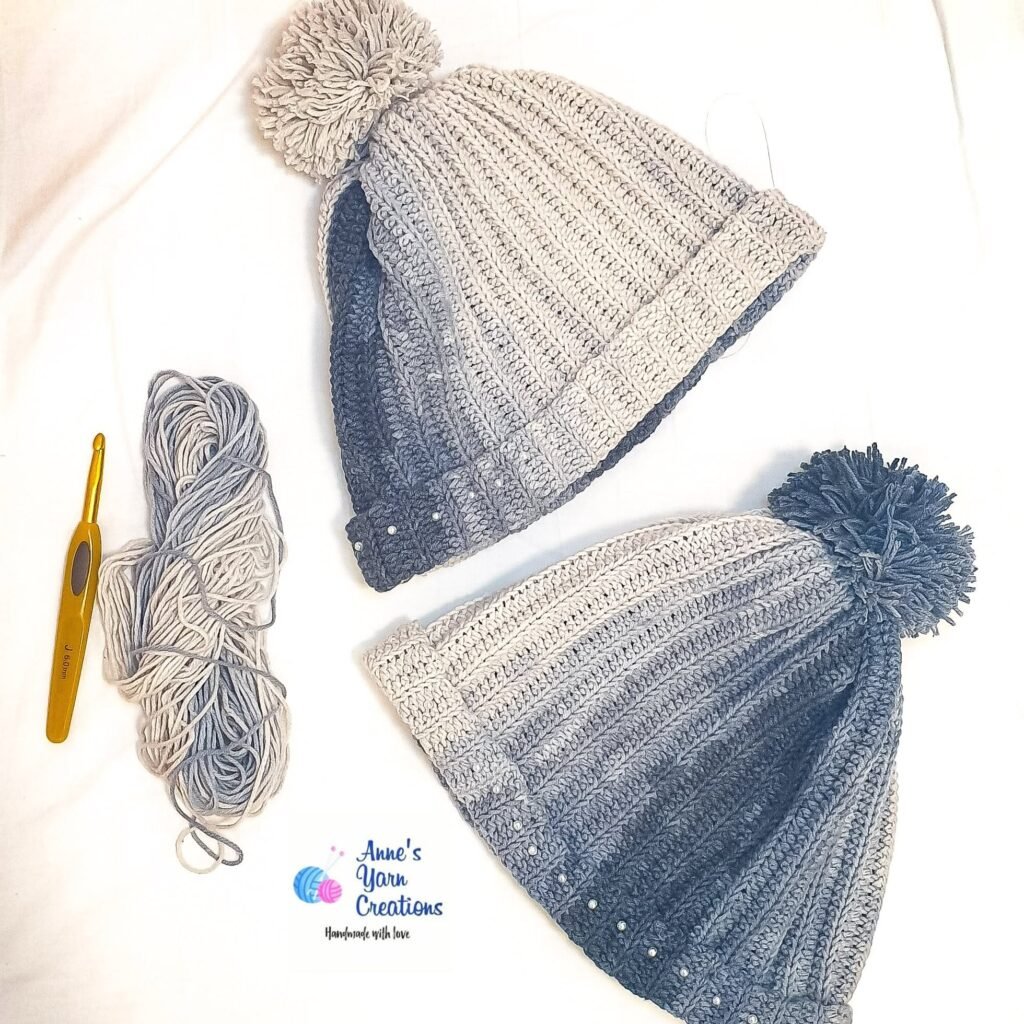
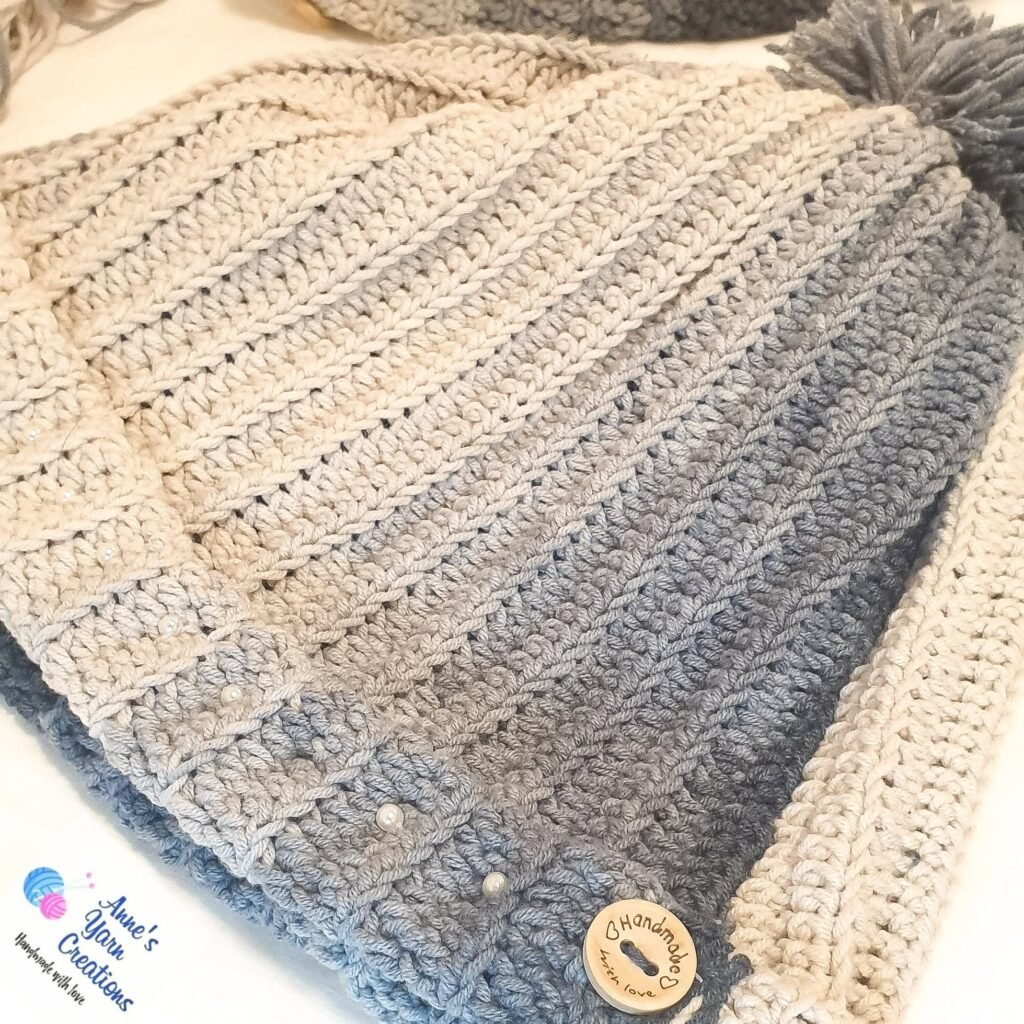
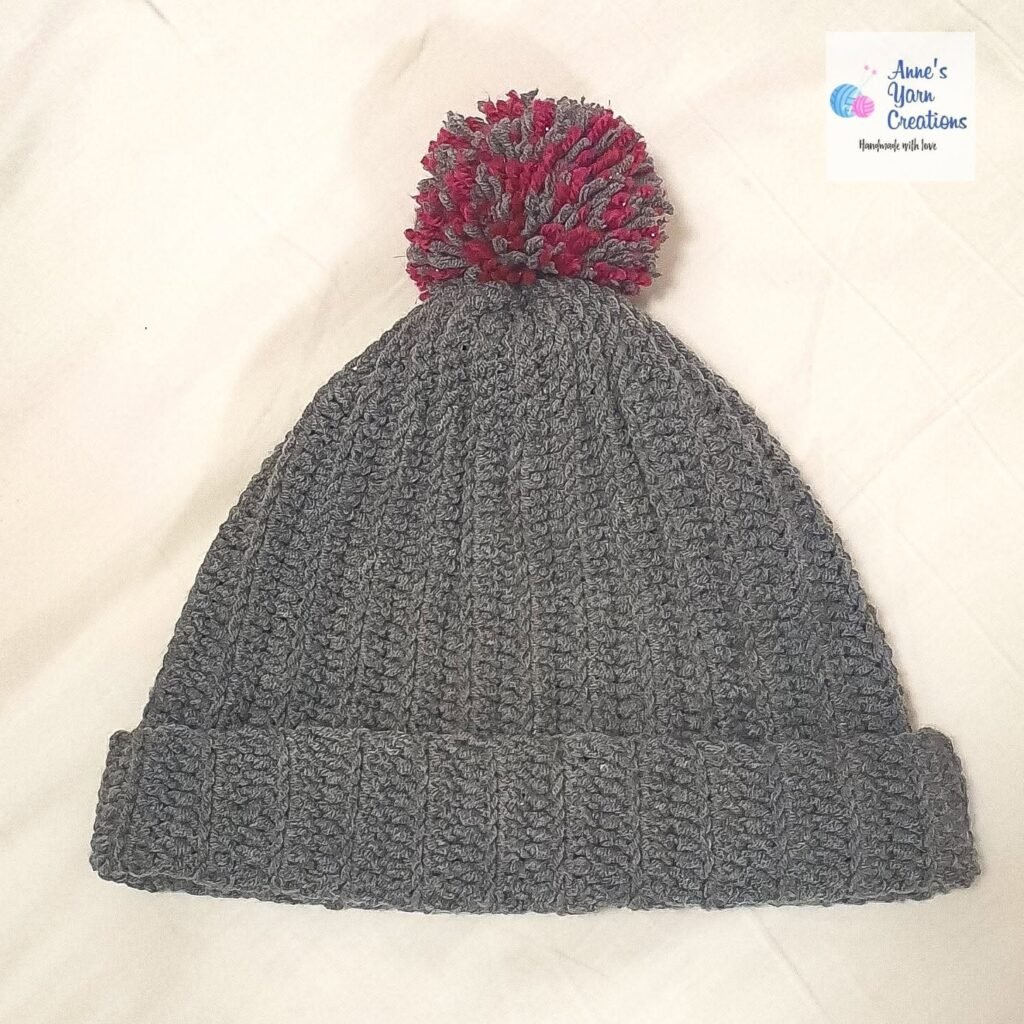
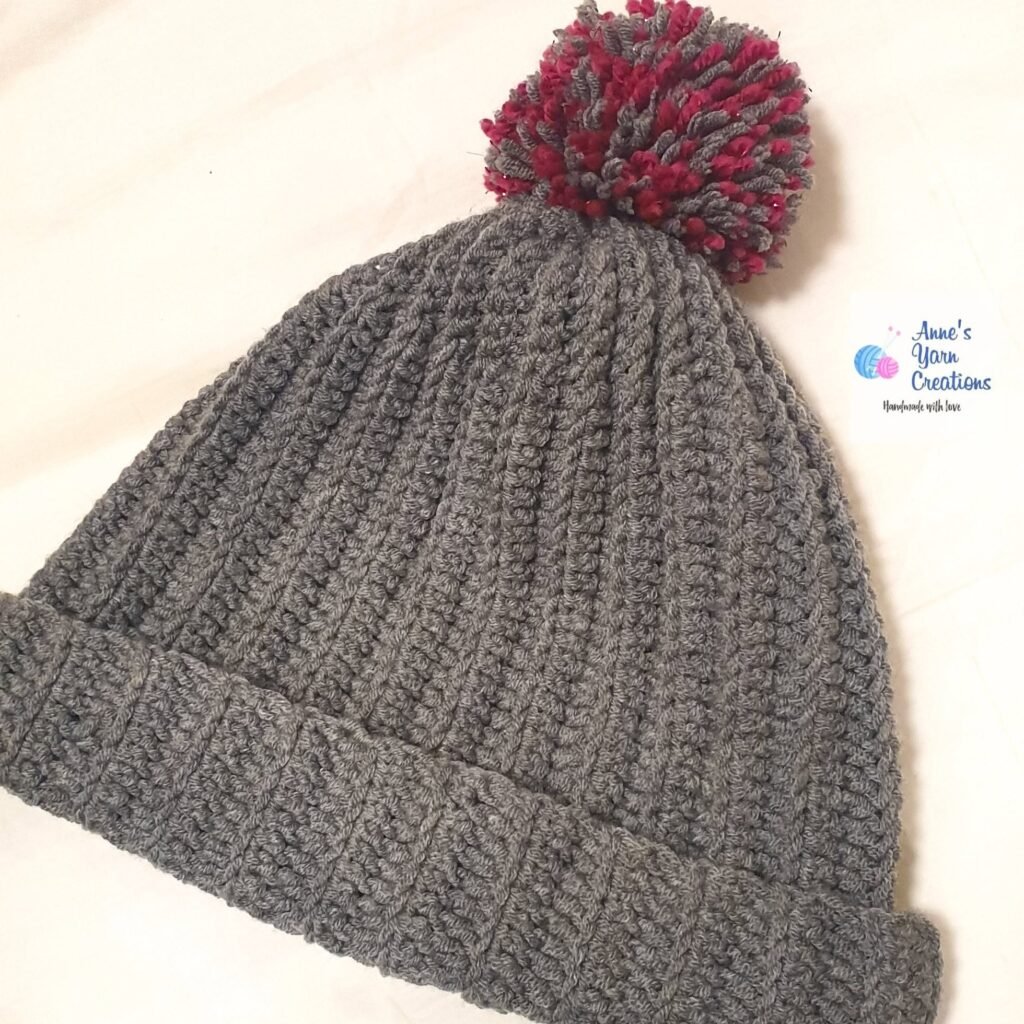
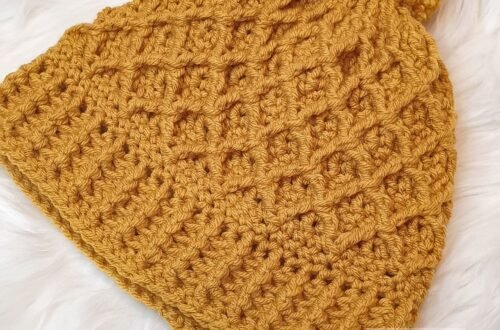
And here’s how it looks after sewing the pompom to the bonnet. Looks cute isn’t it?
A Word From The Author
Finally!! This project is so lovely and easy to make, it is so light, comfy and soft.
Would love to see your projects! You may comment down below and shows us your variation.
Please don’t forget to Like & Follow Anne’s Yarn Creations:
Facebook: Anne’s Yarn Creations
Instagram: @annesyarncreations
Crochet Halter Top Free Pattern: Creamfringe Design
Crochet Flower Pot Pattern: The Beauty of Handicrafts
Crochet Coasters Using Granny Square Stitch
Crochet Scarf Using Basic Pattern
My First Ever Crochet Project
© 2021 by Anne’s Yarn Creations and published with permission by Life Mag Health. This pattern is for personal use only. You may use the pattern to make unlimited items for yourself, for charity, or to give as gifts. You may sell items you personally make by hand from this pattern. Do not violate Anne’s Yarn Creations’ copyright by distributing this pattern or the photos in any form, including but not limited to scanning, photocopying, emailing, or posting on a website or internet discussion group. If you want to share this pattern, point your friends to this link: https://pinoyupnorth.com/crochet-bonnet-using-the-cable-stitch/. Thanks for supporting freestyle designers!
Originally Published: September 27, 2021
Updated: August 2026


This looks nice and warm too. Wonder how would it look like if it is made from a real wool.
That’s a great hat. I love cable knitting. I think it has such a cool look.
I’ve not crocheted in so many years. I was never good enough to make a hat. Great job!
This looks great and I love the colour you chose! Can’t wait to try it myself.
Very useful for a novice sticher! I’m trying to learn lots of different skills at the moment, crochet included.
I love this hat and the yarn you chose! I’m not familiar with how to crochet but I will save your pattern for my friend.
I love this! I might need to give this a try, I’ve been too nervous.
Oh I just love this hat. I love the color and it looks so light, comfy and soft
Wow….these are some of the most elaborate instructions I’ve read for the DIY! Thank you so much for sharing them.
I can’t do this for the love of god, Not my cup of tea. Anyways, loved the details you have shared above.
It turned out so cute!
I love this Crochet Bonnet Free Pattern! I will do crocheting on weekends. So nice!
I remember my mother with this. She opened her small business about crochet items and other stuffs! Love this bonnet too!