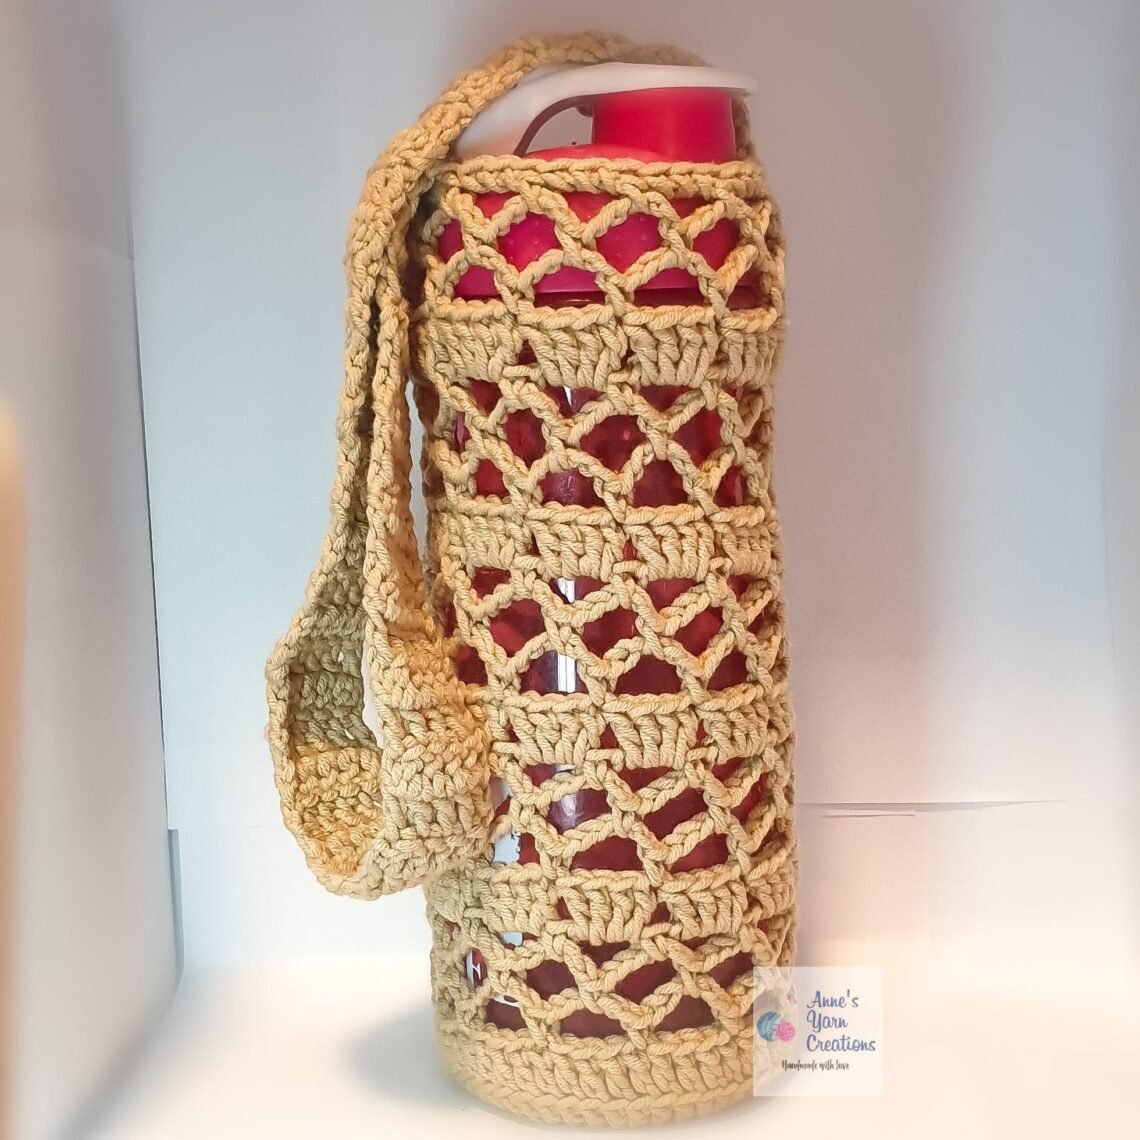
Hello there my fellow crochet lovers! This water bottle holder is so fun to do! It’s one of the easiest and cutest product I’ve made on my crochet tutorials. I really love this one so much. Perfect to stay hydrated especially during the warm summer months. 🍶💧 These water bottle holders will help you carry your water with you when you are on the go. Just slide the carrier over your shoulder, attach it to your purse, or stroller and enjoy the beautiful weather! 🌞
Hope you enjoy this pattern!
Legend:
CH – chain
SC – single crochet
DC – double crochet
SL ST – slip stitch
ST / st – stitch
** **pattern will be repeatedly used to finish the full row
Materials Used:
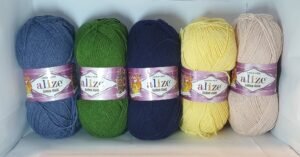
- 1pc Alize Cotton Gold Plus Yarn – Beige (only half of it was used)
- 4.0 mm Crochet Hook
- A pair of scissors
- A darning needle
- A stitch marker (optional)
- Your own customized label (optional)
Customized Labels For Your Handmade Products: Where To Get

Start by Making The Round Bottom:
Row: 1 sl st, CH – 3, DC on 1st CH to make a ring, DC – 11 on same st, sl st
Total: 12 DCs
Row 2: DC – 2 on every st around, sl st
Total: 24 DCs
Row 3: (DC – 2 in 1st st, DC – 1 on each of the next st), repeat this pattern until the end of the row, sl st
Total: 36 DCs
Row 4: DC on back loop only, repeat until end of the row, sl st
Row 5: DC until the end of the row
Row 6: CH – 1, SC on the same space, CH – 5,
**skip 3 sts, SC on the 4th st, CH – 5**
**repeat this pattern until the end of the row**, sl st onto the 1st SC
Row 7: sl st onto the 1st 3 CHs, SC on the same space below, CH – 5,
**SC on the next space, CH – 5**
**repeat this pattern until the end of the row**, sl st onto the 1st SC
Row 8: same as Row 7 but only make CH – 3 in between SCs
Row 9: sl st on the 1st space below, CH – 2, DC – 3 on the same space below,
**DC – 4 on the next space**
**repeat this pattern until the end of the row**
Row 10: CH – 1, SC on the same ST, CH – 5,
**SC on the ST between groups of 4DCs from previous row, CH – 5**
**repeat this pattern until the end of the row**, sl st onto the 1st SC
Row 11: repeat Row 7
Row 12: repeat Row 8
Row 13: repeat Row 9
Row 14: CH – 1, SC all way around
End By Making The Strap
Row 15: CH – 2 , **turn your work, DC on the same space, DC on the next 3 sts**
**repeat this pattern until 75 rows are completed or as per your preferrred length**
Attach the ends approximately after 15 spaces from Row 14
Slip Stitch, then weave the ends.
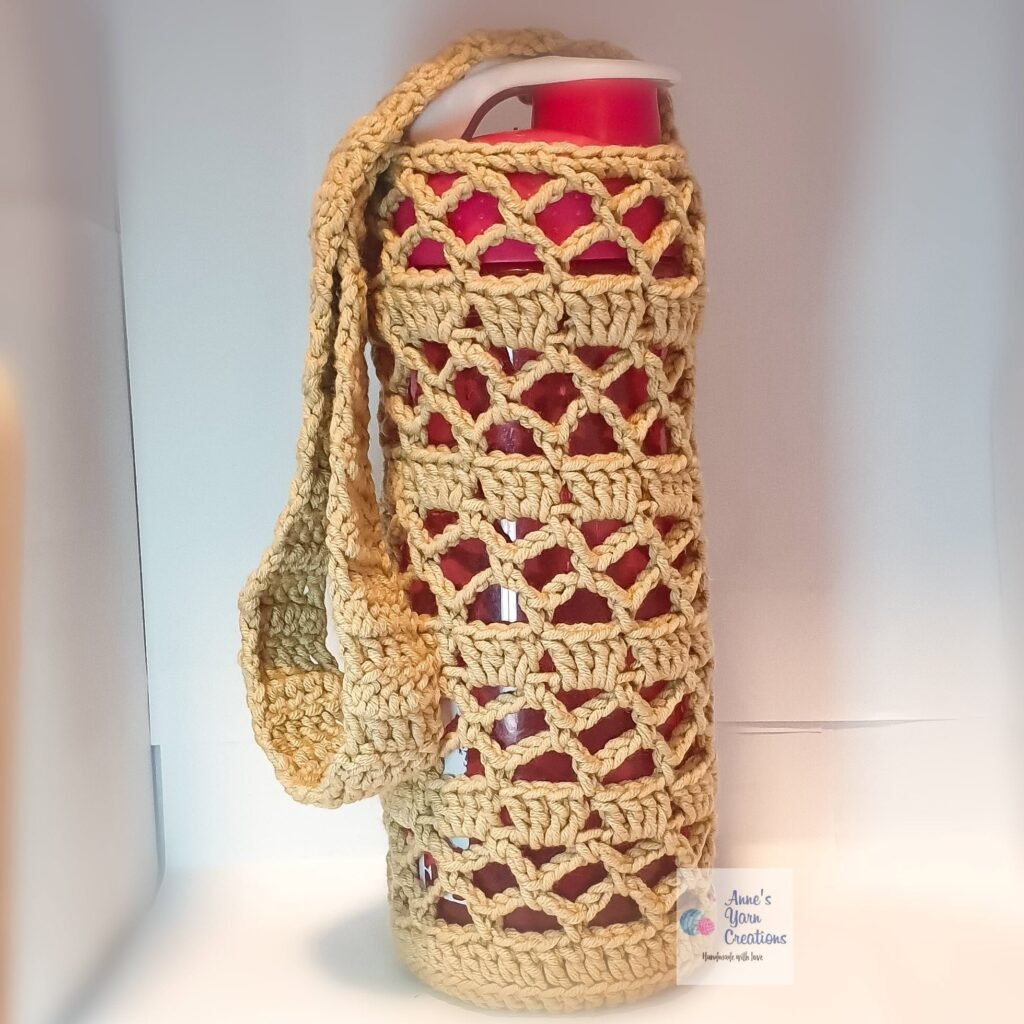
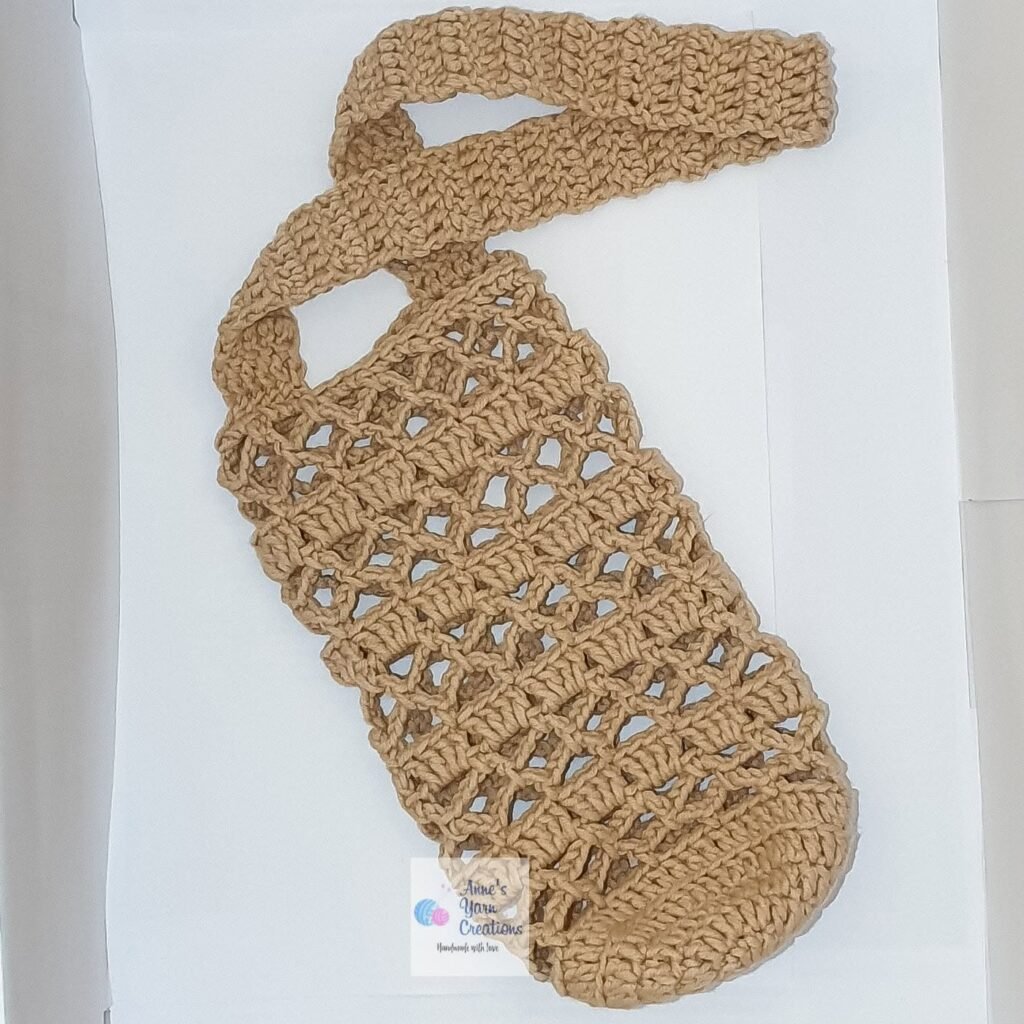
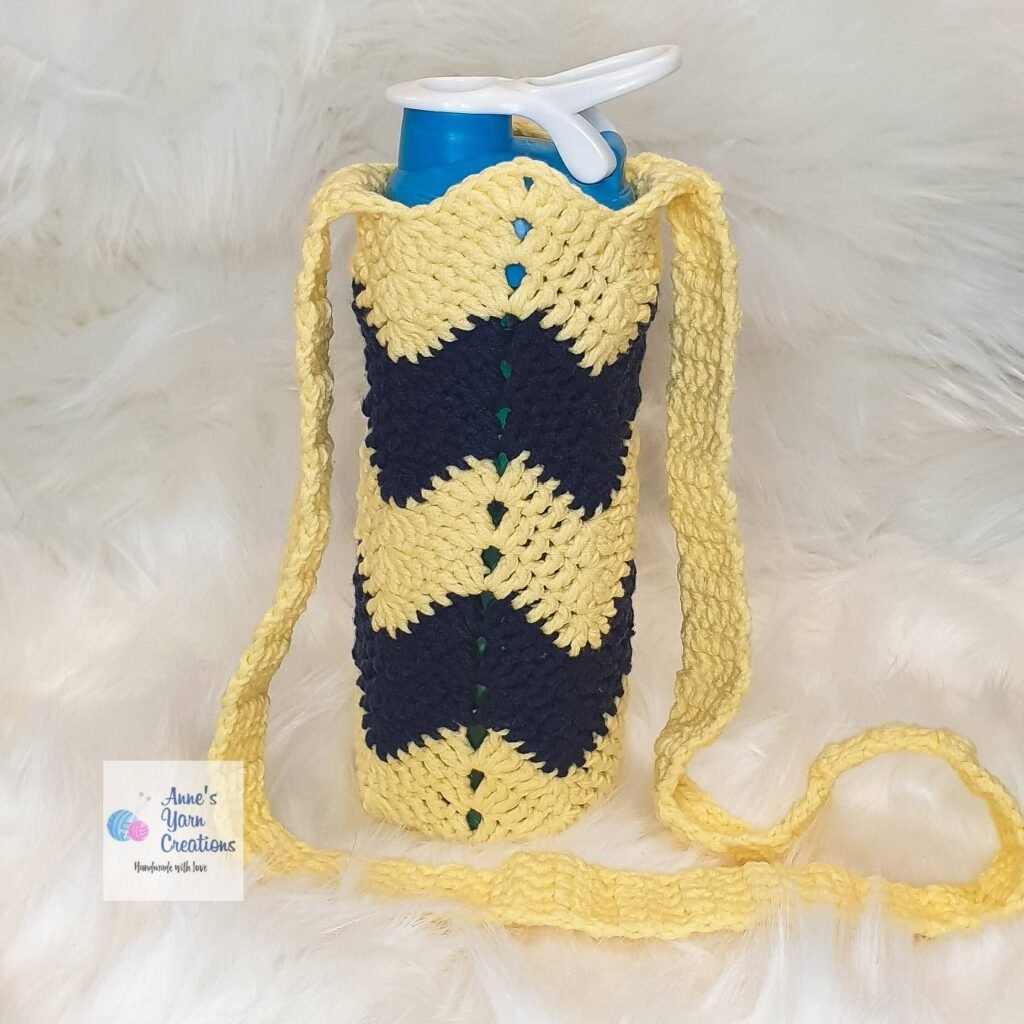
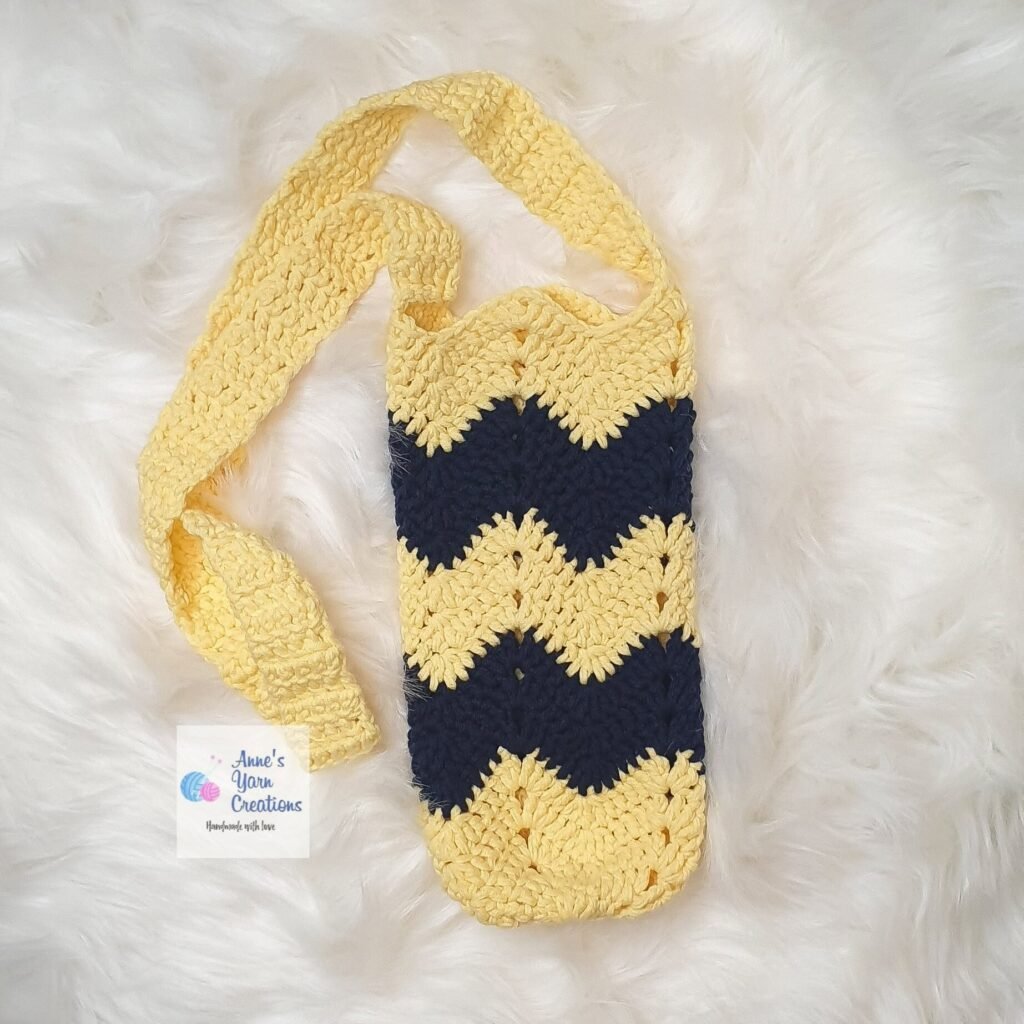
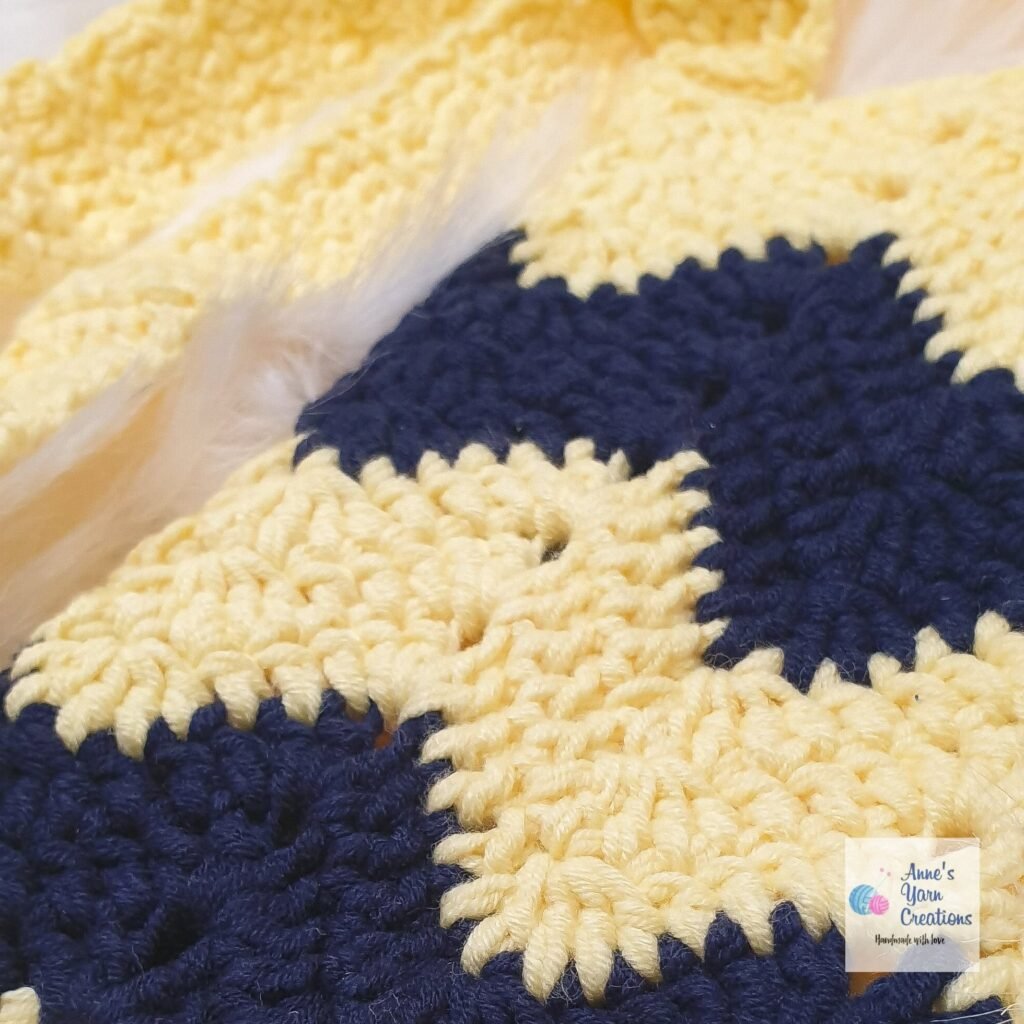
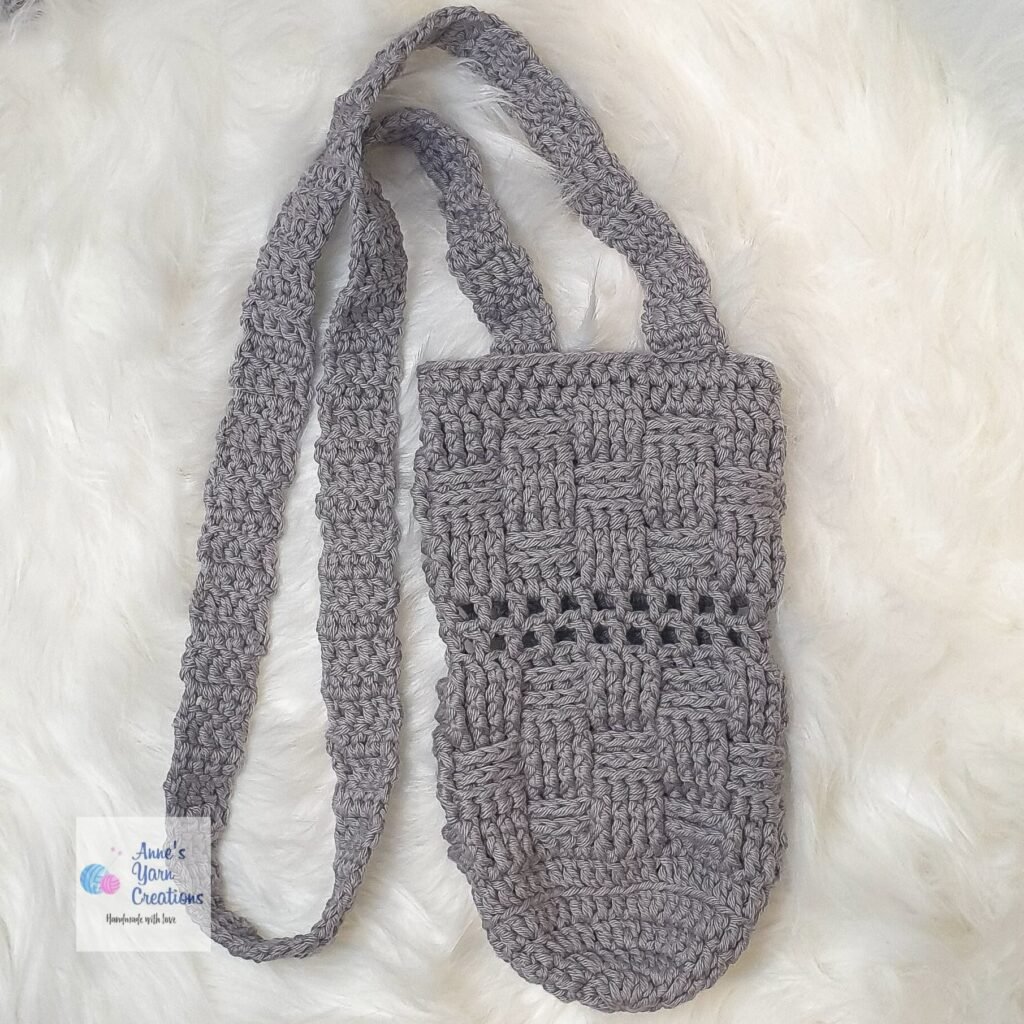
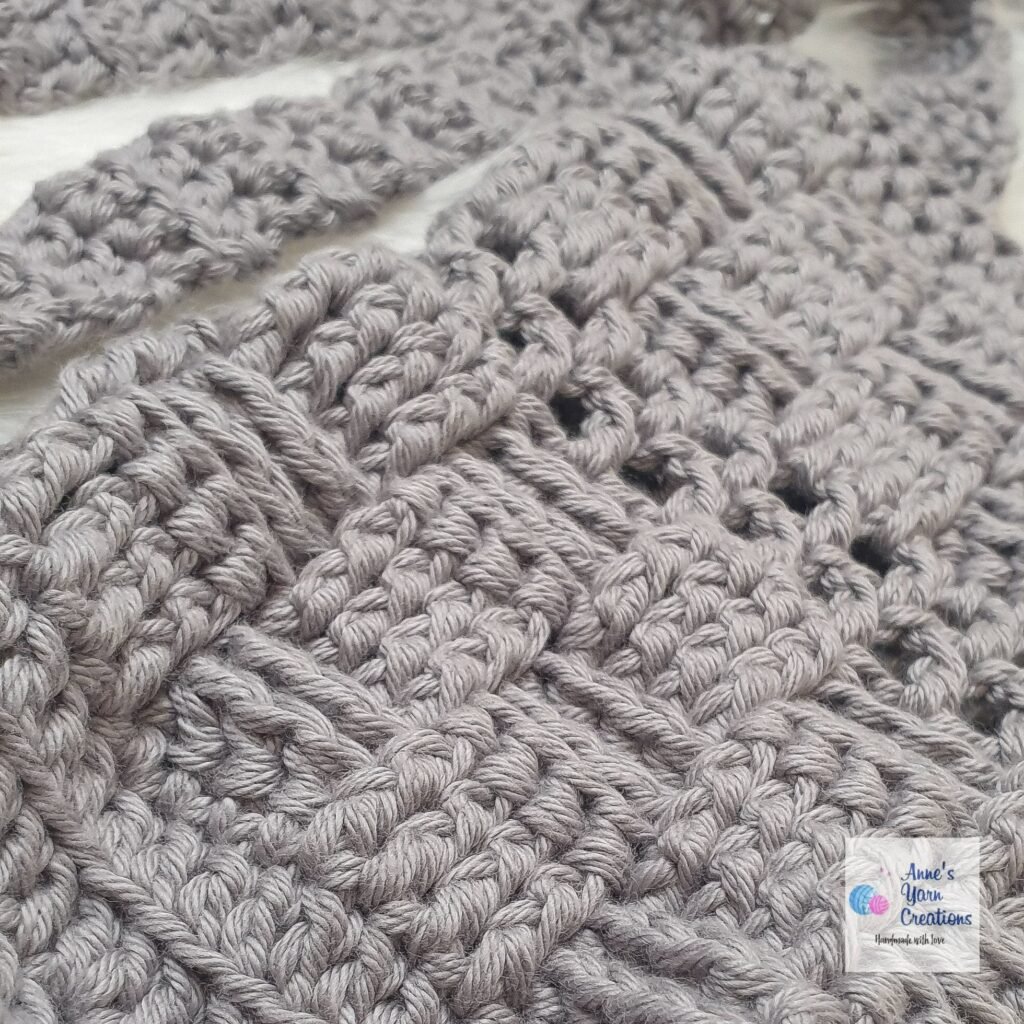
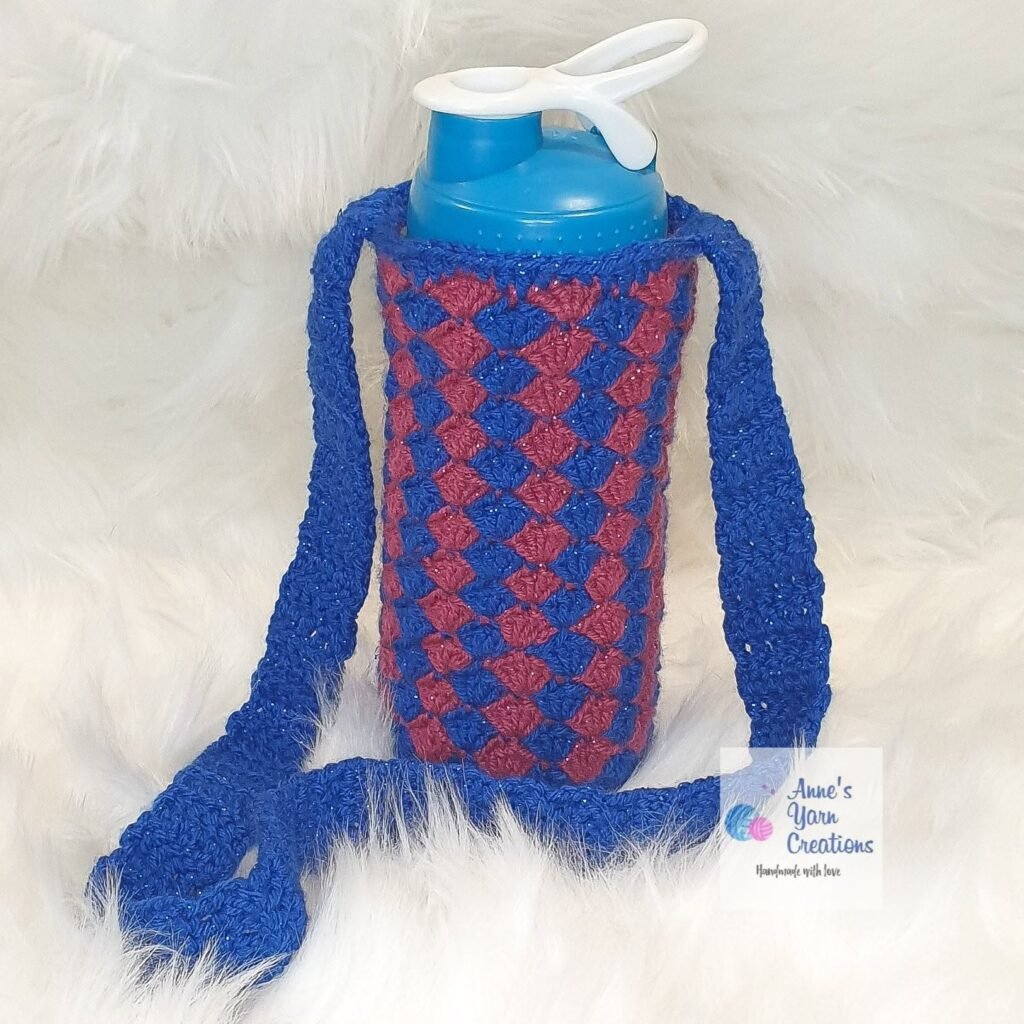
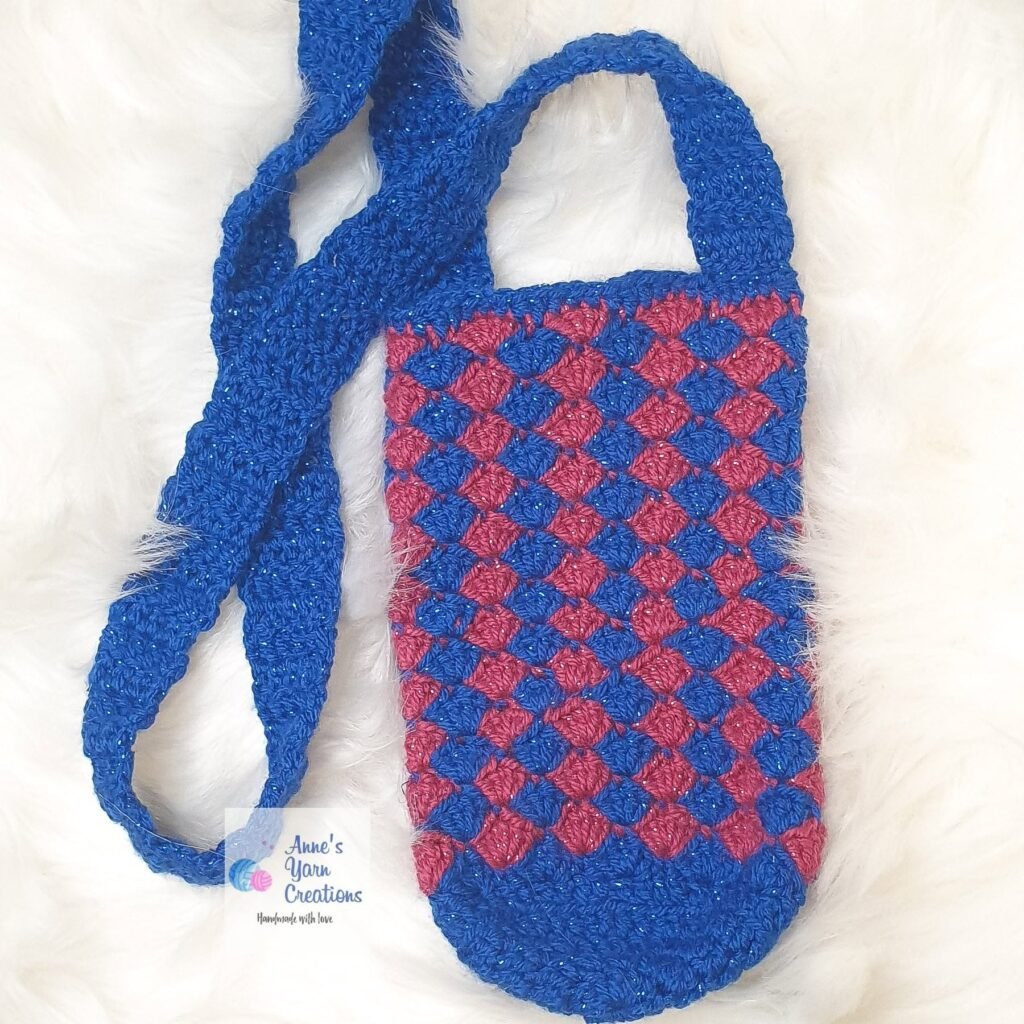
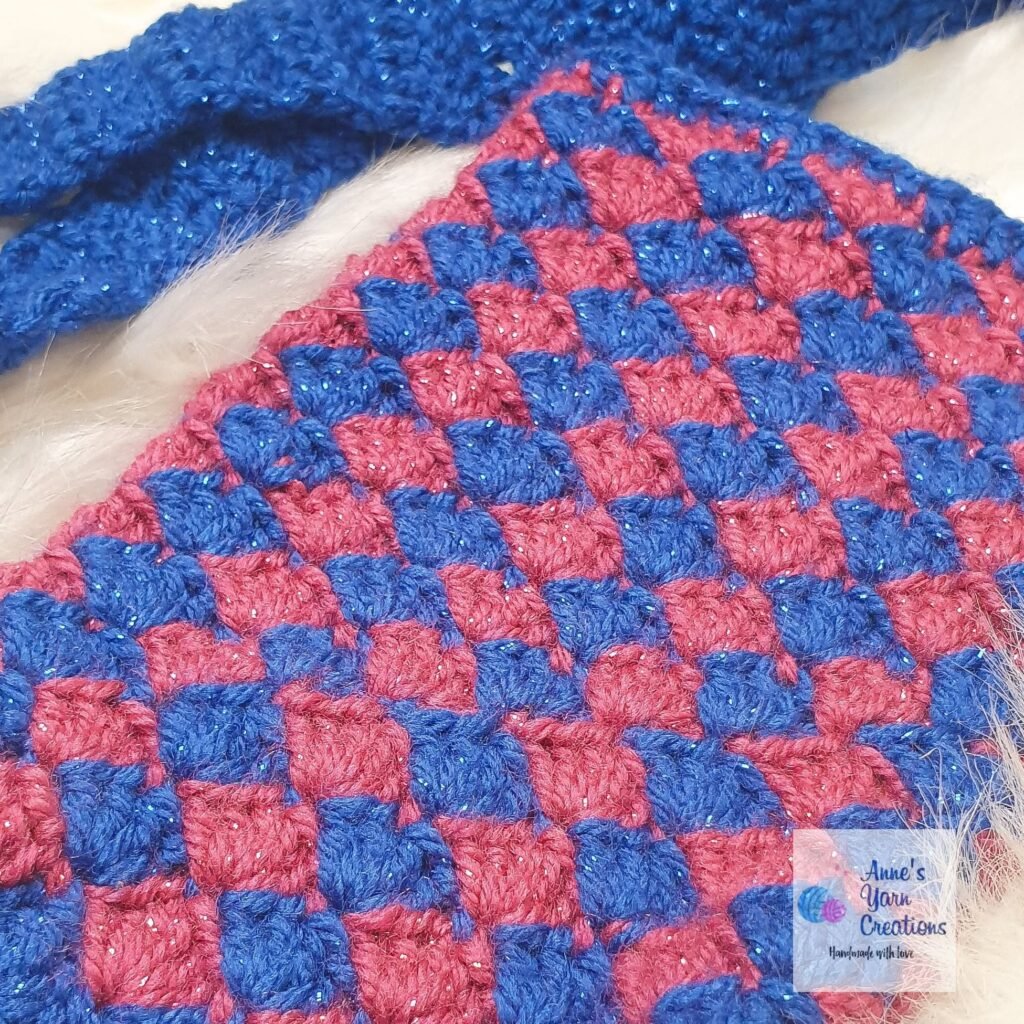
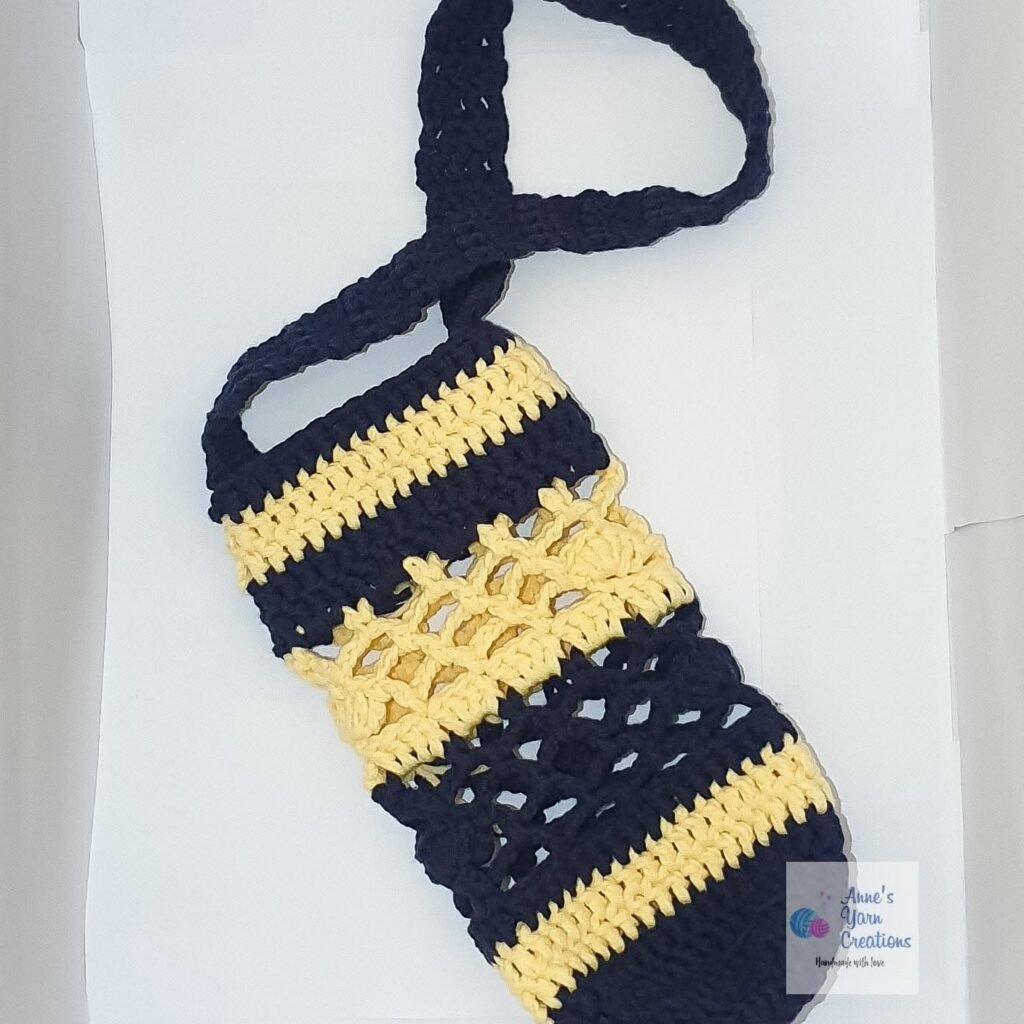
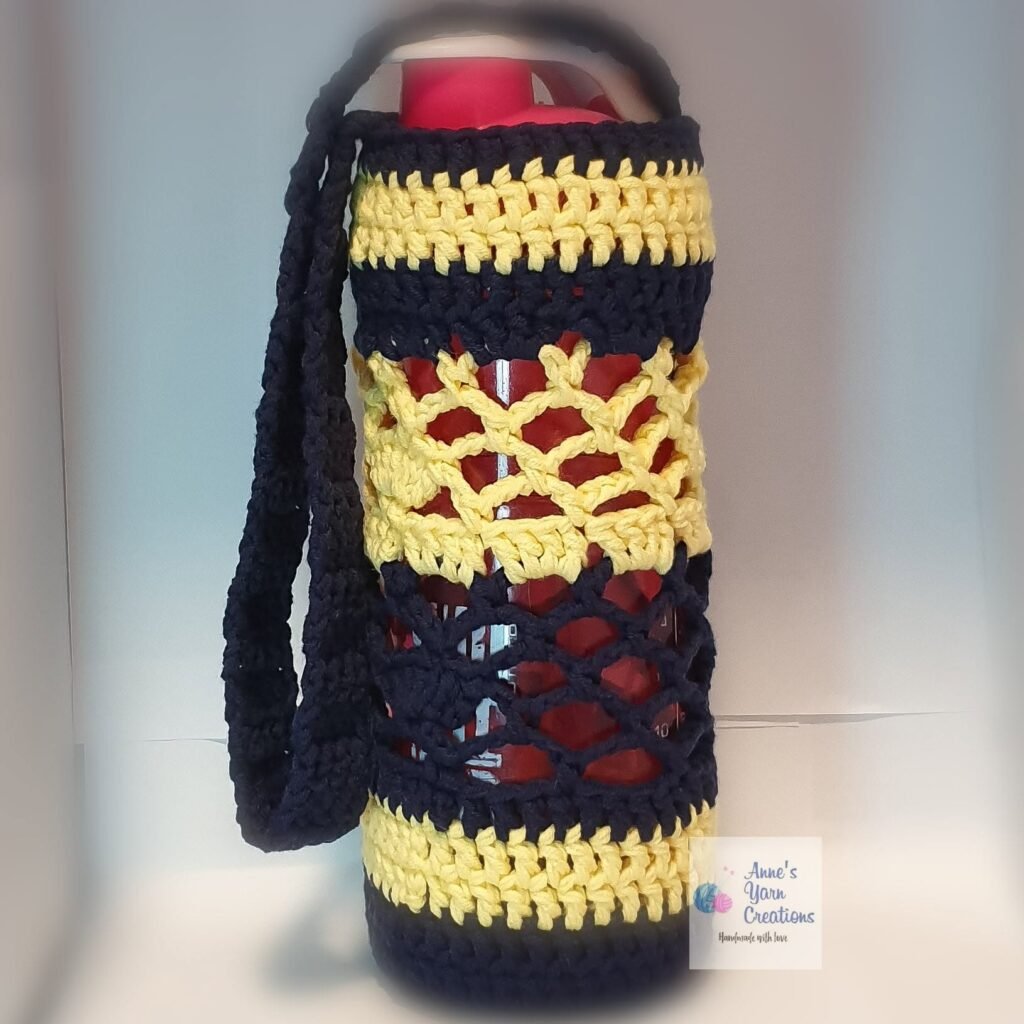
Here’s The End-Product:
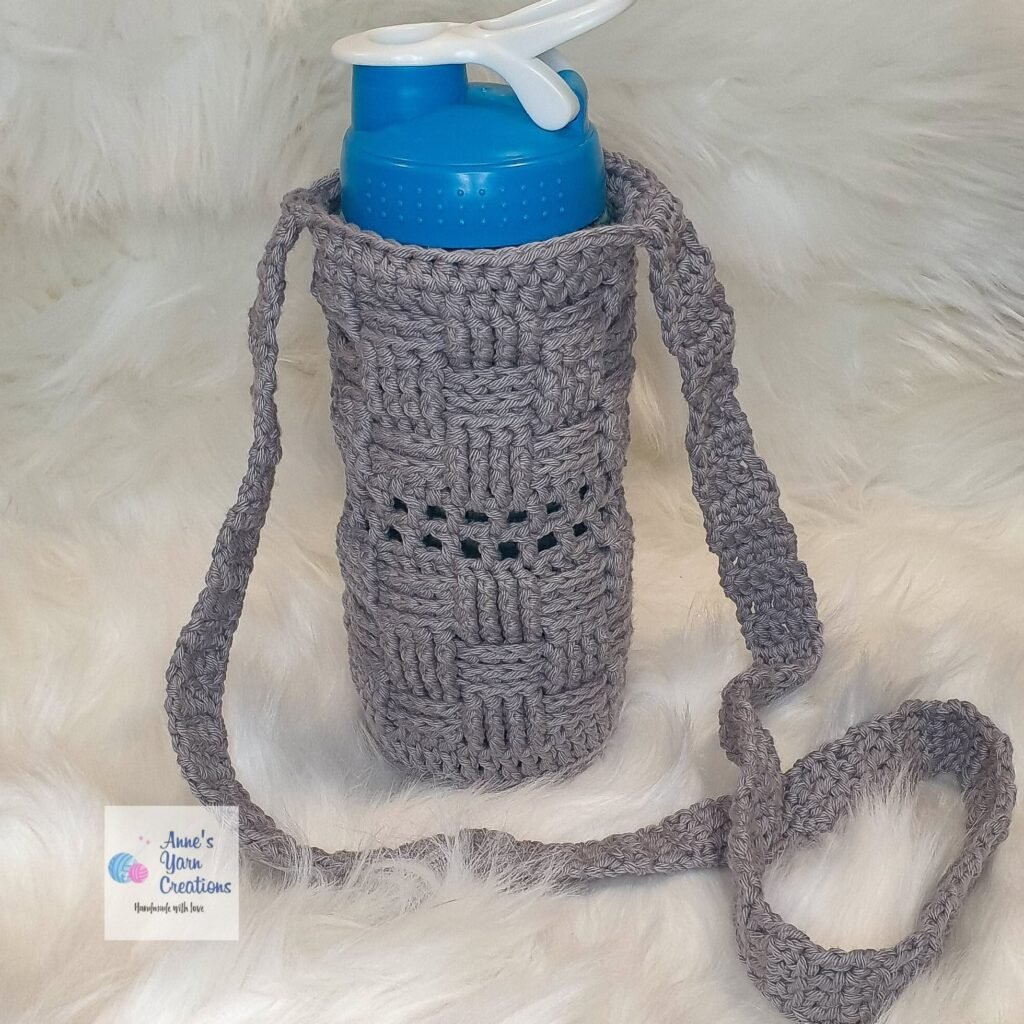
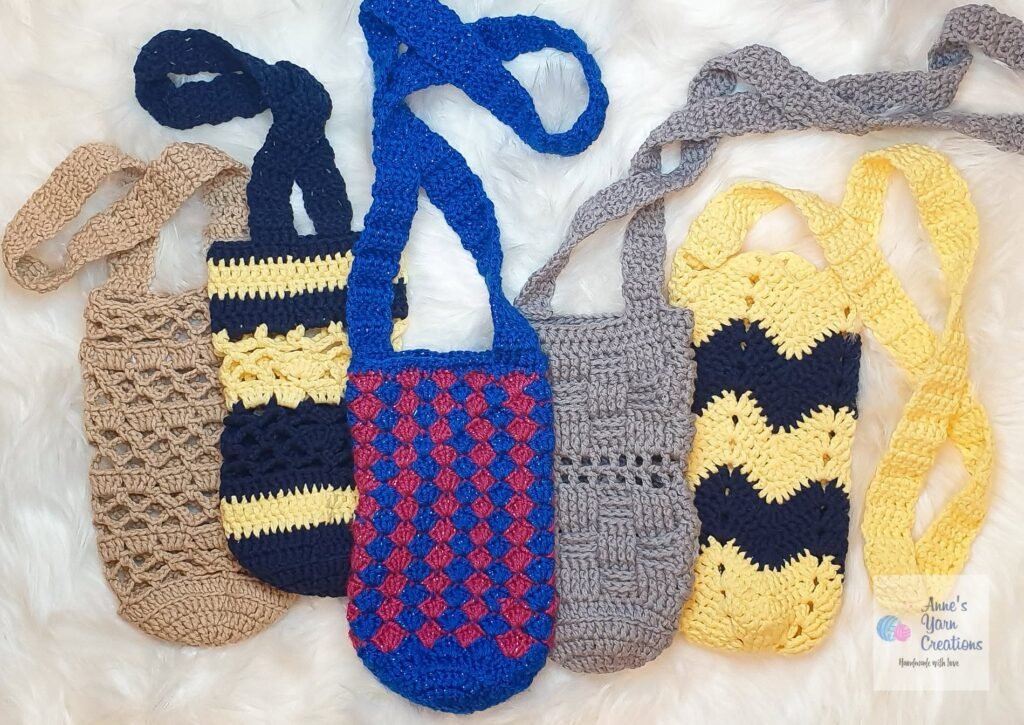
Our other Designs:
I would love to hear from you!
Were you able to successfully finish this pattern? Hope to see your very own handmade water bottle holder! Feel free to comment down below and post a picture of your finished product.
Crochet Bonnet Free Pattern: Slouchy Reggae Hat
Crochet Bonnet Free Pattern: Using ‘Diamond Stitch’
Crochet Bonnet Free Pattern: For Newborns
Crochet Bonnet Free Pattern: Using The ‘Cable Stitch’
Crochet Halter Top Free Pattern: Creamfringe Design

Please don’t forget to Like & Follow Anne’s Yarn Creations:
Facebook: Anne’s Yarn Creations
Instagram: @annesyarncreations
© 2021 by Anne’s Yarn Creations and published with permission by Life Mag Health. This pattern is for personal use only. You may use the pattern to make unlimited items for yourself, for charity, or to give as gifts. You may sell items you personally make by hand from this pattern. Do not violate Anne’s Yarn Creations’ copyright by distributing this pattern or the photos in any form, including but not limited to scanning, photocopying, emailing, or posting on a website or internet discussion group. If you want to share this pattern, point your friends to this link: https://pinoyupnorth.com/ Thanks for supporting freestyle designers!
Originally Published: December 6, 2021
Updated: August 2026


Nnnniiiiiccccceeeeeee…I must make this one for me! It’s so much easier to keep up with than the last one.
This is amazing idea, I do crafting but like this DIY. I would love to give it a try Thank you for the tutorial!
O my goodness! This looks so fun to do! Thanks for sharing those guidelines.
I wish this product should be available in our country too. It looks too useful
I wish the product was available in our country too. It looks so useful